10 Pro Tips How to Use Garden Markers
The morning sun catches the white plastic stake at the end of your tomato row, and you remember exactly which heirloom variety you planted six weeks ago. Learning how to use garden markers transforms a chaotic plot into a precision operation where every seed, transplant, and harvest date lives in documented memory. The difference between a gardener who uses markers and one who relies on memory is the difference between repeating successes and repeating mistakes.
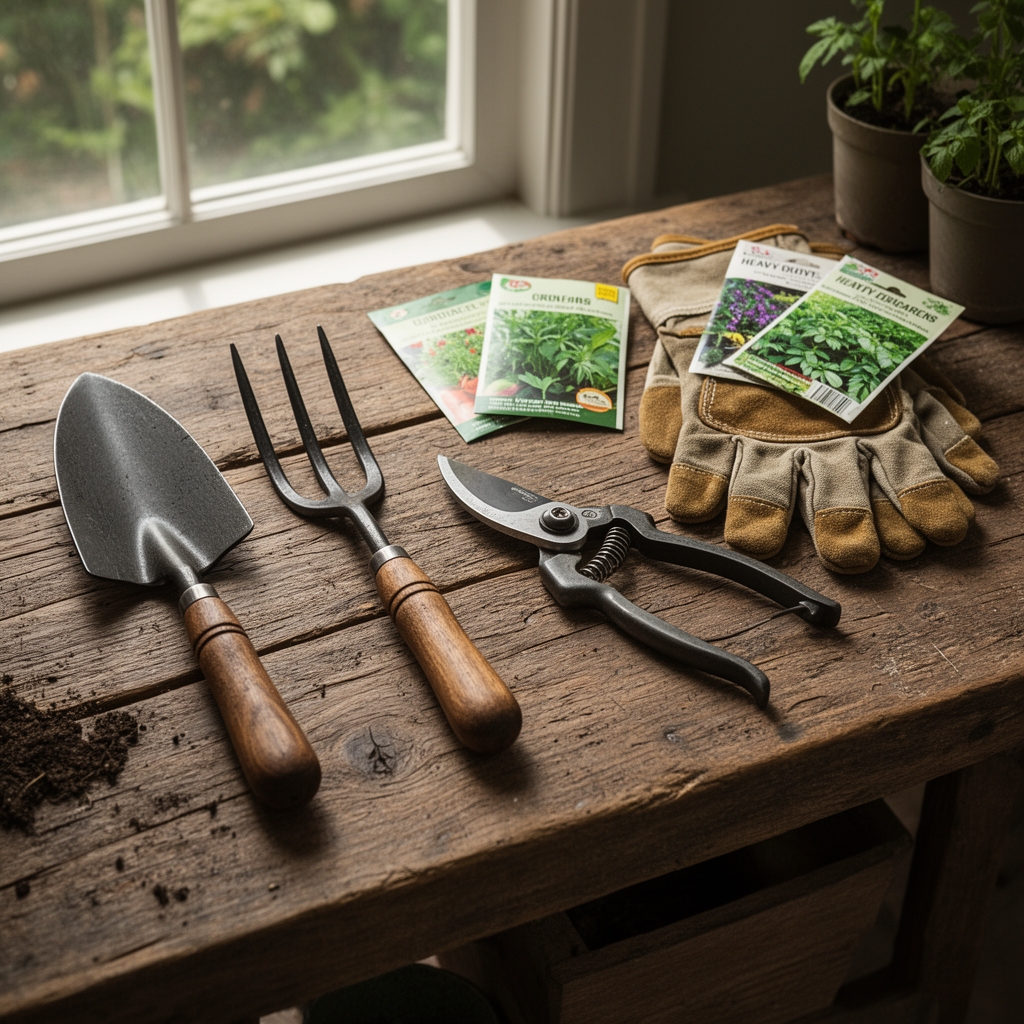
Materials
Marker selection depends on your soil's cation exchange capacity and exposure conditions. Wooden stakes work in acidic soils (pH 5.5-6.5) but degrade faster in alkaline conditions above 7.2. Plastic tags resist decomposition but become brittle under UV exposure after two seasons. Metal markers, particularly aluminum or copper, provide 5-8 year durability in all pH ranges.
Permanent markers require alcohol-based ink that bonds to surfaces without leaching during irrigation. Graphite pencils work on wooden stakes in high-rainfall zones where ink bleeds. UV-resistant labels maintain legibility for three seasons in full-sun exposures above 8 hours daily.
Document these data points on each marker: variety name, sowing date, expected days to maturity, and fertilizer ratio applied. For heavy feeders like brassicas, note whether you incorporated 4-4-4 organic meal at 2 pounds per 100 square feet or 10-10-10 synthetic at 1 pound per 100 square feet. The NPK ratio directly affects your troubleshooting timeline when deficiency symptoms appear.
Timing
Install markers at three critical moments. First, at sowing time when you can still see the furrow line. Second, at transplant when root disturbance causes temporary auxin distribution changes. Third, when succession planting demands that you track which row entered the ground on which date.
In Hardiness Zones 3-5, place markers two weeks before last frost for cold-tolerant crops (peas, spinach, brassicas). The soil temperature at 2-inch depth should read 40-50°F. In Zones 6-8, warm-season marker placement occurs when soil reaches 60°F at 4-inch depth, typically 1-2 weeks after last frost. Zones 9-11 operate on wet/dry season calendars rather than frost windows.
Mark succession plantings every 14 days for continuous harvests. Each marker should display the planting date so you can calculate days to maturity and predict harvest windows within a 3-day margin.
Phases

Sowing Phase
Insert markers at row ends before covering seeds. The marker position defines your cultivation boundary and prevents accidental tillage over germinating seeds. Place the marker 2 inches outside the actual seed line to avoid disturbing the seed zone during weeding.
Pro-Tip: Apply mycorrhizal fungi inoculant at sowing time and note this on the marker. The notation allows you to compare phosphorus uptake between inoculated and control rows. Mycorrhizae increase phosphorus availability by 60-80% in soils testing below 25 ppm.
Transplanting Phase
Drive markers 6 inches deep at transplant time to survive wind and irrigation pressure. Position them on the north side of plants in Zones 7-11 to provide afternoon shade for the first 72 hours post-transplant. This reduces transplant shock by 30-40% as measured by wilting recovery time.
Record transplant date and root ball size. A 4-inch transplant establishes 5-7 days faster than a 2-inch transplant under identical conditions. This data helps you optimize your seed-starting timeline for next season.
Pro-Tip: Mark the transplant depth on the stake itself using a waterproof line. Tomatoes tolerate burial up to first true leaves; peppers require the original soil line to remain exposed. Incorrect depth causes adventitious root formation in peppers, delaying fruit set by 10-14 days.
Establishing Phase
Update markers at 21 days post-transplant when root systems extend 12-18 inches laterally. Note the first flower date for fruiting crops. The interval between transplant and first flower predicts total season length within 5 days.
Pro-Tip: Mark fertilizer application dates and rates. Side-dress nitrogen at first flower for determinate tomatoes (1/4 cup 10-10-10 per plant). For indeterminate varieties, split applications every 21 days maintain fruit production without excessive vegetative growth.
Troubleshooting
Symptom: Faded or illegible markers after 6-8 weeks.
Solution: Rewrite using graphite pencil over original ink. Graphite penetrates wood grain and lasts through two seasons. Apply a thin coat of linseed oil to wooden markers before storage to extend life by 40%.
Symptom: Markers knocked over by wind or animals.
Solution: Install at 45-degree angle leaning away from prevailing winds. This configuration provides 3x more resistance than vertical placement. For persistent problems, use 12-inch stakes driven 8 inches deep.
Symptom: Marker information insufficient for variety identification.
Solution: Record flower color, leaf shape, and fruit characteristics. Two cucumber varieties may share similar names but express different disease resistance. Note powdery mildew appearance dates to select resistant lines.
Symptom: Lost planting dates make fertilizer scheduling impossible.
Solution: Photograph marker rows weekly. Digital timestamps provide backup documentation when physical markers fail. Compare photos to identify growth rate variations between varieties.
Symptom: Markers contaminate compost piles.
Solution: Remove all synthetic markers before composting plant material. Wood and bamboo markers compost in 180-240 days at temperatures above 140°F.
Maintenance
Replace markers every 18-24 months in full-sun locations. UV degradation reduces legibility by 60% after two seasons. Wooden markers in partial shade (4-6 hours sun) last 36 months.
Clean markers with 10% bleach solution between seasons to remove soil-borne pathogens. Soak for 10 minutes, rinse thoroughly, and air dry before storage. This prevents transfer of fungal spores between planting seasons.
Store markers in a dry location below 80°F. Temperature cycling causes plastic brittleness and wood cracking. Organized storage by crop family reduces setup time by 20 minutes per major planting session.
Apply 1 inch of water weekly around marker bases to prevent soil erosion that destabilizes stakes. In sandy soils with low water-holding capacity, increase to 1.5 inches weekly during establishment.
FAQ
How deep should garden markers be installed?
Install markers 6-8 inches deep in clay soils, 8-10 inches in sandy soils. The reduced friction in sandy media requires additional depth for stability.
What information is essential on garden markers?
Record variety name, planting date, days to maturity, and fertilizer ratio. Optional data includes source, germination rate, and specific cultural requirements like staking method.
Can garden markers affect soil chemistry?
Untreated copper markers release cupric ions that inhibit fungal growth within 3 inches. Galvanized metal may leach zinc at concentrations above 20 ppm in acidic soils below pH 6.0.
How often should marker information be updated?
Update at each major growth phase: first true leaves, flowering, and fruit set. Add pest or disease observations immediately to track patterns across seasons.
Do different crops require different marker types?
Perennial crops need metal or treated wood markers lasting 5+ years. Annual vegetables perform adequately with plastic or untreated wood markers lasting 1-2 seasons.