10 Simple Ways How to Grow a Kitchen Herb Garden
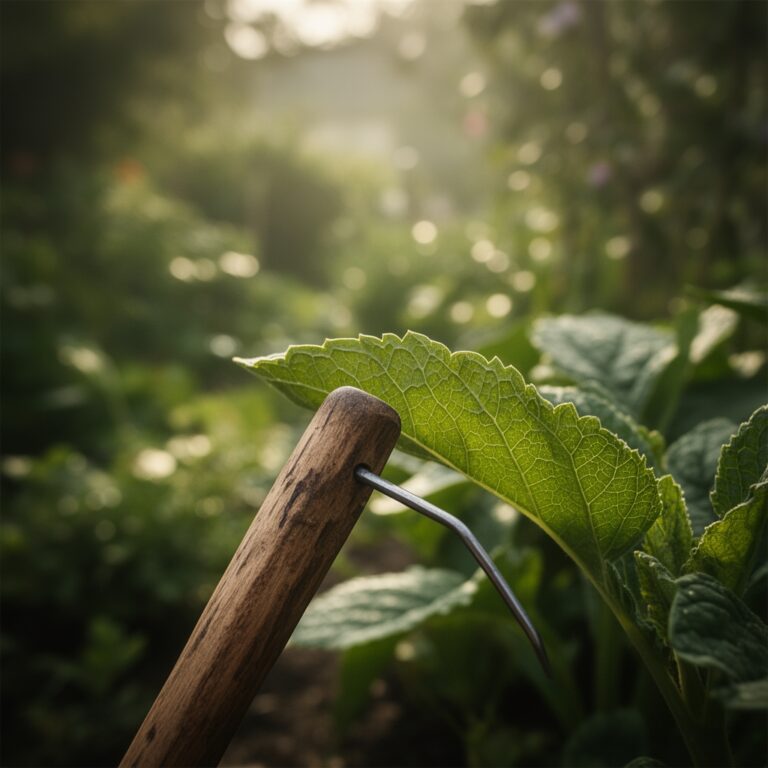
Crushing a leaf of Mediterranean rosemary releases volatile oils that signal a plant in peak physiological health. The snap of a stem under high turgor pressure indicates a robust cellular structure and optimal hydration. To understand how to grow a kitchen herb garden, you must master the intersection of soil chemistry and environmental physics. It is not about aesthetics; it is about managing the metabolic rate of the plant to maximize essential oil production. Success requires precise control over the rhizosphere and the light spectrum. Most failures in indoor or small-scale herb cultivation stem from poor drainage or insufficient photosynthetic active radiation. By treating your kitchen herbs as biological machines, you can manipulate growth cycles to ensure a continuous harvest. This guide provides the technical framework necessary to transition from a casual planter to a disciplined cultivator. You will learn to manage soil cations, monitor transpiration rates, and execute precise pruning techniques to maintain vegetative vigor throughout the growing season.
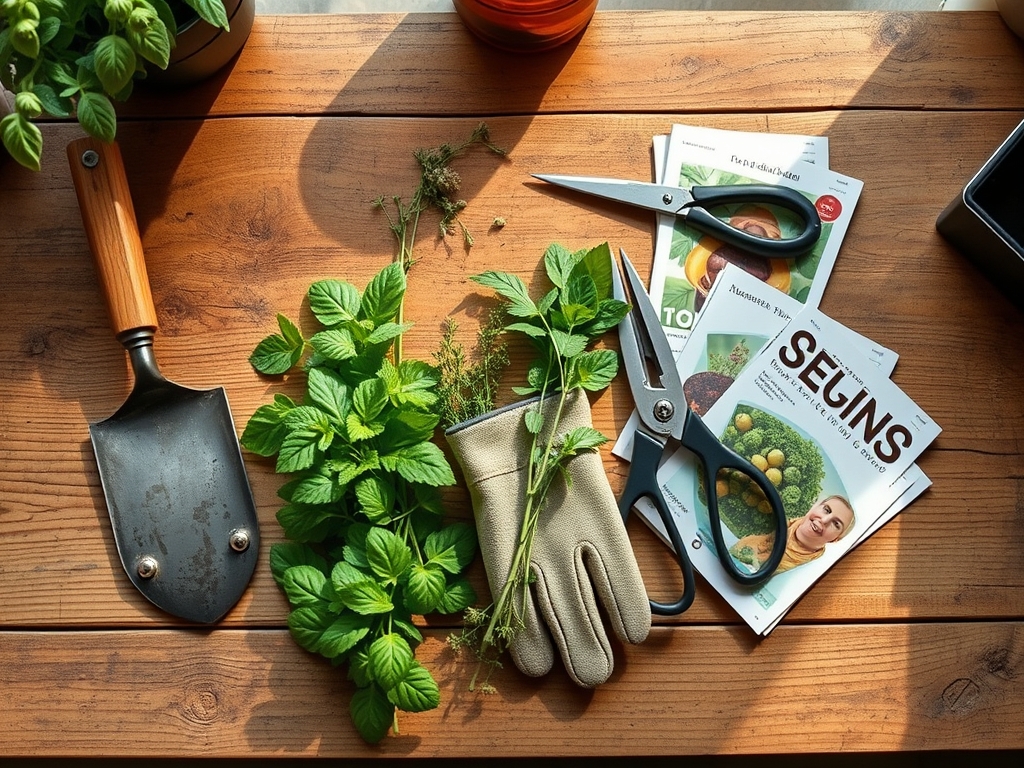
Materials:
Substrate selection determines the Cation Exchange Capacity (CEC), which dictates how well your soil holds onto nutrients like potassium and magnesium. For a kitchen herb garden, you require a friable loam with a high percentage of organic matter but sufficient aeration.
- Soil pH: Aim for a range of 6.0 to 7.0. Culinary herbs like basil and parsley prefer a slightly acidic to neutral environment to optimize nutrient uptake. Lavender and rosemary can tolerate up to 7.5 pH.
- NPK Ratios: For the establishment phase, use a 5-10-5 ratio to encourage root development. Once the plant enters the vegetative stage, transition to a high-nitrogen 10-5-5 ratio to stimulate foliage production.
- Physical Texture: The mix should consist of 40 percent peat moss or coconut coir, 40 percent perlite, and 20 percent sterilized compost. This ensures the soil does not compact, which would otherwise lead to anaerobic conditions and root rot.
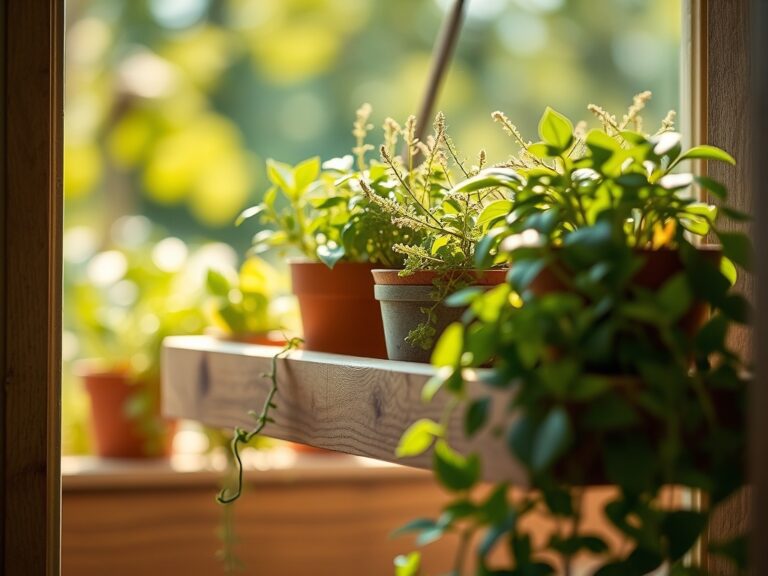
- Containers: Use pots with a minimum depth of 8 inches. Ensure at least three drainage holes per square foot of surface area.
Timing:
Successful cultivation depends on aligning the plant's biological clock with external environmental cues. Most kitchen herbs are classified as either annuals or perennials, and their growth is dictated by the photoperiod.
In Hardiness Zones 3 through 6, start seeds indoors 6 to 8 weeks before the last predicted frost. In Zones 7 through 10, many herbs can be grown year-round if the ambient temperature remains between 60 and 75 degrees Fahrenheit.
The transition from the vegetative stage to the reproductive stage (bolting) is often triggered by heat stress or increasing day length. For herbs like cilantro, bolting occurs rapidly when temperatures exceed 75 degrees Fahrenheit. To delay senescence and keep the plant in the vegetative phase, you must provide consistent moisture and occasional shade during peak solar radiation.
Phases:
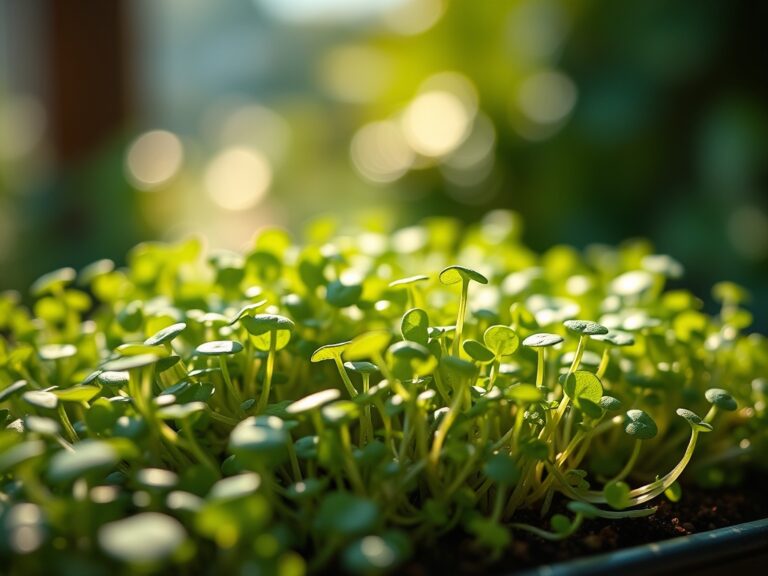
Sowing
Place seeds at a depth approximately twice their diameter. For fine seeds like oregano, surface sow and press lightly into the substrate. Maintain a constant soil temperature of 70 degrees Fahrenheit using a heat mat.
Pro-Tip: Maintaining high humidity during germination prevents the seed coat from hardening. This ensures the emerging hypocotyl can break through the surface without exhausting its stored energy reserves.
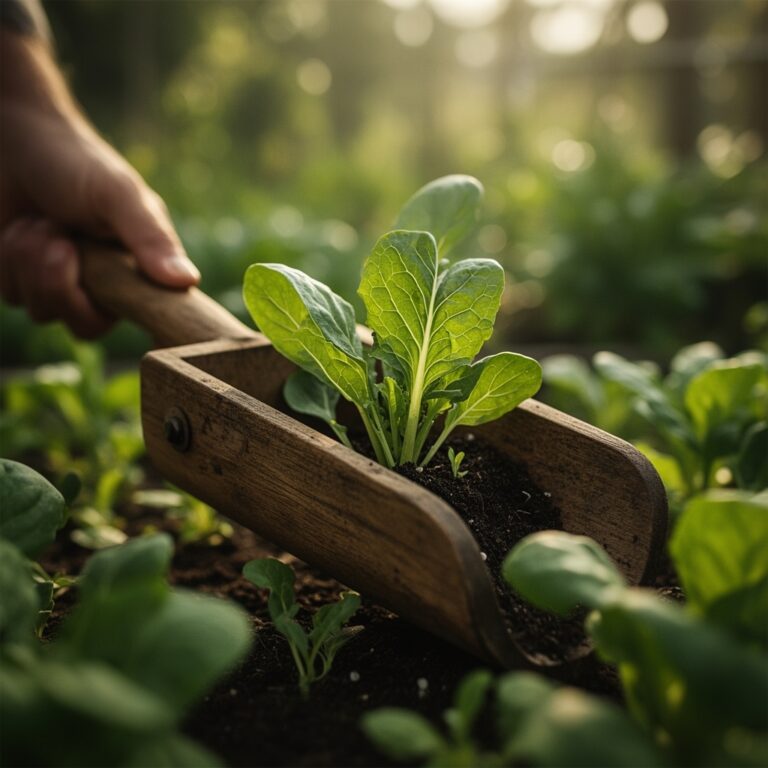
Transplanting
Move seedlings when they have developed at least two sets of true leaves. Ensure the root ball is thoroughly moistened before the move to prevent transplant shock.
Pro-Tip: Mycorrhizal symbiosis can be encouraged by adding fungal inoculants to the transplant hole. These fungi extend the root system's reach, increasing the surface area for water and phosphorus absorption.
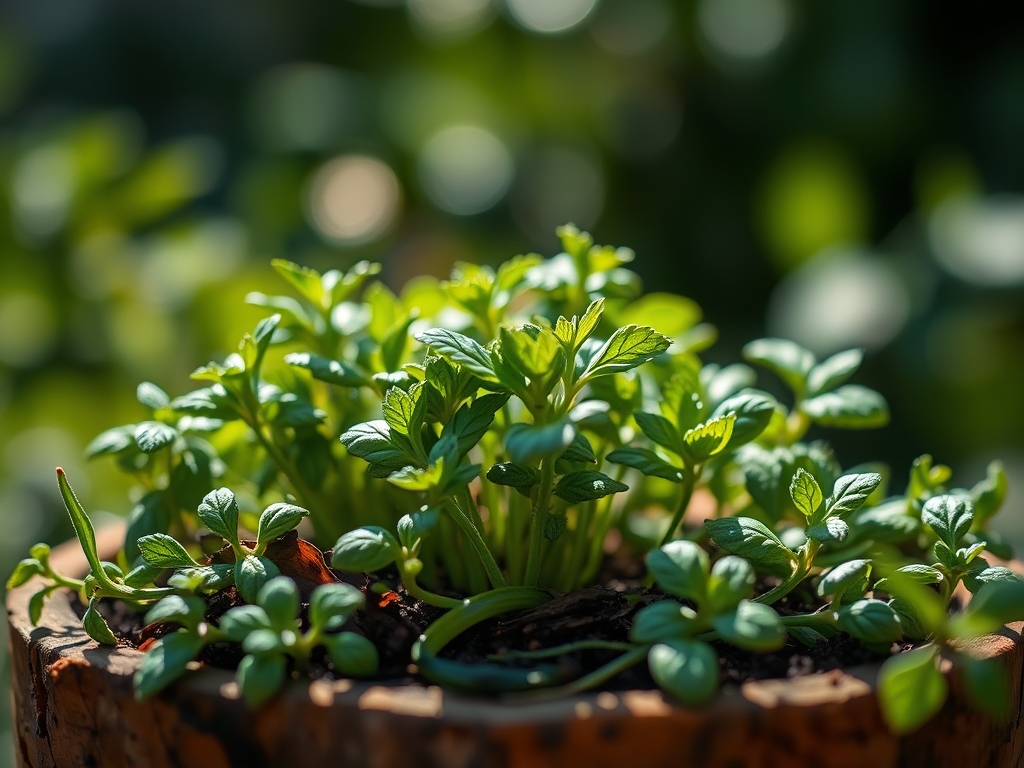
Establishing
During the first 14 days post-transplant, focus on root establishment rather than top growth. Avoid heavy fertilization during this window to prevent salt burn on young, sensitive root hairs.
Pro-Tip: Pinched terminal buds stimulate auxin suppression. By removing the dominant upward growth point, you force the plant to redirect hormones to lateral buds, resulting in a bushier, more productive plant.
The Clinic:
Physiological disorders often mimic pest damage but are usually the result of environmental imbalances.
- Symptom: Yellowing of lower leaves while veins remain green.
Solution: This is likely Interveinal Chlorosis caused by magnesium deficiency. Apply a solution of one tablespoon of Epsom salts per gallon of water.
- Symptom: Leaf margins turning brown and "crispy."
Solution: This indicates Tip Burn, often caused by low humidity or excessive fertilizer salts. Flush the soil with distilled water and increase local humidity to 50 percent.
- Symptom: Elongated, weak stems with large gaps between leaves.
Solution: This is Etiolation. The plant is stretching for light. Increase light intensity to at least 1,000 foot-candles or provide 14 hours of supplemental LED light.
- Fix-It (Nitrogen Chlorosis): If the entire plant turns a pale lime green, it lacks nitrogen. Apply a liquid fish emulsion with a 5-1-1 NPK ratio for immediate bioavailability.
Maintenance:
Precision is the difference between a surviving plant and a thriving one. Use a soil moisture meter to ensure the substrate remains at a "moist but not saturated" level.
- Irrigation: Apply 1.5 inches of water per week at the drip line. Avoid wetting the foliage, as standing water on leaves promotes fungal pathogens like powdery mildew.
- Pruning: Use bypass pruners for clean cuts. Never remove more than 33 percent of the plant's total biomass at one time. This prevents the plant from entering a state of shock that halts photosynthesis.
- Aeration: Use a hori-hori knife to gently probe the soil surface every few weeks. This prevents "capping," where the top layer of soil becomes impermeable to oxygen and water.
The Yield:
The concentration of essential oils is highest in the morning, after the dew has evaporated but before the sun reaches its zenith. This is the optimal time for harvesting.
For woody herbs like rosemary or thyme, harvest the top 2 to 3 inches of new growth. For leafy herbs like basil, cut just above a leaf node to encourage immediate regrowth. Post-harvest, place the stems in a glass of water or wrap them in a damp paper towel and refrigerate at 40 degrees Fahrenheit. This maintains turgor pressure and prevents the rapid oxidation of aromatic compounds, ensuring the herbs retain their chemical potency for several days.
FAQ:
How much sunlight do kitchen herbs need?
Most culinary herbs require a minimum of six hours of direct solar radiation daily. If growing indoors, use full-spectrum LED grow lights for 12 to 14 hours to compensate for lower light intensity compared to outdoor conditions.
Can I grow different herbs in the same pot?
Only if they share similar hydro-requirements and soil pH needs. Rosemary and thyme work well together in well-draining, sandy soil. Mint should always be isolated because its aggressive rhizome system will outcompete and choke other plants.
Why are my herbs losing their flavor?
Flavor is derived from essential oils. Over-watering or over-fertilizing with high nitrogen can lead to rapid, "watery" growth that dilutes these oils. Slightly stressing the plant by allowing the soil to dry between waterings can actually increase oil concentration.
How do I prevent my basil from flowering?
Basil is a "long-day" plant that flowers when light exceeds 12 hours. Regularly pinch off the terminal spikes as soon as they appear. This redirects the plant's energy from seed production back into vegetative leaf growth.
What is the best way to fertilize indoor herbs?
Use a water-soluble, balanced fertilizer at half-strength every two weeks during the active growing season. Indoor plants have a lower metabolic rate than outdoor plants and are more susceptible to nutrient salt accumulation in the soil.