5 Easy Ways How to Use a Sprouting Seed Kit
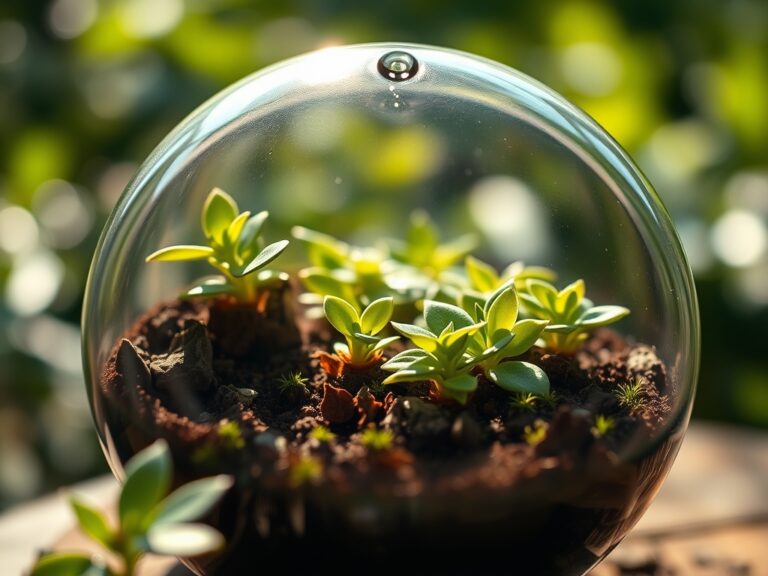
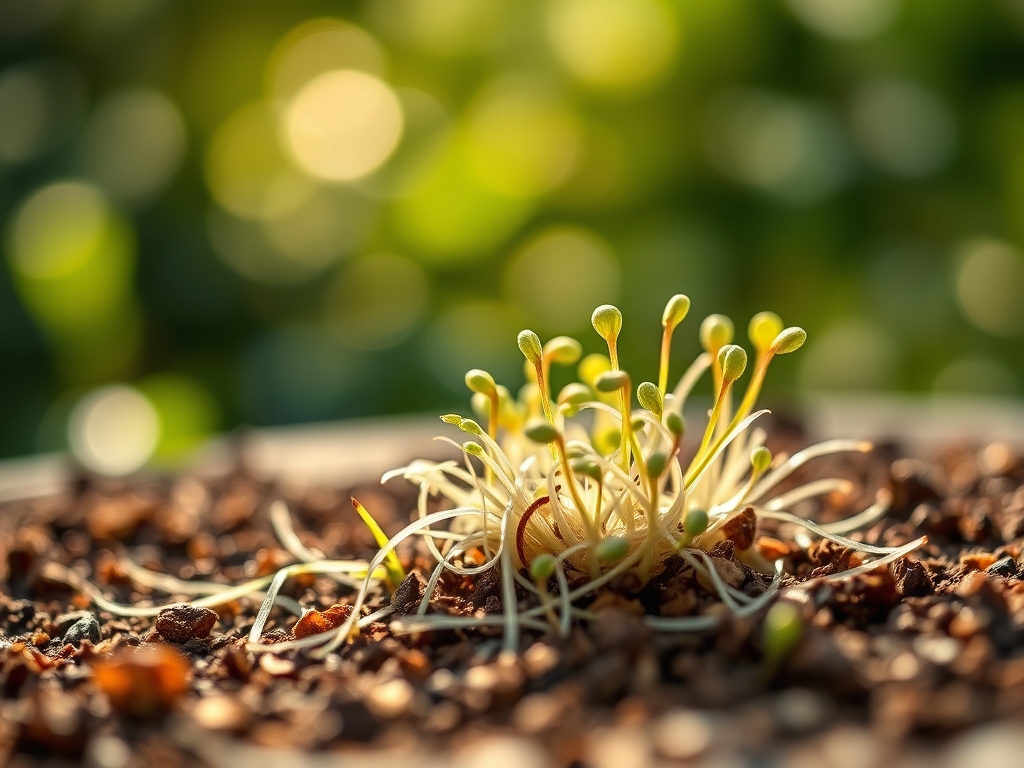
Turgor pressure within a germinating hypocotyl represents the raw mechanical force of life. When you learn how to use a sprouting seed kit, you are managing a precise biological transition from dormancy to active metabolic expansion. The process begins when the seed coat imbibes water; this triggers the activation of enzymes like amylase, which breaks down stored starches into glucose. You will smell the earthy, metallic scent of geosmin as the first radicles emerge. Successful cultivation requires maintaining a constant 90 percent relative humidity within the sprouting vessel to prevent desiccation of the delicate root hairs.
Learning how to use a sprouting seed kit transforms a sterile kitchen corner into a controlled laboratory for rapid biomass production. Most kits utilize a soil-less method, but for those transitioning microgreens to a substrate, the chemistry must be exact. You are looking for a substrate with a high Cation Exchange Capacity (CEC) to ensure nutrient availability. The target is a pH range of 6.0 to 6.5 to optimize the solubility of phosphorus and micronutrients. In this environment, the seeds do not rely on external fertilizers initially; they use the nutrient density stored within the endosperm.
Materials:
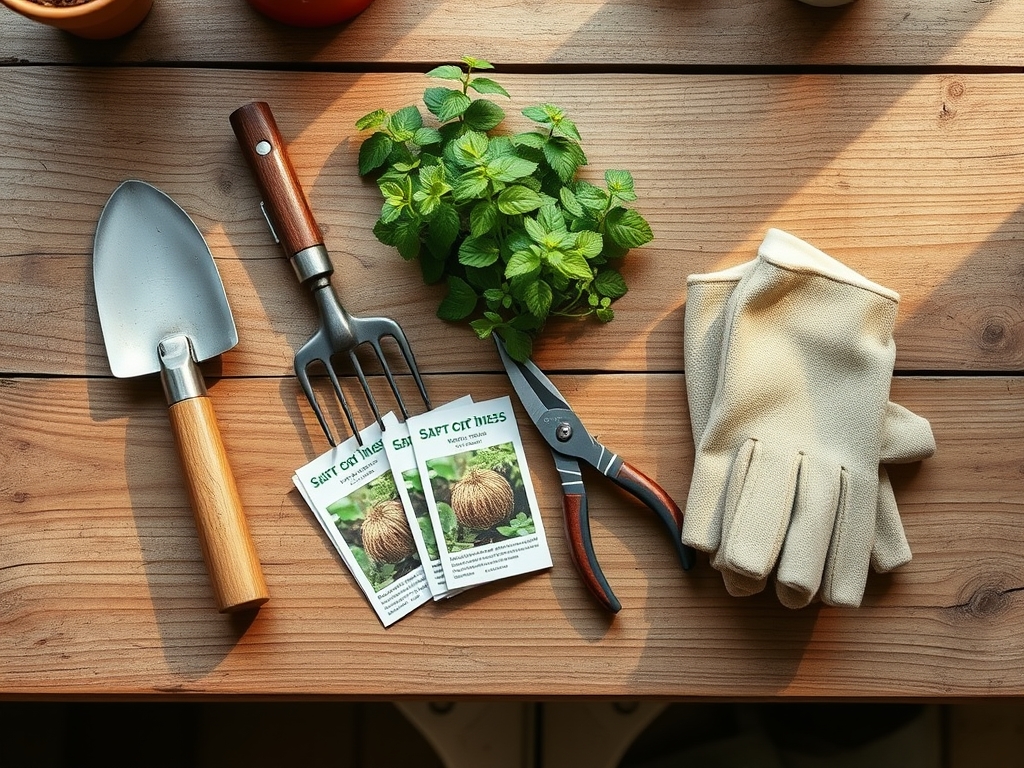
The physical substrate for sprouting must be porous yet retentive. If you are using a soil-based kit for micro-production, select a friable loam consisting of 40 percent peat or coco coir, 40 percent perlite, and 20 percent vermiculite. This ratio ensures oxygen reaches the rhizosphere, preventing anaerobic conditions that lead to root rot.
For the nutritional profile, the NPK ratio should be a low-analysis 1-1-1 or 2-1-2 if the plants are grown beyond the cotyledon stage. High nitrogen levels at this phase can cause succulent, weak growth prone to lodging. Ensure the water used has a Total Dissolved Solids (TDS) count below 150 ppm to avoid osmotic stress on the emerging radicle.
Timing:
Sprouting bypasses the traditional constraints of Hardiness Zones, as it typically occurs in a climate-controlled interior at a consistent 65 to 75 degrees Fahrenheit. However, understanding the "Biological Clock" is essential. The transition from the vegetative stage to the reproductive stage is governed by the photoperiod and hormonal shifts. For sprouts, you are harvesting during the heterotrophic phase, before the plant begins relying entirely on photosynthesis.
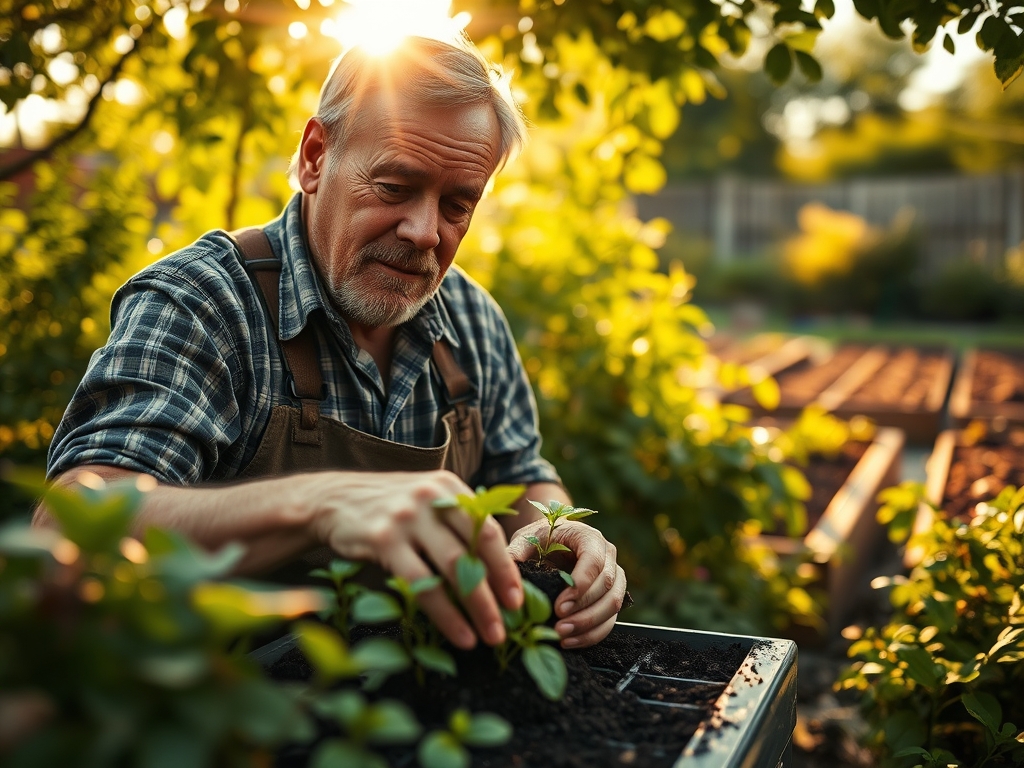
In a controlled kit, the window from imbibition to harvest is usually 3 to 7 days. If you are transplanting these starts into a garden, you must align with your local frost-free dates. In Zone 7, for example, cool-season sprouts like peas or kale should be transitioned to the soil when the ground temperature reaches a steady 45 degrees Fahrenheit.
Phases:
Sowing and Imbibition
Begin by soaking your seeds in filtered water for 8 to 12 hours. This process, known as priming, hydrates the internal tissues and signals the embryo to break dormancy. Use a volume of water at least three times the volume of the seeds.
Pro-Tip: Proper soaking neutralizes enzyme inhibitors like phytic acid. This is the "Biological Why": by removing these inhibitors, the seed can more efficiently mobilize minerals and proteins for the emerging embryo.
Establishing and Rinsing
Once the seeds are transferred to the kit, they must be rinsed two to three times daily. This removes metabolic waste and prevents the buildup of fungal pathogens. Drain the water thoroughly; stagnant water at the base of the kit will cause the oxygen levels to drop, leading to cellular death.
Pro-Tip: Keep the kit in a dark area for the first 48 hours to encourage "stretch." This is due to auxin suppression; in the absence of light, auxins concentrate on the shaded side of the stem, causing rapid elongation as the plant searches for a light source.
Greening and Photosynthesis
Once the sprouts reach 1 to 2 inches in height, expose them to indirect sunlight or a full-spectrum LED grow light. This triggers chlorophyll production and the expansion of the cotyledons. The plants transition from consuming stored energy to producing it.
Pro-Tip: This phase utilizes phototropism, where the plant moves toward the light source. Rotating the kit 180 degrees daily ensures even growth and prevents the stems from becoming weak or "leggy" due to asymmetrical auxin distribution.
The Clinic:
Physiological disorders in sprouts are usually environmental. Monitor your crop daily for these signs:
- Symptom: Yellowing of the first leaves (Chlorosis).
Solution: This often indicates a nitrogen deficiency or poor light. If using a soil-less medium, apply a 0.5 percent liquid seaweed solution. - Symptom: Damping-off (sudden collapse at the base of the stem).
Solution: This is caused by fungal pathogens like Pythium. Increase airflow and reduce the rinsing frequency to once every 12 hours. - Symptom: Tip burn on the edges of the leaves.
Solution: This indicates high salinity or calcium immobility. Flush the kit with distilled water to lower the salt concentration in the root zone.
Fix-It for Nutrient Deficiencies: If you notice purple undersides on the leaves, it indicates phosphorus deficiency. Ensure the water temperature is at least 65 degrees Fahrenheit, as cold water inhibits phosphorus uptake.
Maintenance:
Precision is the hallmark of a master horticulturist. For kits that utilize a tray system with a substrate, maintain a moisture level that feels like a wrung-out sponge. Use a soil moisture meter to ensure the levels stay between 4 and 6 on a 10-point scale.
If you are thinning sprouts for a larger tray, use a hori-hori knife to slice through the root mat cleanly or bypass pruners for individual stems. Air circulation is vital; a small oscillating fan placed 5 feet from the kit will strengthen the cell walls by creating "mechanical stress," which stimulates the production of lignin.
The Yield:
Harvesting occurs when the first true leaves appear, or when the cotyledons are fully expanded and deep green. For most sprouts, this is at the 2-inch mark. Use sharp scissors to cut the stems 0.25 inches above the growth medium to avoid debris.
To maintain "day-one" freshness, rinse the harvested sprouts in cold water (40 degrees Fahrenheit) to remove field heat and slow the metabolic rate. Spin them dry in a centrifuge or salad spinner. Store them in a ventilated container in the refrigerator; this induces a state of "suspended senescence," preserving the turgor and nutritional density for up to 5 days.
FAQ:
How often should I rinse the seeds in the kit?
Rinse seeds two to three times every 24 hours. Use cool, filtered water and ensure the kit drains completely to prevent anaerobic bacteria growth and root rot. Constant moisture without stagnation is the objective.
Why are my sprouts smelling like sulfur?
A sulfur smell indicates anaerobic decomposition. This happens when there is excessive water or poor ventilation. Increase the rinse frequency with fresh water and ensure the seeds are not clumped too tightly together in the tray.
Do I need special lights for a sprouting kit?
Sprouts do not require light for the first 48 to 72 hours. Once the yellow cotyledons appear, provide indirect sunlight or a 6500K LED light for 4 to 6 hours daily to trigger chlorophyll synthesis.
Can I reuse the starting medium?
If using a soil-less medium like coco coir, it is best to compost it after one use. Pathogens can linger in the root mat, and the nutrient profile is depleted. Always start with fresh, sterile substrate for each cycle.