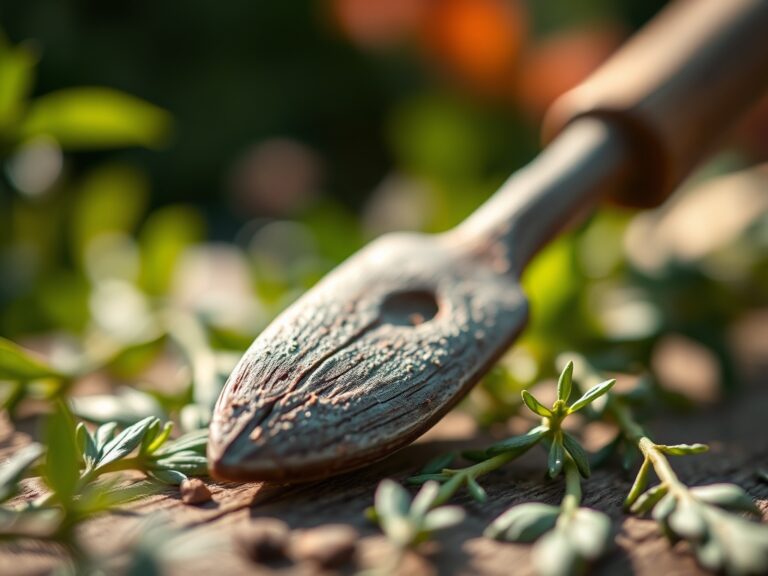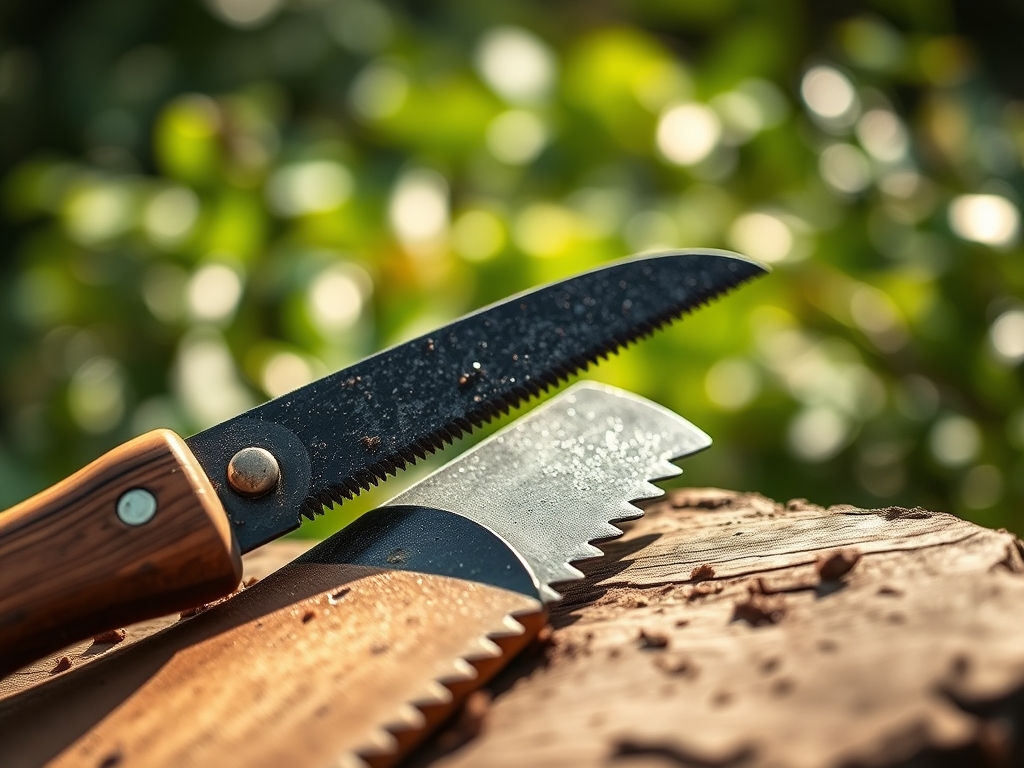
6 Quick Steps to Clean Pruning Saws
The smell of damp earth and the high turgor pressure of a healthy leaf signify a garden in peak physiological health. Maintaining this state requires precision; a jagged cut from a fouled blade invites pathogens into the vascular system of the plant. Pathogens like Erwinia amylovora can colonize a fresh wound in minutes if the tool is contaminated. To prevent systemic infection, every gardener must master the steps to clean pruning saws before the first cut of the season. A sharp, sterile blade ensures clean separation of the xylem and phloem, allowing the plant to seal the wound through natural compartmentalization. Neglecting tool hygiene leads to necrotic tissue and localized senescence. By following a rigorous protocol, you preserve the structural integrity of the specimen and prevent the spread of soil-borne fungi throughout the rhizosphere. This guide details the exact mechanical and chemical requirements for maintaining your cutting tools to ensure every incision promotes rapid healing and vigorous regrowth.
Materials:

While tool maintenance focuses on the blade, the health of the plant depends on the substrate it inhabits. An ideal substrate is a **friable loam** with a **Cation Exchange Capacity (CEC) between 15 and 25 meq/100g**. This texture allows for optimal gas exchange and moisture retention. For general vegetative growth, the soil should maintain a **pH of 6.2 to 6.8** to ensure nutrient bioavailability. When prepping the area around your pruned specimens, integrate organic matter to achieve an **NPK ratio of 10-10-10** for balanced root and shoot development. If you are targeting fruit production, shift the ratio to **5-10-15** to prioritize phosphorus and potassium over nitrogen. High-carbon mulch should be applied at the base to prevent soil splashing, which often carries the very pathogens you are trying to eliminate through proper tool cleaning.
Timing:
Successful pruning and tool maintenance are dictated by the USDA Hardiness Zones and the biological clock of the plant. In Zones 5 through 7, the primary pruning window occurs during the dormant season, typically between late January and early March. This timing precedes the transition from the vegetative stage to the reproductive stage. Pruning during dormancy minimizes sap loss and ensures that the plant's energy reserves are directed toward new growth once soil temperatures reach 55 degrees Fahrenheit. You must clean your saws before moving between different species to prevent cross-contamination. Observe the photoperiod; as days lengthen, the plant increases auxin production at the apical meristems. Cleaning your tools during this transition ensures that the first cuts of spring are sterile, preventing the introduction of dormant fungal spores into the active vascular stream.
Phases:

Sowing and Preparation
Before the first seed hits the soil, your tools must be stripped of oxidized metal and sap residue. Use a stiff wire brush to remove physical debris from the serrated teeth. Follow this with a 70 percent isopropyl alcohol soak for at least 60 seconds. This concentration is more effective than 90 percent alcohol because the higher water content allows the solution to penetrate the cell walls of pathogens more efficiently.
Pro-Tip: Sterilizing tools prevents the disruption of mycorrhizal symbiosis. If a saw introduces a pathogen that kills the root hairs, the symbiotic relationship between the fungi and the root system collapses, reducing the plant's ability to uptake phosphorus by up to 80 percent.
Transplanting and Initial Cuts
When moving a plant from a nursery pot to the field, use a hori-hori knife or a small pruning saw to tease out circling roots. This mechanical disruption encourages lateral root growth. Ensure the blade is wiped with a disinfectant between every three plants to maintain a sterile environment in the rhizosphere.
Pro-Tip: Precise cuts on the root ball trigger auxin suppression in the damaged area, which stimulates the production of lateral roots. This process, known as compensatory growth, ensures the plant establishes a wider footprint for better nutrient absorption.
Establishing the Canopy
As the plant matures, use your pruning saw to remove crossing branches that limit airflow. High humidity within a dense canopy creates a microclimate conducive to powdery mildew. Aim for a canopy density that allows 30 percent light penetration to the interior leaves.
Pro-Tip: Strategic pruning utilizes phototropism. By removing upper branches that shade the lower interior, you allow light to reach dormant buds. This triggers a hormonal shift that activates those buds, leading to a fuller, more productive plant structure.
The Clinic:
Even with sterile tools, physiological disorders can occur due to environmental stressors or nutrient imbalances.
Symptom: Interveinal chlorosis on young leaves.
Solution: This typically indicates an Iron deficiency, often caused by a soil pH above 7.0.
Fix-It: Apply chelated iron and adjust the soil pH using elemental sulfur to bring it back to the 6.5 range.
Symptom: Necrotic spots on leaf margins and weak stems.
Solution: This is a classic sign of Potassium deficiency, which regulates turgor pressure and stomatal conductance.
Fix-It: Incorporate a high-potassium fertilizer with an NPK of 0-0-20 or organic kelp meal to restore cellular stability.
Symptom: Stunted growth and pale green foliage across the entire plant.
Solution: Nitrogen chlorosis occurs when the plant cannot produce sufficient chlorophyll.
Fix-It: Apply a quick-release nitrogen source like blood meal or a 20-0-0 liquid fertilizer for immediate uptake.
Maintenance:
Long-term plant health requires consistent monitoring and high-quality equipment. Use a soil moisture meter to ensure the root zone remains at 60 to 70 percent field capacity. Most woody perennials require 1.5 inches of water per week delivered directly to the drip line to avoid wetting the foliage. Keep your bypass pruners and saws sharp; a dull blade crushes the cambium layer rather than slicing it. Every 50 cuts, wipe the blade with a rag soaked in mineral oil to prevent rust and maintain a smooth action. Store tools in a dry environment with a low relative humidity to prevent the oxidation of the high-carbon steel blades.
The Yield:
When harvesting timber, fruit, or flowers, timing is everything. Harvest during the early morning hours when turgor pressure is at its peak and the plant is fully hydrated. Use your cleaned pruning saw to make a 45-degree angle cut, which prevents water from pooling on the remaining stump. For "day-one" freshness, immediately plunge the cut ends into water buffered to a pH of 4.0 to 5.0. This acidity improves water uptake by preventing air embolisms in the xylem. Store harvested material at 34 to 40 degrees Fahrenheit to slow the rate of respiration and delay senescence.
FAQ:
How often should I clean my pruning saw?
Clean your saw before and after every use. If you are pruning diseased wood, you must disinfect the blade with 70 percent isopropyl alcohol between every single cut to prevent the systemic spread of pathogens across the plant canopy.
What is the best solution for disinfecting garden tools?
A solution of one part bleach to nine parts water or 70 percent isopropyl alcohol is most effective. Alcohol is preferred for saws because it is less corrosive to high-carbon steel and does not require rinsing after application.
Can I use WD-40 to clean my pruning saws?
WD-40 is a solvent and lubricant, not a disinfectant. Use it to remove stubborn sap and prevent rust after the tool has been properly sterilized with alcohol. Always wipe away excess oil before making cuts on live plant tissue.
Why is a clean cut important for plant health?
A clean cut allows the plant to form a callus quickly. Ragged edges from dirty or dull saws increase the surface area of the wound, prolonging the healing process and leaving the vascular system exposed to fungal and bacterial infections.**