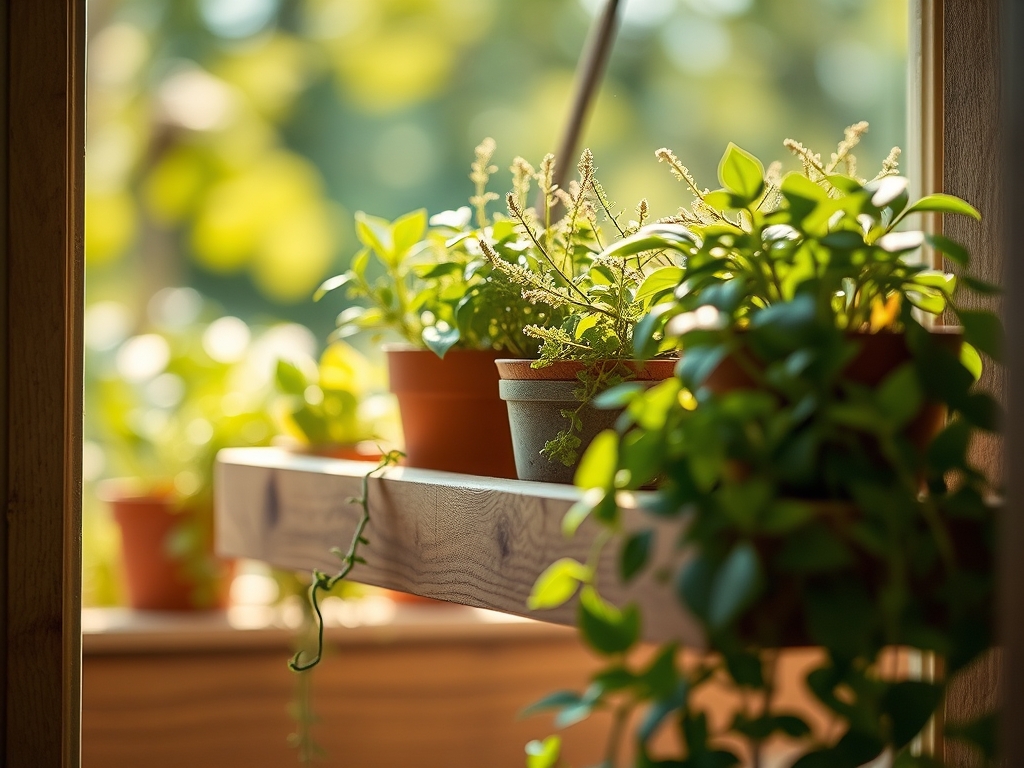
6 Quick Steps to Install a Window Plant Shelf
The scent of damp humus and the firm turgor of a healthy leaf define a successful indoor growing environment. To maximize photosynthetic efficiency, you must master the steps to install a window plant shelf to elevate your cultivars into the optimal light path. Proper installation ensures your plants receive the necessary foot-candles of light required for robust cellular development. This process transforms a standard aperture into a vertical laboratory for botanical growth and physiological success.
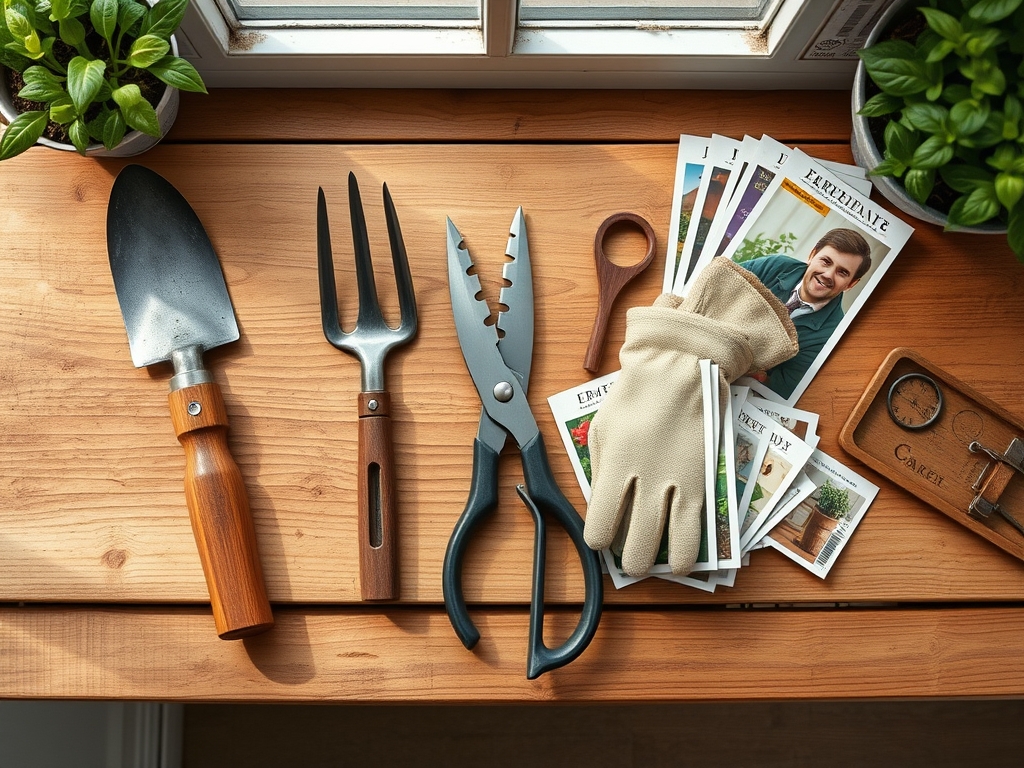
Materials:
Successful shelf cultivation begins with the substrate. You require a friable loam with a pH range of 6.0 to 6.8 to ensure maximum nutrient availability. For vegetative growth, utilize a fertilizer with an NPK ratio of 10-5-5 to provide the nitrogen necessary for chlorophyll production. If you are cultivating flowering species, transition to a 5-10-10 ratio to support phosphoric acid requirements during the reproductive phase. High Cation Exchange Capacity (CEC) in your potting medium is vital; use a mix containing expanded perlite and vermiculite to facilitate the exchange of calcium, magnesium, and potassium ions at the root hair interface.
Timing:
Timing is dictated by the photoperiod and your local Hardiness Zone. In Zones 5 through 7, install your shelving system at least four weeks before the last spring frost to allow for the hardening off of seedlings. Observe the biological clock of your plants; the transition from vegetative to reproductive stages is triggered by changes in light duration. By installing shelves in late winter, you can manipulate the photoperiod using supplemental lighting to prevent premature senescence or to induce flowering in short-day species.
Phases:

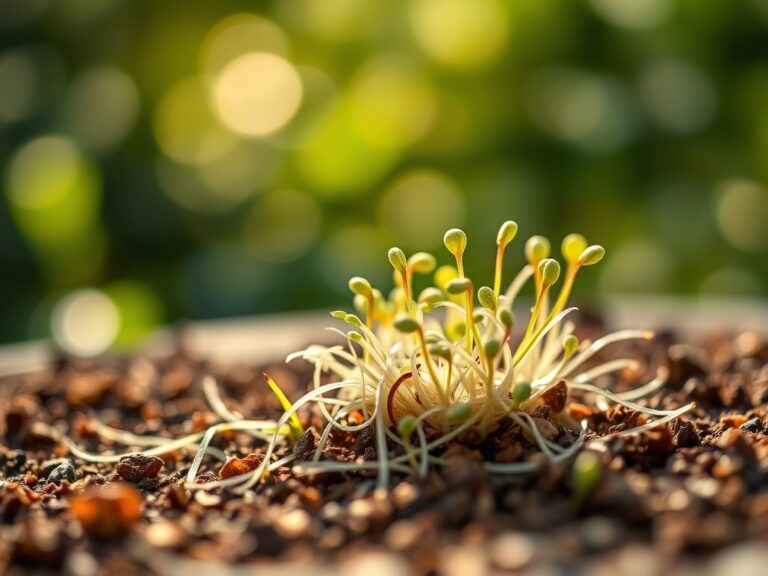
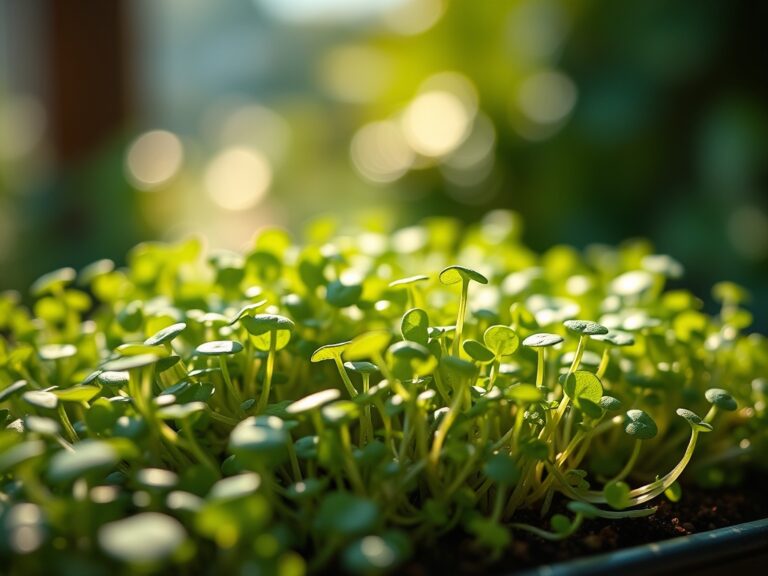
Sowing
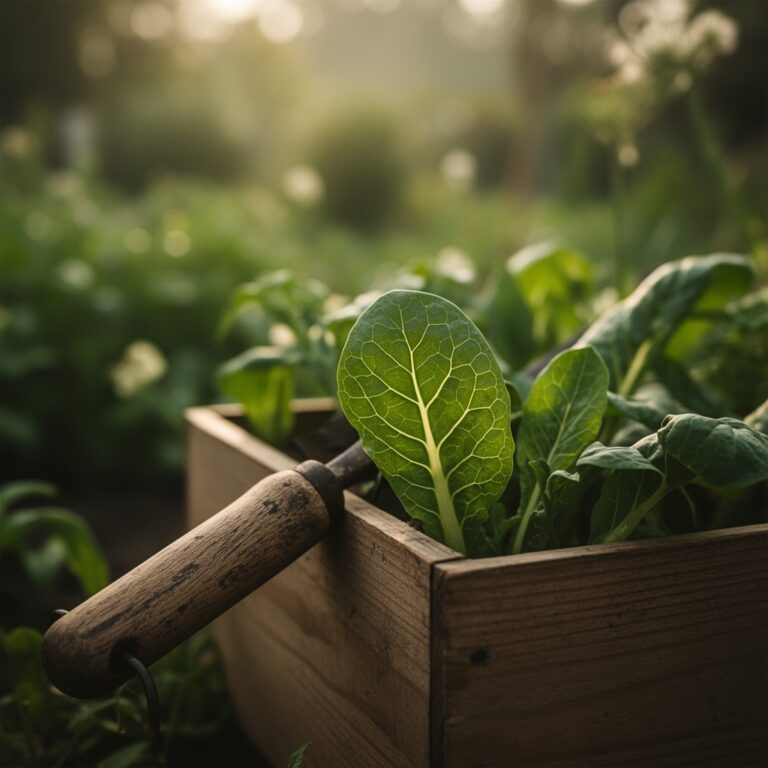
Select seeds based on their specific germination temperature requirements, typically between 65 and 75 degrees Fahrenheit. Place seed trays on the newly installed shelf to utilize the thermal mass of the window glass. Ensure the substrate remains moist but not saturated to avoid anaerobic conditions in the rhizosphere.
Pro-Tip: Monitor for phototropism, the tendency of plants to grow toward light. This is caused by auxin redistribution to the shaded side of the stem, which elongates cells and bends the plant. Rotate your containers 180 degrees weekly to maintain vertical structural integrity.
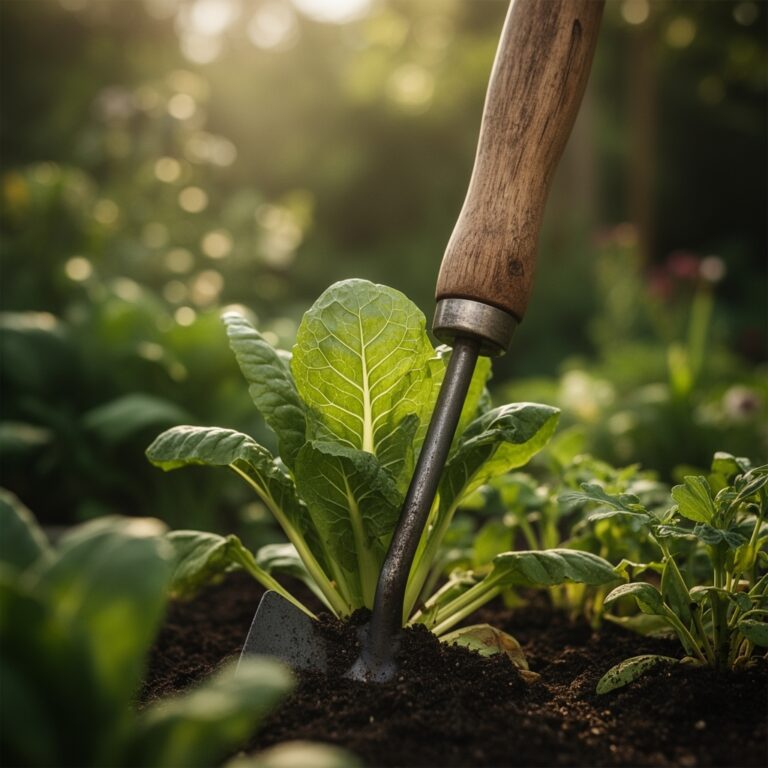
Transplanting
When the first set of true leaves appears, move seedlings into larger vessels. This prevents the plant from becoming root-bound, which inhibits the uptake of water and minerals. Use a hori-hori knife to gently tease apart the root ball without damaging the delicate mycorrhizal networks that facilitate nutrient absorption.
Pro-Tip: Inoculate your transplant medium with mycorrhizal fungi. This symbiotic relationship extends the reach of the root system, increasing the surface area for phosphorus uptake and improving drought resistance through enhanced water transport.
Establishing
Once transplanted, focus on stabilizing the internal turgor pressure of the plant. Maintain a consistent ambient humidity of 40 to 60 percent to prevent excessive transpiration. Use a soil moisture meter to ensure the root zone does not drop below 20 percent moisture content, which can lead to permanent wilting point.
Pro-Tip: Practice auxin suppression by pinching off the apical meristem. This disrupts apical dominance and redirects growth hormones to lateral buds, resulting in a bushier, more compact growth habit suitable for limited shelf space.
The Clinic:
Physiological disorders often manifest through visual cues on the foliage. Identify these symptoms early to prevent systemic failure.
- Symptom: Interveinal chlorosis on older leaves.
- Solution: This indicates a Magnesium deficiency. Apply a solution of 1 tablespoon of Epsom salts per gallon of water to restore the central atom of the chlorophyll molecule.
- Symptom: Yellowing of new growth (Nitrogen chlorosis).
- Solution: Apply a high-nitrogen liquid fertilizer with a ratio of 20-10-10 to stimulate rapid vegetative recovery.
- Symptom: Leaf tip burn or necrosis.
- Solution: This is often caused by salt accumulation from synthetic fertilizers. Flush the growing medium with distilled water equal to three times the volume of the container.
- Symptom: Edema (corky blisters on leaf undersides).
- Solution: This occurs when the plant takes up more water than it can transpire. Increase airflow using a small fan and reduce watering frequency to allow the substrate to dry.
Maintenance:
Precision maintenance is the difference between survival and thriving. Provide exactly 1.5 inches of water per week, delivered directly to the substrate to avoid wetting the foliage, which can encourage fungal pathogens. Use bypass pruners for clean cuts that heal quickly; ragged tears increase the risk of infection. Test the soil pH quarterly using a digital probe to ensure it remains within the 6.2 to 6.5 "sweet spot" for most tropical and temperate species. Regularly calibrate your soil moisture meter to ensure accurate readings at the three-inch depth mark.
The Yield:
If you are growing herbs or edible greens on your window shelf, harvest timing is critical for volatile oil concentration. Harvest leafy greens in the early morning when turgor pressure is highest. For herbs like basil or oregano, harvest just before the plant enters its reproductive (flowering) phase to ensure maximum flavor profile. Use sharp shears to cut just above a node to encourage immediate regrowth. For "day-one" freshness, submerge the stems in 40-degree Fahrenheit water immediately after cutting to slow the metabolic rate and prevent wilting.
FAQ:
How do I determine the best window for a plant shelf?
Measure light intensity using a light meter. A South-facing window provides the most consistent foot-candles in the Northern Hemisphere. Ensure the glass is clean to prevent a 10 to 20 percent reduction in light transmission.
What weight capacity should my window shelf support?
A standard 10-inch ceramic pot with wet soil can weigh over 15 pounds. Ensure your shelving brackets are rated for at least 50 pounds per linear foot to account for the combined weight of multiple containers and water.
How do I prevent my plants from leaning toward the glass?
Rotate your plants 90 to 180 degrees every three to five days. This counteracts the effects of phototropism and ensures even distribution of growth hormones, resulting in a symmetrical and structurally sound plant.
Can I use regular garden soil on my window shelf?
No. Garden soil lacks the porosity and drainage required for container growth. It often contains pathogens and lacks the Cation Exchange Capacity found in professional soilless mixes containing peat, coco coir, or perlite.