8 Best Shears for Topiary Work
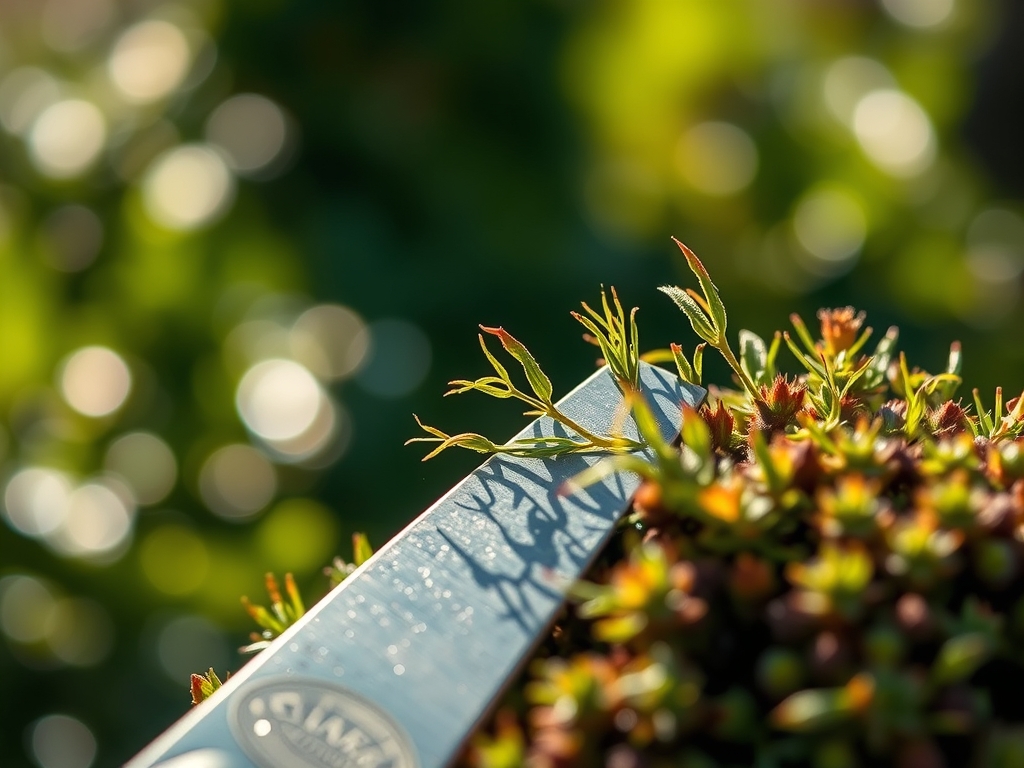
The smell of bruised chlorophyll and damp earth signals the start of the pruning season. A healthy leaf maintains high turgor pressure; the cells are swollen with water and push against the cell walls to provide the structural rigidity required for a clean cut. Selecting the best shears for topiary work requires an understanding of blade metallurgy and ergonomics. A dull edge crushes the vascular cambium instead of slicing it. This mechanical damage prevents rapid callusing and leaves the plant vulnerable to opportunistic pathogens. Professional topiary demands tools that act as an extension of the hand to navigate the dense branching of Buxus or Taxus. High-carbon steel blades offer the necessary hardness to maintain a razor edge through thousands of repetitions. Precision in the cut ensures that the plant redirects its energy into lateral bud development rather than repairing ragged tissue. Every incision is a calculated disruption of apical dominance to achieve the desired geometric form.
Materials:

Topiary specimens require a specific substrate to support the high metabolic demands of frequent shearing. The ideal medium is a **friable loam** with a **Soil Cation Exchange Capacity (CEC) between 15 and 25 milliequivalents per 100 grams**. This allows the soil to retain essential cations like Potassium and Magnesium. Maintain a **soil pH between 6.5 and 7.2** for most evergreen species to ensure nutrient bioavailability.
Nutrient management follows a strict NPK ratio of 10-6-4 during the active growing season. Nitrogen drives the vegetative flush necessary for dense foliage; Phosphorus supports the lignification of stems; Potassium regulates the osmotic potential within the guard cells of the stomata. Avoid high-nitrogen synthetic fertilizers in late summer. This prevents the production of succulent growth that cannot harden off before the first frost. Incorporate organic matter to improve the rhizosphere environment and support beneficial microbial activity.
Timing:
Successful topiary work is dictated by the hardiness zone and the biological clock of the species. In Zones 5 through 9, the primary shearing window opens after the first flush of spring growth has hardened. This usually occurs when day lengths reach 14 hours of light, triggering a shift in the plant's hormonal balance.
The "Biological Clock" transition from vegetative to reproductive stages is critical. For needle-bearing evergreens, pruning should occur before the plant sets next year's buds. Avoid shearing during the "lignification phase" in late autumn. Pruning too late in the season stimulates new growth that lacks the cellular density to survive sub-freezing temperatures. Monitor the local frost-date window; the final major shear should occur at least six weeks before the first expected frost to allow for wound occlusion and carbohydrate storage in the root system.
Phases:
Sowing and Propagation
Starting topiary from seed or cuttings requires a sterile medium with high porosity. Maintain a root zone temperature of 68 to 72 degrees Fahrenheit to optimize metabolic rates. Cuttings should be taken from semi-hardwood material that exhibits high auxin concentrations.
Pro-Tip: Utilize a rooting hormone containing Indole-3-butyric acid (IBA). This synthetic auxin mimics natural plant hormones to bypass the plant's internal regulation and force the differentiation of undifferentiated parenchyma cells into root tissue.
Transplanting
When moving a specimen into its permanent position, the hole must be twice the width of the root ball but no deeper. This prevents the settling of the crown below the soil line, which leads to stem rot. Ensure the bulk density of the backfill soil does not exceed 1.3 grams per cubic centimeter to allow for gas exchange.
Pro-Tip: Inoculate the planting hole with endomycorrhizal fungi. This symbiotic relationship expands the effective surface area of the root system by up to 1,000 percent, significantly increasing the uptake of immobile nutrients like Phosphorus through hyphal networks.
Establishing the Form
The initial training of a topiary involves aggressive thinning to establish a strong central leader. Use bypass pruners for any branch thicker than 0.5 inches to ensure a clean, scissor-like cut that does not bruise the bark.
Pro-Tip: Practice apical dominance suppression by removing the terminal buds. This reduces the concentration of auxins flowing downward, which allows the lateral buds to break dormancy. This process, known as "back-budding," is the biological mechanism that creates the dense "skin" of a topiary.
The Clinic:
Physiological disorders often manifest as visible changes in foliage color or texture.
- Symptom: Interveinal chlorosis on new growth (yellowing between green veins).
- Solution: This indicates Iron deficiency, often caused by a pH above 7.5. Apply chelated iron and lower the soil pH using elemental sulfur.
- Symptom: Marginal leaf burn or necrosis on older leaves.
- Solution: This suggests Potassium deficiency or salt accumulation. Flush the rhizosphere with 3 inches of water and adjust the fertilizer regimen.
- Symptom: Stunted growth with purple-tinted foliage.
- Solution: This is a classic sign of Phosphorus deficiency, common in cold, wet soils where nutrient mobility is restricted.
Fix-It: For general Nitrogen chlorosis (uniform yellowing of older leaves), apply a quick-release liquid fertilizer with a 5-1-1 ratio. Nitrogen is mobile within the plant; the specimen will translocate it from old tissue to new growth if soil levels are depleted.
Maintenance:
Precision maintenance is the difference between a ragged hedge and a masterwork. Topiary specimens require consistent moisture to maintain the cellular turgor required for upright growth. Deliver 1.5 inches of water per week at the drip line, avoiding the foliage to minimize fungal spores.
Use a soil moisture meter to verify that the moisture has penetrated to a depth of 8 inches. For detail work, use long-handled topiary shears with high-carbon steel blades. Keep a hori-hori knife nearby for removing invasive weeds at the root level without disturbing the specimen's shallow feeder roots. Sanitize all tools with a 70 percent isopropyl alcohol solution between plants to prevent the spread of vascular pathogens.
The Yield:
While topiary is primarily aesthetic, the "yield" is the density and longevity of the form. When the specimen reaches its target dimensions, the harvesting of growth becomes a maintenance task. Perform "thinning cuts" deep within the canopy twice a year. This allows light to penetrate the interior, preventing the senescence of inner leaves. If you are working with herbal topiary like Laurus nobilis, harvest leaves in the early morning when essential oil concentrations are at their peak. Store harvested material in a cool, dark environment to maintain cellular integrity and flavor.
FAQ:
What are the best shears for topiary work on small details?
Short-bladed one-handed shears or "snips" provide the highest level of control. Look for blades made of SK5 high-carbon steel for a sharp, durable edge that handles fine-textured foliage like Buxus without tearing the leaf cuticle.
How often should I sharpen my topiary shears?
Sharpen blades every 4 to 6 hours of active use. A honed edge reduces the physical force required for each cut and ensures a clean slice through the xylem and phloem, which promotes faster healing and reduces plant stress.
Can I use electric hedge trimmers for topiary?
Electric trimmers are suitable for roughing out large geometric shapes but lack the precision for finish work. The high-speed reciprocating blades can "shatter" leaves rather than cutting them, leading to brown, necrotic edges across the entire surface.
Why is my topiary turning brown after pruning?
Browning is often caused by desiccation or dull blades. If you prune during high heat, the exposed inner leaves may scorch. Always prune during overcast days or late afternoon to allow the plant to recover overnight.
What is the best way to clean sap off shears?
Use a solvent like turpentine or a specialized blade cleaner to dissolve resin and sap. After cleaning, apply a thin layer of camellia oil to the steel to prevent oxidation and ensure the pivot point remains fluid.