8 Best Way to Grow Microgreens Indoors
Crushing a handful of damp peat and perlite should release the scent of geosmin; a clear indicator of a healthy, aerobic environment for seedling development. When the first true leaves emerge, they must exhibit high turgor pressure; the internal fluid pressure that keeps stems rigid and upright. Achieving this level of structural integrity is the core objective when seeking the best way to grow microgreens indoors. You are not merely sprouting seeds; you are managing a high density biomass system that requires precise control over light, moisture, and gas exchange. Success depends on the transition from heterotrophic growth, where the seed relies on stored energy, to autotrophic growth, where the plant begins photosynthesis. This guide provides the technical framework to optimize that transition, ensuring a nutrient dense harvest within ten to fourteen days. We will analyze the specific requirements for substrate chemistry and light spectrum to maximize the secondary metabolites within these young plants.
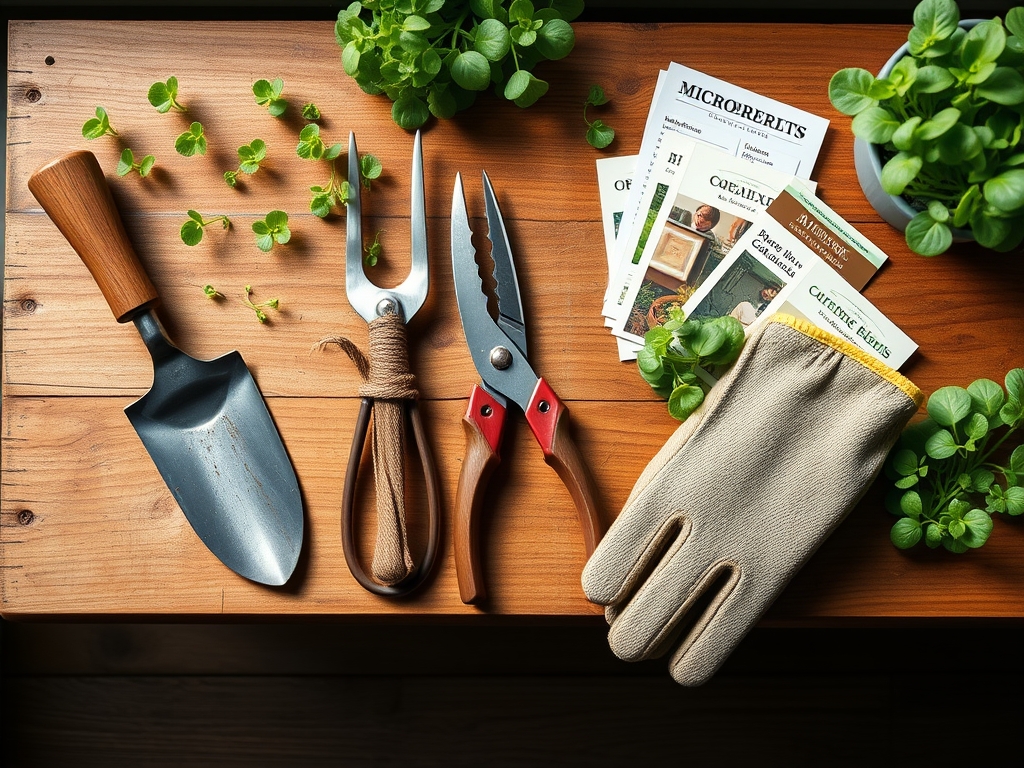
Materials:
The substrate serves as the foundation for the rhizosphere. For microgreens, a friable loam or a professional grade seed starting mix is essential. The texture must be fine enough to ensure seed to soil contact but porous enough to prevent anaerobic conditions. Aim for a **pH between 6.0 and 6.5**. This range ensures that essential micronutrients remain bioavailable.
Regarding nutrition, microgreens generally rely on the endosperm of the seed for initial growth. However, for varieties with longer growth cycles like cilantro or basil, a light application of a water soluble fertilizer with an NPK ratio of 1-1-1 or 0.5-0.5-0.5 is beneficial. The Cation Exchange Capacity (CEC) of your media should be moderate to high to hold these nutrients without leaching. Use shallow 10×20 trays with drainage holes to allow for bottom watering; a technique that keeps foliage dry and reduces the risk of fungal pathogens.
Timing:
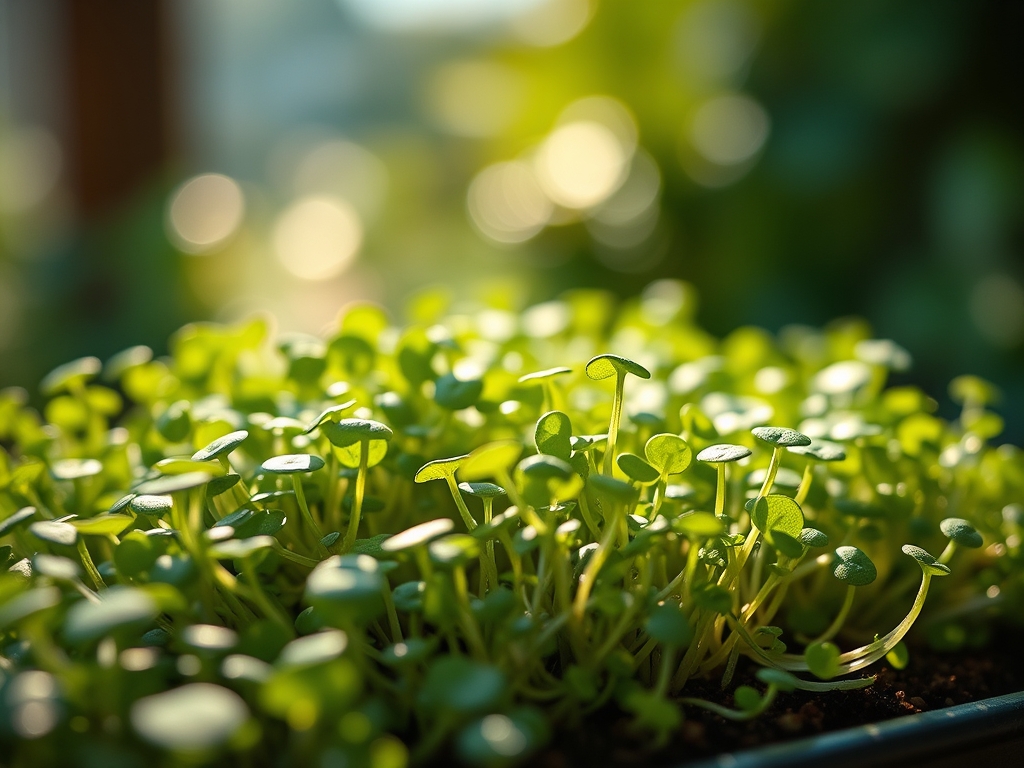
While indoor cultivation bypasses traditional Hardiness Zones, the ambient temperature of your grow space should mimic Zone 9 or 10 conditions, specifically between 65 and 75 degrees Fahrenheit. The biological clock of a microgreen is rapid. The transition from the vegetative stage to the point of harvest occurs before the plant enters its reproductive stage. Most varieties are harvested at the "cotyledon stage," just as the first true leaves begin to emerge. If you delay harvest, the plant begins the process of lignification, where cell walls thicken and the texture becomes woody and unpalatable. Monitor the photoperiod closely; most microgreens require 12 to 16 hours of light to prevent "legginess," a physiological response to insufficient light intensity.
Phases:
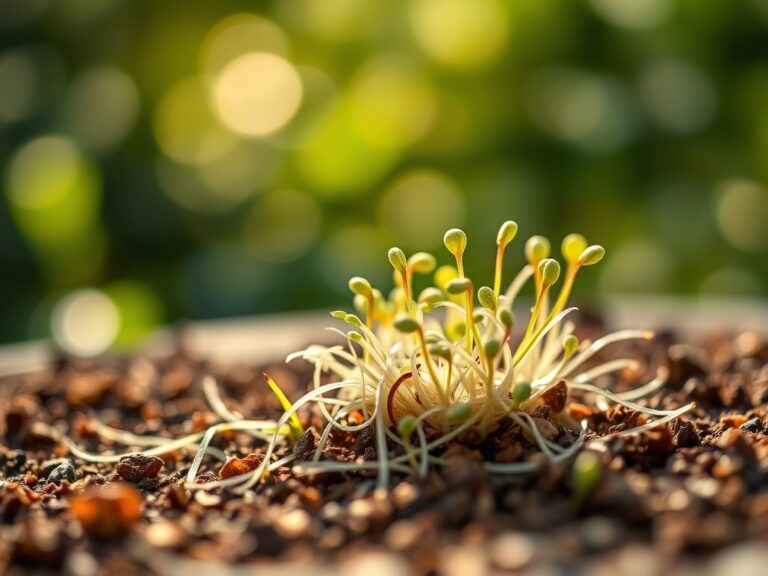
Sowing
Spread seeds evenly across the surface of the moistened substrate. For small seeds like broccoli, aim for 10 to 12 seeds per square inch. For larger seeds like peas or sunflowers, increase the density but ensure no seeds are overlapping. Press the seeds firmly into the media to establish capillary action.
Pro-Tip: Cover the trays with a weighted lid for the first 48 to 72 hours. This creates "mechanical stress" which triggers the release of ethylene. This hormone encourages thicker stems and stronger root systems as the seedling pushes against the weight.
Establishing
Once the seeds have germinated and reached a height of roughly one inch, remove the cover and introduce light. This is the stage where the plant begins active photosynthesis. Ensure the light source is positioned 2 to 4 inches above the canopy to maintain high light intensity.
Pro-Tip: Implement a small circulation fan to provide a gentle breeze across the trays. This prevents the boundary layer of air around the leaves from becoming saturated with moisture, which facilitates transpiration and prevents "damping off" caused by fungal overgrowth.
Maturing
Monitor the moisture levels daily using a soil moisture meter. The media should remain damp but never saturated. Bottom watering is the most efficient method here; fill a solid tray with 0.5 inches of water and set the mesh tray inside for ten minutes.
Pro-Tip: Avoid overhead watering to prevent foliar pathogens. Keeping the leaves dry ensures that the stomata remain unobstructed, allowing for maximum gas exchange and carbon dioxide uptake during the photoperiod.
The Clinic:
Physiological disorders in microgreens often stem from environmental imbalances rather than pests.
- Symptom: Damping Off (Seedling Collapse). This is caused by fungi like Pythium or Rhizoctonia. The stem thins at the soil line and the plant falls over. Solution: Increase airflow and reduce seeding density to improve ventilation.
- Symptom: Tip Burn. This appears as browning on the edges of new leaves. It is often a result of calcium localized deficiency due to low transpiration. Solution: Lower the humidity in the room and ensure the root zone is not waterlogged.
- Symptom: Yellowing (Nitrogen Chlorosis). If the lower leaves turn pale yellow, the plant has exhausted its seed energy and requires external N. Fix-It: Apply a diluted liquid kelp or fish emulsion at 25 percent strength.
- Symptom: Purpling Stems. This often indicates a phosphorus deficiency or temperatures that are too low, inhibiting P uptake. Fix-It: Increase the ambient temperature to a minimum of 68 degrees Fahrenheit.
Maintenance:
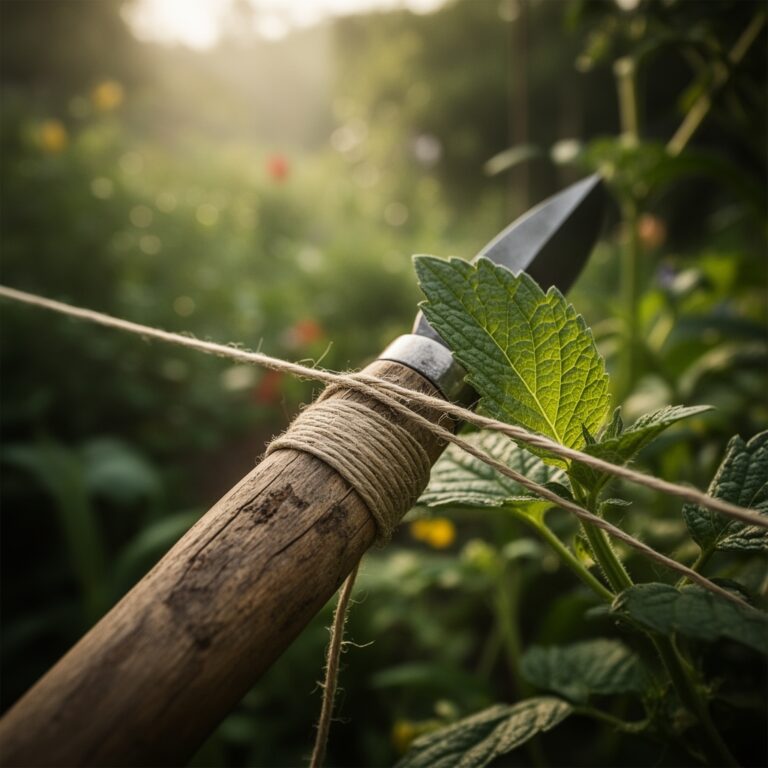
Precision is the hallmark of a professional grower. Maintain a consistent irrigation schedule, providing approximately 1.5 inches of water per week, distributed through bottom wicking. Use a soil moisture meter to verify that the root zone stays between 40 and 60 percent saturation. Cleanliness is paramount; sanitize all trays with a 10 percent bleach solution or food grade hydrogen peroxide between crops to prevent biofilm buildup. Use a hori-hori knife or sharp bypass pruners only if you are harvesting larger shoots like pea tendrils; otherwise, high quality stainless steel shears are the standard tool for a clean cut.
The Yield:
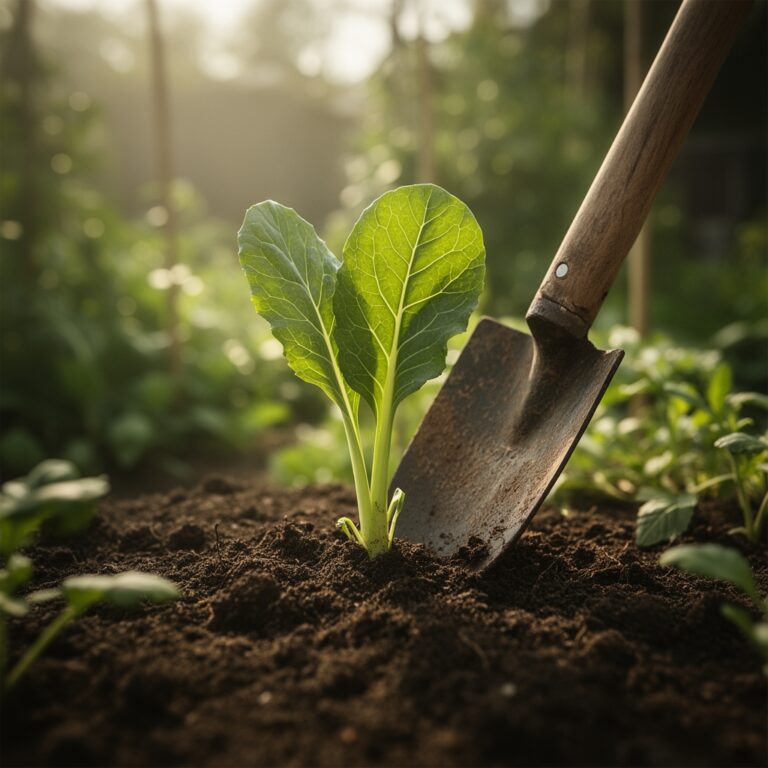
Harvesting usually occurs between day 10 and 14. Use sharp shears to cut the greens just above the soil line. Do not pull the plants, as this introduces grit and soil into your harvest. To ensure "day-one" freshness, harvest during the coolest part of the day, typically in the morning before the lights have been on for long. This ensures the plants are at maximum turgidity. After cutting, place the greens immediately into a cold storage environment at 34 to 38 degrees Fahrenheit. Do not wash the greens until immediately before consumption; moisture on the leaves during storage accelerates senescence and bacterial decay.
FAQ:
What is the best light for microgreens?
Full spectrum LED grow lights are superior. They provide the necessary blue wavelengths (400 to 500 nm) for compact vegetative growth and red wavelengths (600 to 700 nm) for biomass. Maintain a 16 hour photoperiod for optimal results.
How often should I water microgreens?
Check the substrate daily. Most trays require watering every 24 to 48 hours. Use the bottom watering method to keep the foliage dry. The soil should feel like a wrung out sponge, never dripping wet.
Why are my microgreens falling over?
This is likely due to damping off from excess moisture or etiolation from insufficient light. Increase light intensity and improve air circulation with a fan to strengthen the cell walls and reduce fungal pressure.
Do microgreens need fertilizer?
Most microgreens do not require fertilizer because they utilize nutrients stored in the seed. However, for crops growing longer than 14 days, a weak NPK solution (1-1-1) can prevent nutrient chlorosis and support continued development.