9 Basic Steps to Use Tray Inserts
The smell of damp peat and vermiculite signals the start of propagation season. Tray inserts transform scattered seeds into organized, vigorous transplants ready for field or garden deployment. Mastering the steps to use tray inserts means controlling root architecture, reducing transplant shock, and achieving uniform germination rates above 85 percent across most vegetable and ornamental species.
Materials
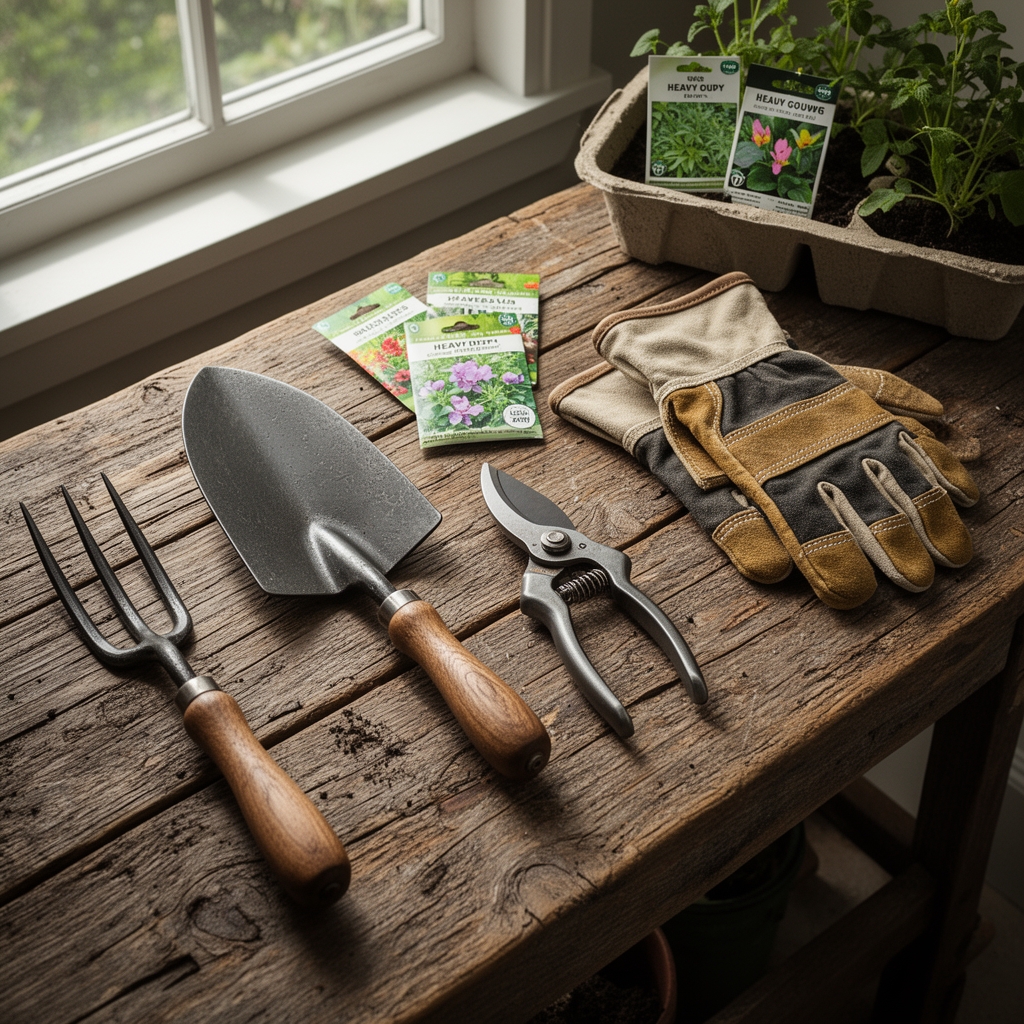
Select polystyrene or polypropylene tray inserts with cell counts ranging from 32 to 288, depending on crop duration and final transplant size. Tomatoes and peppers perform well in 72-cell trays, while lettuce and alliums tolerate 128-cell configurations.
Seed-starting media should exhibit a pH of 5.8 to 6.2 for most vegetable crops. A balanced organic amendment such as 4-4-4 (nitrogen-phosphorus-potassium) provides baseline fertility without burning emerging radicles. Incorporate perlite at a 20 percent volume ratio to improve drainage and oxygen availability at the root zone. Cation exchange capacity above 12 meq/100g ensures nutrient retention between irrigation cycles.
Sterilize reused trays with a 10 percent bleach solution for 15 minutes, then rinse thoroughly. Residual salts or pathogen spores compromise germination and introduce damping-off fungi such as Pythium and Rhizoctonia.
Timing
Zone 5 gardeners should sow warm-season crops indoors 6 to 8 weeks before the last spring frost, typically mid-March for a mid-May transplant window. Cool-season brassicas and lettuces tolerate earlier starts at 8 to 10 weeks prior. Zones 7 and warmer may reduce indoor time by 2 weeks due to faster soil warming.
Monitor soil temperature with a probe thermometer. Cucurbits require 70°F minimum for reliable germination, while spinach germinates at 50°F. Supplemental bottom heat mats maintain consistent substrate temperatures and accelerate emergence by 3 to 5 days.
Photoperiod matters. Provide 14 to 16 hours of light using full-spectrum LEDs positioned 2 to 4 inches above emerging cotyledons. Insufficient light causes etiolation, producing weak, leggy seedlings with poor post-transplant establishment.
Phases

Sowing Phase
Fill each cell to within 1/4 inch of the rim, tapping trays on the bench to settle media and eliminate air pockets. Create a shallow depression using a dibber or dowel. Sow two seeds per cell for crops with germination rates below 90 percent. Cover seeds to a depth of two times their diameter. Fine seeds like petunia or celery require surface sowing with light exclusion via humidity domes rather than substrate coverage.
Water from below using capillary mats or flood tables to prevent seed displacement. Overhead watering dislodges seeds and creates uneven moisture distribution. Maintain substrate moisture at field capacity, approximately 60 percent by volume.
Pro-Tip: Dust large-seeded legumes with Rhizobium inoculant powder to establish nitrogen-fixing symbiosis from emergence.
Transplanting Phase
Thin to one seedling per cell once true leaves emerge, selecting the most vigorous individual. Cut the weaker seedling at soil level with sterilized scissors rather than pulling, which disturbs neighboring root systems.
Begin weekly fertigation at 50 ppm nitrogen using a balanced water-soluble formula such as 20-20-20. Gradually increase to 100 ppm as root systems colonize cell volume. Electrical conductivity readings between 1.0 and 1.5 mS/cm indicate proper nutrient availability without salt accumulation.
Pro-Tip: Apply foliar kelp extract at 1 tablespoon per gallon every 10 days to boost auxin distribution and lateral root initiation.
Establishing Phase
Harden off transplants 7 to 10 days before field planting. Move trays to a sheltered outdoor location with filtered sunlight for 2 hours on day one, increasing exposure by 2 hours daily. This acclimatizes leaf cuticles and stomatal function to wind, UV radiation, and temperature fluctuation.
Inoculate root zones with mycorrhizal fungi at transplanting. Apply 1 teaspoon of granular inoculant directly into the planting hole. Fungal hyphae extend effective root surface area by 100 to 1000 times, improving phosphorus uptake in low-fertility soils.
Pro-Tip: Transplant during overcast conditions or late afternoon to minimize transpiration stress during the first 24 hours.
Troubleshooting
Symptom: Damping-off. Seedlings collapse at soil line with water-soaked stems.
Solution: Reduce watering frequency. Increase air circulation with oscillating fans. Apply Trichoderma harzianum biocontrol to substrate surface.
Symptom: Purple or red leaf undersides in tomatoes and brassicas.
Solution: Phosphorus deficiency caused by cold substrate temperatures below 55°F. Raise bottom heat or wait for warmer ambient conditions.
Symptom: Interveinal chlorosis on new growth.
Solution: Iron deficiency due to high substrate pH. Drench with chelated iron (Fe-EDDHA) at 1 ounce per gallon or amend with sulfur to lower pH.
Symptom: Algae coating on substrate surface.
Solution: Reduce surface moisture. Top-dress with fine layer of perlite to disrupt photosynthetic layer.
Symptom: Root-bound transplants with circling roots.
Solution: Transplant earlier when roots reach cell walls but have not begun spiral growth. Score root balls vertically before planting.
Maintenance
Apply 1 inch of water per week once transplants establish in the garden, measured with rain gauges. Drip irrigation or soaker hoses deliver moisture directly to root zones, reducing foliar disease pressure from splash dispersal of fungal spores.
Side-dress with granular 10-10-10 fertilizer at 2 tablespoons per plant when fruiting crops begin flowering. Maintain 3-inch mulch layer using straw or shredded leaves to moderate soil temperature and suppress competitive weeds.
FAQ
How many seeds per cell?
One to two seeds depending on germination rate. Thin to one seedling after emergence.
Can I reuse tray inserts?
Yes. Sterilize with 10 percent bleach solution for 15 minutes between crops to eliminate pathogens.
What cell size for tomatoes?
72-cell trays provide adequate volume for 6 to 8 week transplants. Larger 50-cell trays accommodate extended indoor periods.
When do I start fertilizing?
Begin at true leaf stage with 50 ppm nitrogen solution. Increase to 100 ppm as plants mature.
How do I prevent leggy seedlings?
Position lights 2 to 4 inches above foliage. Provide 14 to 16 hours of illumination daily. Maintain adequate air circulation.