9 Vital Steps to Install a Screen House
Success in the garden begins with the smell of damp, oxygenated earth and the tactile turgor of a leaf that is fully hydrated. When you manage a microclimate, you control the physiological destiny of your crops. Learning the steps to install a screen house is the most effective way to mitigate mechanical damage from wind and excessive ultraviolet radiation while maintaining a stable rhizosphere. This structure serves as a physical barrier that regulates the transpiration rate by breaking direct wind flow. Proper installation ensures that your plants maintain a consistent internal water potential, preventing the cellular collapse often seen in high-exposure environments. By following a rigorous protocol for site selection and assembly, you create a controlled ecosystem where the photosynthetic rate is optimized. The process requires precision in measurement and an understanding of local topography to ensure the structure remains stable during high-velocity wind events. Every bolt and anchor point serves the ultimate goal of protecting the delicate balance of gas exchange and nutrient uptake within the enclosure.
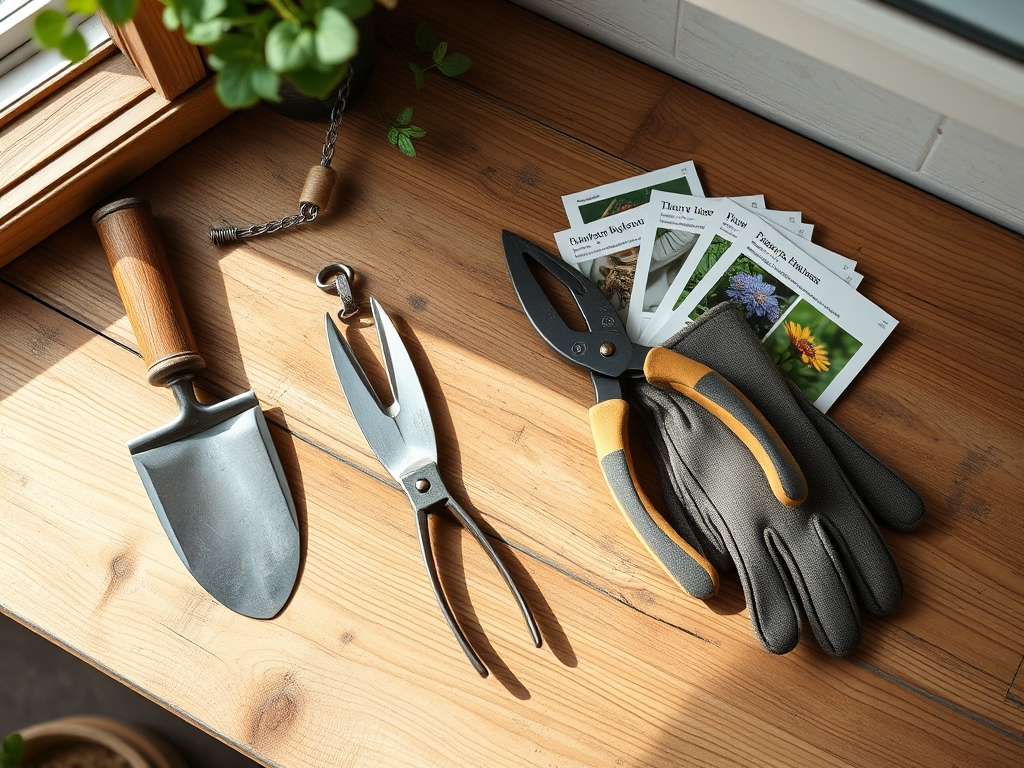
Materials:
The foundation of any screen house project is the soil substrate it sits upon. You must aim for a **friable loam** with a Cation Exchange Capacity (CEC) above **15 milliequivalents per 100 grams**. This ensures the soil can hold onto essential cations like calcium and magnesium. Before installation, amend the interior footprint to reach a **pH of 6.2 to 6.8**, which is the window for maximum nutrient bioavailability.
For heavy feeders, incorporate a slow-release fertilizer with an NPK ratio of 10-10-10 into the top 6 inches of soil. If you are focusing on vegetative growth, shift to a high-nitrogen 21-0-0 ammonium sulfate to drive chlorophyll production. The physical structure requires galvanized steel tubing, UV-stabilized polyethylene mesh, and 30-inch earth anchors to resist uplift. Ensure you have a soil moisture meter and a calibrated refractometer to monitor plant sap brix levels once the house is operational.
Timing:
Installation should occur when the soil temperature consistently reaches 55 degrees Fahrenheit at a depth of 4 inches. In Hardiness Zones 5 through 7, this window typically opens between late March and early May. You must complete the installation before the "Biological Clock" of your primary crop shifts from the vegetative phase to the reproductive stage.
For photoperiod-sensitive species, the screen house must be upright before the summer solstice to manage light diffusion effectively. Installing during the dormant season allows for soil solarization and the reduction of soil-borne pathogens before the first transplanting cycle. Avoid installation during periods of high soil saturation to prevent compaction, which destroys the macropores necessary for root respiration.
Phases:

Sowing and Site Prep
Clear all existing vegetation and level the site to a 1 percent grade for drainage. Use a hori-hori knife to remove deep-rooted perennials that might compete for nutrients. Lay down a 3-inch layer of organic mulch to suppress weed seeds and preserve the microbial community in the topsoil.
Pro-Tip: Maintaining soil structure prevents the disruption of mycorrhizal symbiosis. These fungi extend the root system's reach for phosphorus; tilling too deeply severs these microscopic networks and reduces nutrient uptake efficiency.
Transplanting and Frame Assembly
Secure the base plates using a laser level to ensure the vertical poles are perfectly plumb. Once the skeleton is up, introduce your transplants. Dig holes twice the width of the root ball and ensure the transition from the nursery container to the screen house soil is seamless to avoid transplant shock.
Pro-Tip: When positioning plants, be mindful of phototropism. Orient the screen house so the longest side faces south to maximize light interception while the mesh diffuses the intensity, preventing localized leaf scorch and photoinhibition.
Establishing and Mesh Tensioning
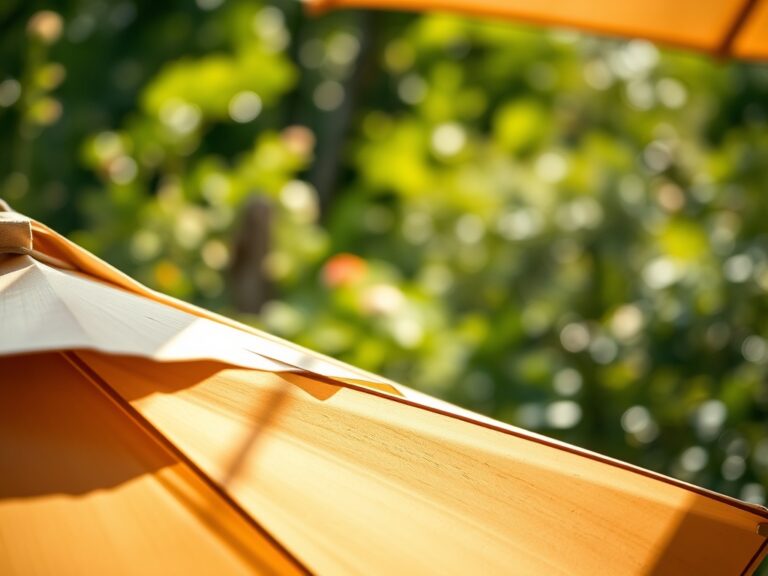
Roll the screen mesh over the frame, securing it with high-tension clips. The mesh must be taut to prevent "pocketing" where rainwater can collect and cause structural failure. Inspect the perimeter for gaps; a 20-mesh screen is sufficient to exclude most large insects while allowing for adequate gas exchange.
Pro-Tip: Managing the internal airflow prevents auxin suppression. Constant, gentle air movement strengthens the stems through thigmomorphogenesis, the physiological response where plants grow thicker and sturdier in response to physical touch or wind.
The Clinic:
Physiological disorders often arise from environmental stressors within a screen house. Monitoring these symptoms is critical for crop health.
- Symptom: Interveinal Chlorosis. Older leaves turn yellow while veins remain green.
- Solution: This indicates a Magnesium deficiency. Apply a foliar spray of Epsom salts (1 tablespoon per gallon) to bypass soil lockout issues.
- Symptom: Blossom End Rot. Dark, leathery spots on the base of fruit.
- Solution: This is caused by localized Calcium deficiency and inconsistent moisture. Maintain steady soil moisture levels to ensure calcium transport through the xylem.
- Symptom: Leaf Curl and Stunting. New growth appears distorted or "shoestringed."
- Solution: Check for ambient temperature spikes. If the screen house exceeds 95 degrees Fahrenheit, increase ventilation to prevent heat stress from denaturing essential enzymes.
- Fix-It for Nitrogen Chlorosis: If the entire plant is pale green, apply a liquid fish emulsion (5-1-1). Nitrogen is highly mobile; a liquid application provides an immediate boost to the nitrogen cycle within the rhizosphere.
Maintenance:
Precision is the hallmark of a professional horticulturist. Deliver exactly 1.5 inches of water per week at the drip line of your plants. Use a soil moisture meter daily to ensure the root zone stays between 60 and 80 percent of field capacity.
Use bypass pruners to remove any necrotic tissue or suckers that reduce airflow. Sterilize your tools with a 10 percent bleach solution between plants to prevent the mechanical transmission of pathogens. Every autumn, inspect the screen mesh for tears and use a soft brush to remove dust buildup that can reduce light transmission by up to 20 percent.
The Yield:
Harvesting is the culmination of precise environmental control. For most fruiting crops, harvest when the fruit reaches 90 percent color saturation. Use a sharp knife to cut the pedicel; pulling the fruit can cause vascular damage to the main stem.
To maintain "day-one" freshness, harvest in the early morning when turgor pressure is at its peak. Immediately move the produce into a shaded, cool environment to reduce the "field heat." This slows down the respiration rate and prevents the rapid senescence of the plant tissues, extending shelf life significantly.
FAQ:
How do I prevent the screen house from blowing away?
Drive 30-inch auger anchors into the ground at every corner and mid-point. Use high-tensile strength cables to guy the frame to these anchors. This distributes the wind load across the entire structural footprint.
What is the best mesh size for a screen house?
A 20×20 mesh is the industry standard. It provides a balance between airflow and protection. It is small enough to exclude large beetles and moths while allowing for the passage of smaller beneficial insects.
Can I install a screen house on a slope?
You must terrace the area first. A screen house requires a level base to maintain structural integrity. Slopes lead to uneven tension on the mesh, which causes premature tearing and structural collapse during heavy rain.
How do I clean the screen mesh?
Use a low-pressure garden hose and a soft-bristle brush. Avoid power washers, which can strip the UV-protective coating from the polyethylene fibers. Clean the mesh annually to ensure maximum light penetration for photosynthesis.