10 Simple Steps to Mark Garden Rows
The scent of damp, mineral-rich earth signals the beginning of the planting cycle. When the soil reaches a consistent 55 degrees Fahrenheit, the moisture content allows for a clean furrow without compaction. Maintaining high turgor pressure in young seedlings requires precise placement to optimize water uptake and light interception. Implementing logical steps to mark garden rows ensures that every seed is positioned within the optimal rhizosphere zone for nutrient absorption. This systematic approach prevents overcrowding and reduces competition for the limited pool of mobile nutrients.
Proper row marking is not merely an aesthetic choice; it is a fundamental requirement for efficient irrigation and weed management. By establishing straight, evenly spaced lines, the gardener maximizes the Cation Exchange Capacity (CEC) of the soil by ensuring that root systems do not overlap and deplete local mineral reserves. Precision in the early stages of garden layout translates directly to higher yields and reduced plant stress during the peak of the growing season.
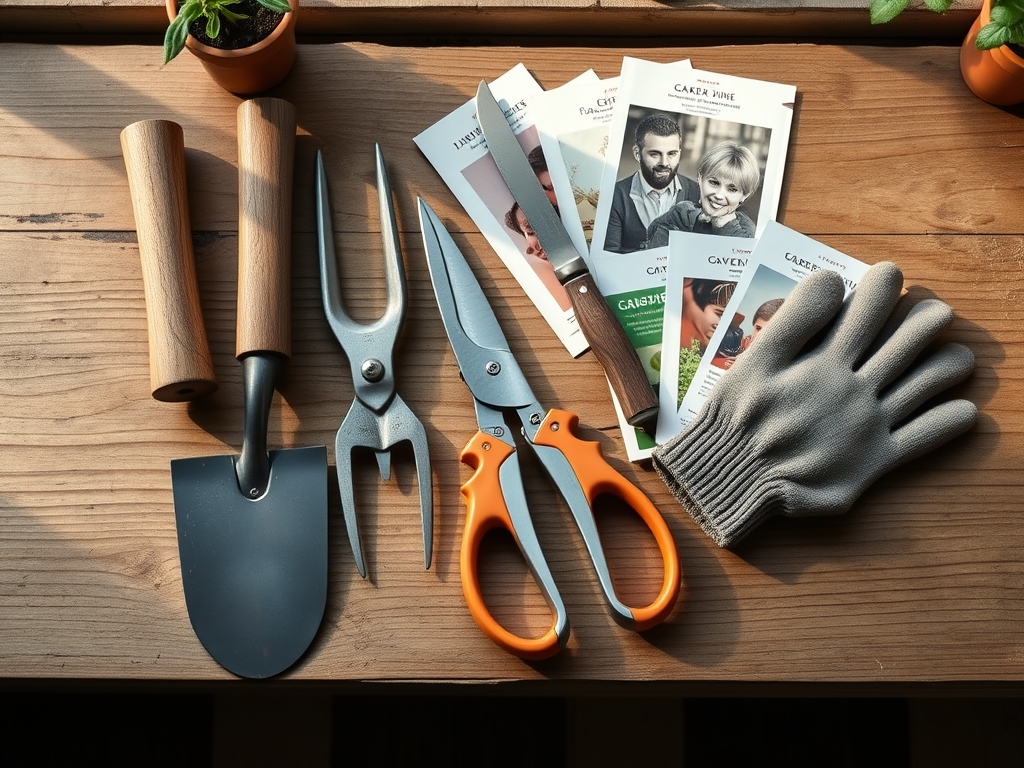
Materials:
The ideal substrate for marking rows is a **friable loam** with a soil pH between **6.2 and 6.8**. This acidity level ensures that essential micronutrients remain bioavailable to the developing root system. Before marking, the soil should be amended to achieve a balanced NPK ratio of **10-10-10** for general vegetable production or **5-10-10** for root crops to encourage subterranean development without excessive foliage.
To execute professional-grade row marking, you require heavy-duty twine, two sharpened wooden stakes, and a measuring tape. The soil must have a granular structure that resists crusting. If the soil is too clay-heavy, add organic matter to improve aeration. If it is too sandy, incorporate compost to increase the moisture-holding capacity. A well-prepared bed will hold the impression of a furrow without collapsing.
Timing:
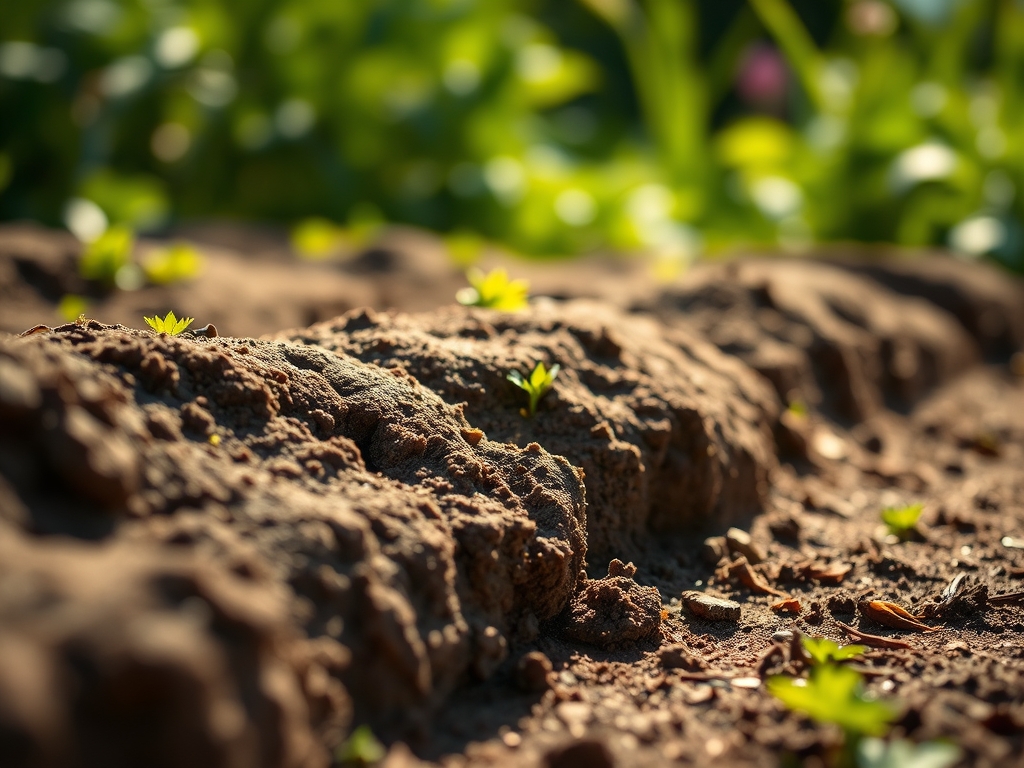
The execution of row marking must align with your local USDA Hardiness Zone. In Zones 5 and 6, the window typically opens in late April; in Zones 8 and 9, it may begin as early as February. Marking should occur only after the soil has reached the "field capacity" moisture level. If you squeeze a handful of soil and it shatters when dropped, it is ready. If it remains a solid ball, it is too wet and will suffer from anaerobic conditions if worked.
Understanding the "Biological Clock" of your cultivars is essential. Most annual vegetables transition from the vegetative stage to the reproductive stage based on the photoperiod. Marking rows with the correct orientation (North to South) ensures that as the sun moves, each plant receives maximum solar radiation. This prevents the shading of smaller plants by taller neighbors, which can trigger unwanted auxin accumulation and lead to leggy, weak stems.
Phases:

Sowing
Drive the first stake at the head of the bed and the second at the foot. Pull the twine taut. Use the tip of a hori-hori knife to create a furrow at the depth required by the specific seed size; generally three times the diameter of the seed. Drop seeds at the precise intervals recommended for the species.
Pro-Tip: Proper spacing prevents the "Edge Effect" where plants on the perimeter outcompete those in the center for nitrogen. This ensures uniform mycorrhizal symbiosis across the entire row.
Transplanting
For starts, mark the row and then use a dibber to create holes. Ensure the root ball is placed so the crown is level with the soil surface. This prevents crown rot and ensures the xylem can efficiently transport water from the soil to the leaves.
Pro-Tip: Space transplants to account for their mature width. This allows for adequate airflow, which reduces the humidity in the microclimate and prevents fungal pathogens from colonizing the leaf surfaces.
Establishing
Once the rows are marked and planted, firm the soil gently to remove air pockets. This "seed-to-soil contact" is vital for capillary action to draw moisture toward the germinating embryo. Apply a thin layer of organic mulch to stabilize soil temperatures.
Pro-Tip: Maintaining consistent row alignment allows for the use of mechanical cultivation. This suppresses weeds before they can establish a taproot, preventing the theft of phosphorus from your primary crops.
The Clinic:
Physiological disorders often stem from poor row planning or soil imbalances. Monitor your rows for these specific symptoms:
-
Nitrogen Chlorosis:
- Symptom: Older leaves turn pale yellow while veins remain slightly green.
- Solution: Apply a side-dressing of high-nitrogen fertilizer (NPK 21-0-0) and water in deeply to reach the root zone.
-
Blossom End Rot:
- Symptom: Sunken, leathery black spots on the bottom of fruit.
- Solution: This is a calcium transport issue often caused by inconsistent watering. Maintain a steady moisture level and ensure soil pH is above 6.0 to keep calcium available.
-
Interveinal Necrosis:
- Symptom: Brown, dead tissue between the veins of the leaves, often caused by magnesium deficiency.
- Solution: Apply Epsom salts (magnesium sulfate) at a rate of 1 tablespoon per gallon of water as a foliar spray.
-
Fix-It for Compaction:
- If rows show stunted growth, the soil may be too dense. Use a broadfork to aerate the paths between rows without flipping the soil profile, preserving the delicate soil food web.
Maintenance:
Precision maintenance is the difference between a hobby garden and a professional yield. Use a soil moisture meter to ensure the root zone stays within the "moist but not saturated" range. Most vegetable crops require 1.5 inches of water per week delivered at the drip line. Avoid overhead watering to keep foliage dry and prevent spore germination.
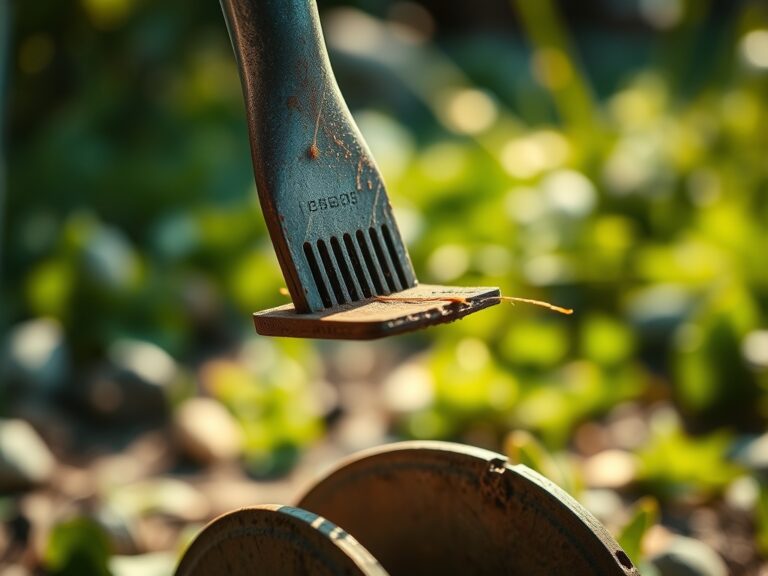
Keep your bypass pruners sharp and disinfected with 70 percent isopropyl alcohol between plants. Prune any lower leaves that touch the soil to prevent soil-borne pathogens from splashing onto the plant. Use a hori-hori knife to remove deep-rooted perennial weeds that emerge within the marked rows. Check the tension of your row markers periodically if you use them as a guide for automated irrigation lines.
The Yield:
Harvesting should occur during the "cool of the day," typically just after dew has evaporated but before the sun reaches its zenith. This timing ensures maximum turgidity within the plant tissues. For leafy greens, use a sharp blade to make a clean cut, which allows the plant to seal the wound quickly and reduces the risk of senescence in the remaining structure.
Post-harvest, "pre-cool" the produce by submerging it in cold water or placing it in a shaded, high-humidity environment. This removes field heat and slows the metabolic rate of the harvested material. For root crops, gently brush off excess soil but do not wash until immediately before use to preserve the protective outer skin.
FAQ:
How far apart should I mark my rows?
Spacing depends on the crop. Small greens require 6 inches, while large brassicas or nightshades need 24 to 36 inches. Always calculate based on the mature diameter of the plant to ensure adequate gas exchange.
What is the best tool for marking straight lines?
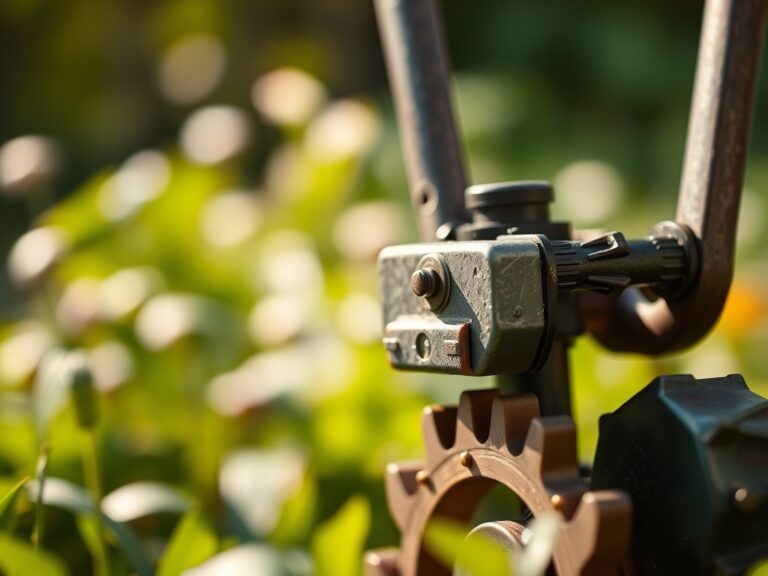
A simple string line stretched between two stakes is the most accurate method. For large-scale plots, a wheeled row marker or a specialized garden rake with adjustable tines can create multiple furrows simultaneously.
Should rows run North to South or East to West?
North to South is generally preferred. This orientation allows for even sunlight distribution on both sides of the row as the sun tracks across the sky, preventing the "shadow effect" that stunts growth in East-West configurations.
Can I mark rows in a "No-Till" garden?
Yes. Use a string line as a guide and pull back the mulch layer to expose the soil surface. Use a hand trowel to create a narrow planting strip, preserving the established fungal hyphae and soil structure.