7 Basic Steps to Clean Tiller Tines
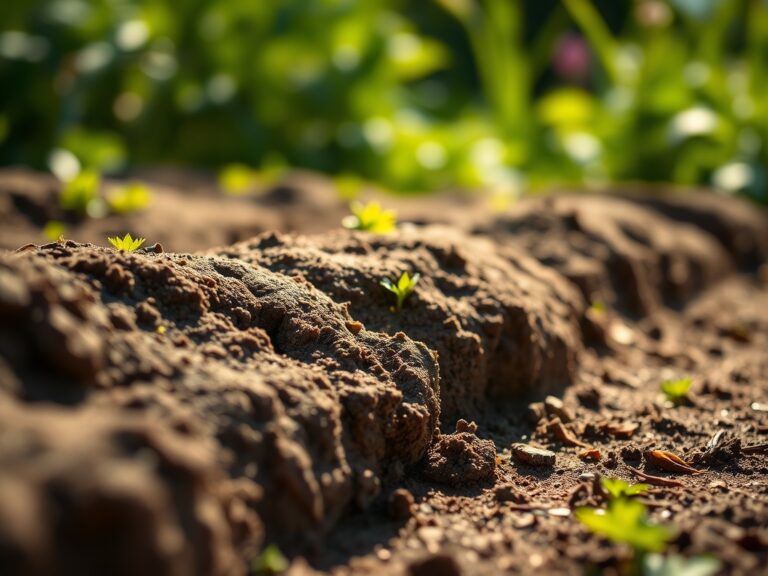
Damp earth possesses a distinct olfactory signature caused by geosmin; it is the scent of a healthy rhizosphere teeming with microbial activity. When soil moisture is optimal, plants maintain high turgor pressure, allowing stems to stand rigid against gravitational forces. However, maintaining this subterranean health requires precision tools that must remain free of pathogens and debris. Neglecting your equipment leads to soil compaction and the unintended transfer of fungal spores. Mastering the steps to clean tiller tines ensures your machinery operates at peak mechanical efficiency while protecting the structural integrity of your garden beds.
Materials:
Effective maintenance begins with understanding the substrate your tines encounter. A **friable loam** with a **pH of 6.5** is the gold standard for most horticultural applications. If your soil has a high Cation Exchange Capacity (CEC), it likely contains significant clay fractions that adhere aggressively to metal surfaces. You will need a stiff-bristled wire brush, a high-pressure water source, and a solvent such as isopropyl alcohol or a 10 percent bleach solution to neutralize pathogens. For post-cleaning lubrication, use a food-grade mineral oil to prevent oxidation without contaminating the soil with petroleum distillates. If your soil requires amendment, keep a supply of **10-10-10 NPK** fertilizer or organic bone meal (**4-12-0**) nearby to address nutrient voids identified during the tilling process.
Timing:
The window for tilling and subsequent tool maintenance is dictated by your local Hardiness Zone and the biological clock of your crops. In Zones 5 through 7, the primary tilling window occurs between the last spring frost and the first significant heat spike. You must clean your tines immediately after use to prevent the hardening of clay particles. From a botanical perspective, this timing aligns with the transition from the vegetative stage to the reproductive stage in many annuals. Tilling during the late vegetative phase allows for the incorporation of organic matter that fuels the high phosphorus demands of the flowering period. Never till when the soil is saturated; doing so destroys soil structure and creates "clods" that are nearly impossible to remove from tiller assemblies once they desiccate.
Phases:

### Sowing and Preparation
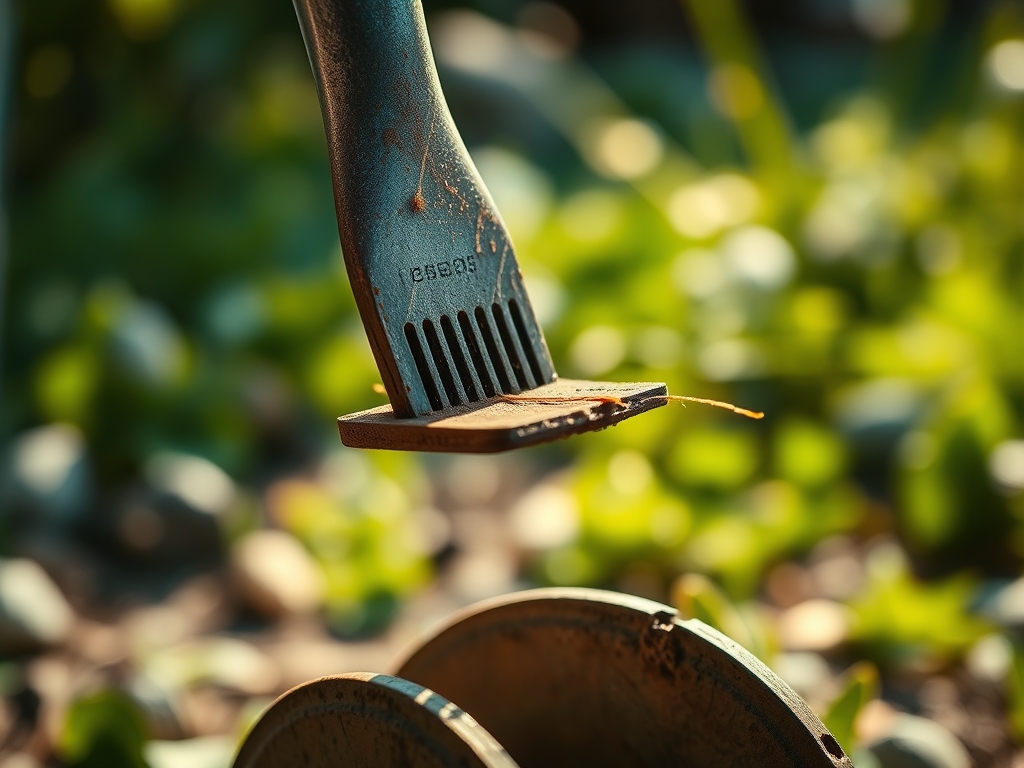
Before the first seed hits the furrow, the tiller must be prepped. Ensure the tines are sharp and free of old plant matter from the previous season. This prevents the mechanical dragging of seeds, which ensures even spacing and optimal seed-to-soil contact.
Pro-Tip: Removing old debris prevents the accidental introduction of overwintering pathogens. This protects the mycorrhizal symbiosis between fungal networks and new root systems, which is essential for nutrient uptake.
Transplanting Support
When moving seedlings from flats to the field, the soil must be aerated to a depth of at least 8 inches. Clean tines produce a consistent tilth that allows for rapid root expansion. Any resistance from fouled tines results in uneven depth, which can lead to transplant shock.
Pro-Tip: Proper aeration increases oxygen availability in the root zone. This stimulates auxin production at the root tips, encouraging downward growth and stabilizing the plant against wind stress.
Establishing the Stand
As the crop enters its rapid growth phase, the tiller may be used for shallow cultivation between rows to eliminate weed competition. During this phase, the tines must be sterilized to prevent the spread of soil-borne diseases like Fusarium wilt.
Pro-Tip: Clean cultivation reduces competition for light, preventing unwanted phototropism where the primary crop grows leggy and weak while reaching for sun filtered through weed canopies.
The Clinic:
Physiological disorders in plants often stem from poor soil management or contaminated equipment.
-
Symptom: Interveinal chlorosis in young leaves.
-
Solution: This often indicates Nitrogen deficiency. If tines are caked with old organic matter, they may not be incorporating amendments deeply enough into the root zone.
-
Fix-It: Apply a quick-release 20-0-0 fertilizer and ensure the tiller tines are clean enough to reach the 6-inch depth where active root hairs reside.
-
Symptom: Marginal leaf burn or necrosis.
-
Solution: This can result from high salt accumulation or localized drought.
-
Fix-It: Use a soil moisture meter to check for dry pockets. Ensure tines are clean to prevent "glazing" the sides of the furrow, which creates a barrier to lateral water movement.
-
Symptom: Stunted growth and purplish foliage.
-
Solution: This is a classic sign of Phosphorus deficiency, often exacerbated by cold, compacted soil.
-
Fix-It: Clean and sharpen tines to break up compaction layers (plow pan), allowing roots to access deeper phosphorus reserves.
Maintenance:
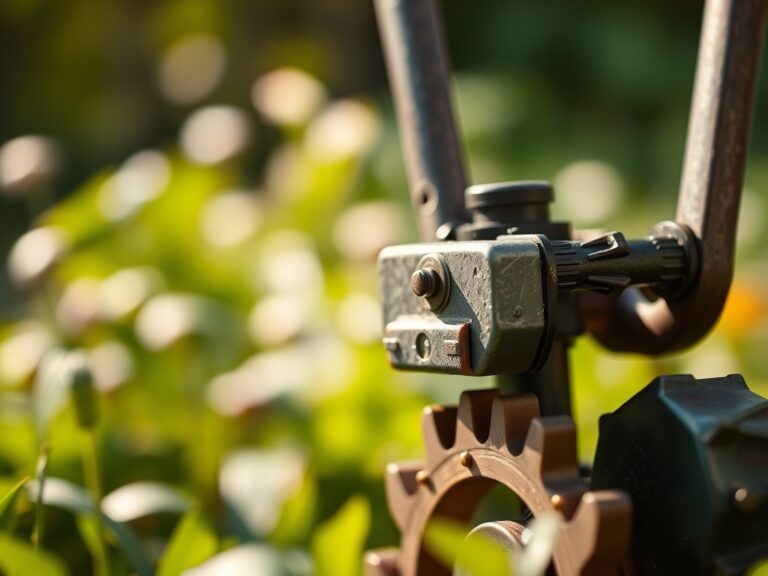
Precision gardening requires consistent data. Use a soil moisture meter daily to ensure your beds receive exactly 1.5 inches of water per week at the drip line. When cleaning your tiller, use a hori-hori knife to scrape away large root masses wrapped around the axle. For finer detail work near the gear housing, bypass pruners can snip away stubborn twine or landscape fabric. Once the tines are physically clear, scrub them with a wire brush and rinse. Dry the metal completely before applying a light coat of oil. This routine prevents the "smearing" of soil particles, which preserves the macro-pores necessary for gas exchange in the rhizosphere.
The Yield:
Harvesting is the culmination of mechanical and biological precision. For leafy greens, harvest when the morning turgor pressure is at its peak, typically before 9:00 AM. Use a sharpened blade to make a clean cut, minimizing the surface area for moisture loss. For root crops, the soil must be loose; if your tiller tines were kept clean and the soil was properly prepared, the roots should pull easily without snapping. Post-harvest, hydro-cool the produce in 40-degree Fahrenheit water to slow down senescence, the natural aging process of the plant tissue. This technique locks in "day-one" freshness by rapidly reducing the field heat.
FAQ:
How often should I clean my tiller tines?
Clean tines after every use. Removing soil prevents rust and stops the spread of pathogens. If you have been tilling an area with known fungal issues, sterilize the tines with a 10 percent bleach solution immediately to protect other garden zones.
What is the best tool for removing wrapped weeds?
A sharp hori-hori knife or heavy-duty shears are most effective. These tools allow you to cut through fibrous stalks and roots that have tightly wound around the axle, which can otherwise cause the motor to overheat and fail.
Can I use water to clean the engine area?
No. Use high-pressure air or a dry brush for the engine and air intake. Use water only on the tines and the underside of the tilling deck. Ensure the spark plug wire is disconnected before performing any maintenance for safety.
Why does my tiller leave large clumps of soil?
This usually occurs when the soil is too wet or the tines are dull and fouled with debris. Wait for the soil to reach a friable state and ensure the tines are scraped clean to allow for proper soil fracturing.
Does cleaning tines affect soil health?
Yes. Clean tines prevent the cross-contamination of weed seeds and soil-borne pathogens like nematodes or Verticillium wilt. Maintaining sharp, clean equipment also ensures proper aeration, which supports the aerobic bacteria necessary for a healthy, high-CEC soil environment.