7 Eco Ways How to Design a Wildlife Habitat
The smell of damp, anaerobic decomposition transitioning into aerobic humus signals a functioning rhizosphere. When you grasp a handful of friable loam, the gritty texture of sand and the slickness of silt should balance perfectly; this is the physical foundation of an ecosystem. Understanding how to design a wildlife habitat requires moving beyond aesthetics to prioritize the biological requirements of indigenous species. You are not merely planting a garden; you are engineering a biological corridor that supports complex trophic levels through precise caloric and structural offerings.
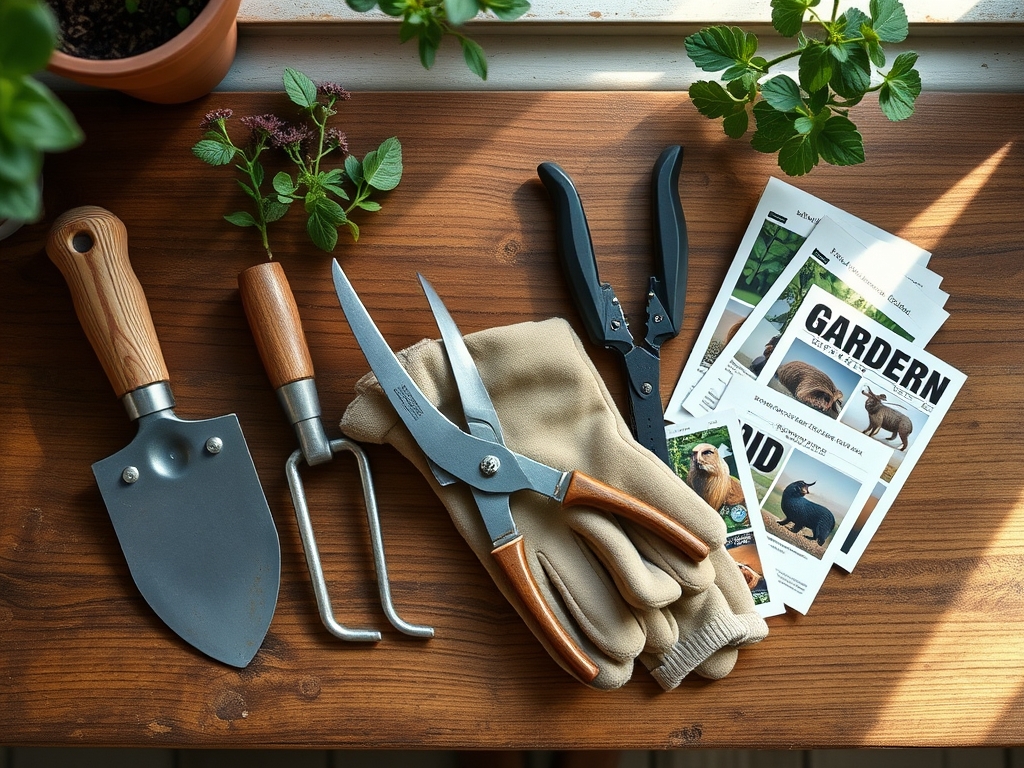
Materials:
The chemical composition of your substrate dictates the success of your habitat. Aim for a soil pH between 6.2 and 6.8 to maximize nutrient bioavailability. In this range, the Cation Exchange Capacity (CEC) allows for the efficient transfer of positively charged ions like Calcium and Magnesium to the root hairs.
For establishing native woody perennials, utilize a slow-release organic fertilizer with an NPK ratio of 5-10-5. High phosphorus levels encourage robust root architecture rather than excessive, weak vegetative growth. The physical substrate must be a friable loam, consisting of roughly 40 percent sand, 40 percent silt, and 20 percent clay. This ratio ensures a bulk density that allows for gas exchange while maintaining enough capillary action to hold moisture during thermal stress. Avoid peat-based mixes; instead, use composted leaf mold to introduce beneficial fungal hyphae into the site.
Timing:
Successful installation depends on the thermal windows of your specific USDA Hardiness Zone. In Zones 5 through 7, the primary planting window opens when soil temperatures consistently reach 55 degrees Fahrenheit. This temperature threshold triggers the metabolic break in seed dormancy and encourages rapid root elongation before the summer solstice.
The biological clock of the habitat follows the photoperiod. Most native nectar-producing plants transition from the vegetative stage to the reproductive stage as day length increases. You must align your planting schedule so that the root systems are established before the plant enters senescence in late autumn. For woody species, late fall planting is often superior as it allows for root development during the dormant winter months, provided the ground is not frozen. This ensures the plant has sufficient turgor pressure to survive the first heat spike of the following July.
Phases:
Sowing
Direct sowing of native meadow species requires a clean seedbed free of aggressive turf grasses. Scarify the soil surface to a depth of 0.5 inches. Distribute seeds at a rate of 15 to 20 pounds per acre for dense coverage. Lightly compress the soil after sowing to ensure "seed-to-soil" contact, which is vital for hydraulic lift.
Pro-Tip: Utilize the principle of stratification. Many native seeds require a period of cold, moist conditions to break physiological dormancy. This process mimics natural winter cycles, ensuring that germination only occurs when environmental conditions are favorable for seedling survival.
Transplanting
When moving container-grown shrubs or trees, dig a hole three times the width of the root ball but no deeper. This encourages lateral root spread into the native soil. Ensure the root flare is visible at the soil surface to prevent bark rot and oxygen deprivation to the upper root system.
Pro-Tip: Avoid excessive fertilization during transplanting to prevent auxin suppression. High nitrogen levels can cause the plant to prioritize apical dominance and leaf production over the critical development of a lateral root system needed for long-term stability.
Establishing
During the first 12 to 18 months, the habitat is in a critical establishment phase. Supplemental irrigation is mandatory during periods of low precipitation. Monitor the soil moisture at a depth of 4 inches; it should feel like a wrung-out sponge.
Pro-Tip: Encourage mycorrhizal symbiosis by inoculating the soil with site-specific fungi. These symbiotic relationships expand the surface area of the root system by up to 1,000 times, significantly increasing the plant's ability to uptake phosphorus and water during drought.
The Clinic:
Physiological disorders often stem from environmental stressors or nutrient imbalances rather than pathogens.
-
Nitrogen Chlorosis:
- Symptom: Older leaves turn uniform pale yellow while veins remain slightly darker.
- Solution: Apply a foliar spray of liquid seaweed or a side-dressing of blood meal to provide immediate nitrogen. Long-term, increase organic matter to improve nitrogen cycling.
-
Iron Deficiency (Interveinal Chlorosis):
- Symptom: New growth shows yellowing between green veins; often occurs in high pH soils.
- Solution: Lower soil pH using elemental sulfur or apply chelated iron to the root zone.
-
Leaf Scorch:
- Symptom: Browning of leaf margins, usually following high-wind or high-heat events.
- Solution: Increase deep watering frequency and apply a 3-inch layer of wood chip mulch to regulate soil temperature and reduce evaporation.
-
Phosphorus Deficiency:
- Symptom: Purplish tint on the underside of leaves and stunted growth.
- Fix-It: Incorporate bone meal or rock phosphate into the top 6 inches of soil. Ensure soil temperatures are above 60 degrees Fahrenheit, as cold soil inhibits phosphorus uptake.
Maintenance:
Precision maintenance is the difference between a thriving ecosystem and a failing landscape. Deliver 1.5 inches of water per week at the drip line of trees and shrubs during the growing season. Use a soil moisture meter to verify that water is penetrating the top 8 to 10 inches of the soil profile.
When pruning for structure or to remove deadwood, always use sharp bypass pruners to ensure clean vascular cuts that heal quickly. Use a hori-hori knife for precise weeding near the crowns of delicate native perennials to avoid disturbing the shallow feeder roots. Leave the "duff" layer of fallen leaves and decaying stems in place; this organic matter provides the carbon source for the decomposer community and protects the soil from compaction.
The Yield:
While a wildlife habitat is not a traditional vegetable plot, the "yield" is measured in biomass and seed production. If harvesting seeds for propagation, wait until the seed heads are fully desiccated on the stalk. This ensures the embryo has reached full maturity.
For those incorporating edible native species like Amelanchier (Serviceberry) or Sambucus (Elderberry), harvest when the fruit reaches 18 to 20 percent Brix (sugar content). Handle fruit gently to maintain the integrity of the skin. For "day-one" freshness, hydro-cool the harvest by immersing it in 40-degree Fahrenheit water for ten minutes to remove field heat and slow down cellular respiration.
FAQ:
What is the best soil for a wildlife habitat?
A friable loam with a pH between 6.2 and 6.8 is ideal. It must have a high Cation Exchange Capacity to hold nutrients and at least 5 percent organic matter to support the soil food web and microbial activity.
How often should I water new native plants?
New plantings require 1 to 1.5 inches of water per week. Use a soil moisture meter to ensure the water reaches a depth of 8 inches. Once established, most native species only require supplemental water during extreme drought.
When is the best time to plant a habitat?
In most temperate zones, plant in early spring when soil hits 55 degrees Fahrenheit or in mid-autumn. Fall planting is highly effective for woody plants as it allows for root growth without the stress of high transpiration rates.
How do I fix yellowing leaves in my habitat?
Identify if it is Nitrogen chlorosis (yellowing of old leaves) or Iron deficiency (yellowing between veins on new growth). Adjust the soil pH or add targeted organic amendments like blood meal or chelated iron to restore nutrient balance.