6 Best Safety Gear for Sharpening
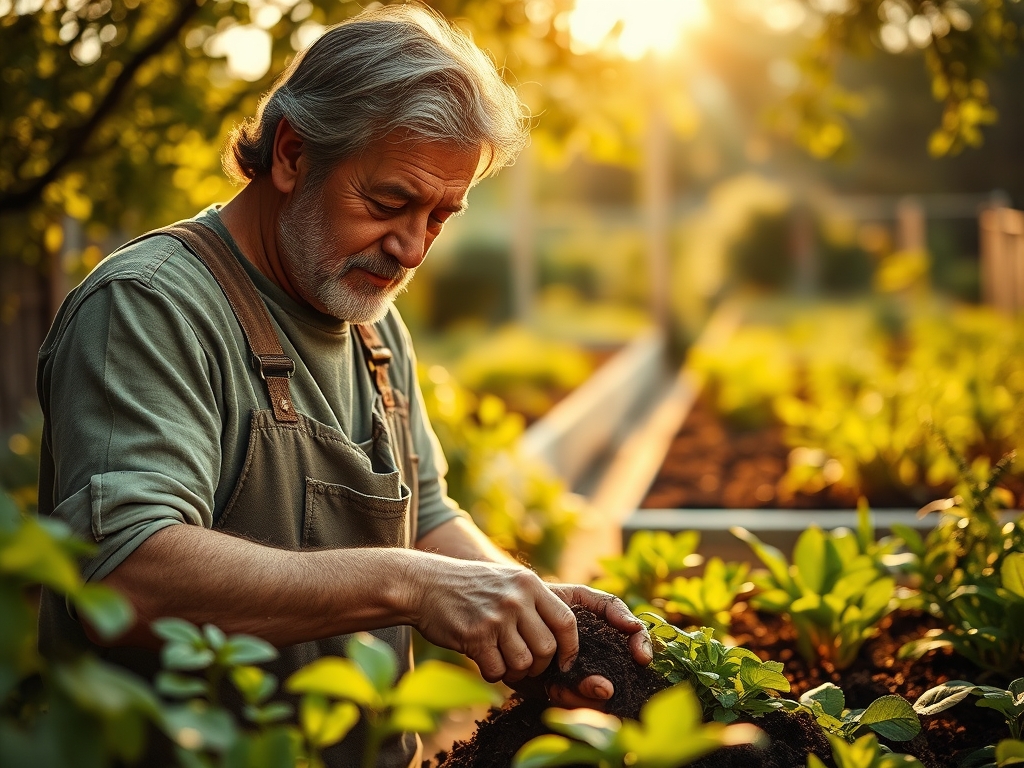
The scent of crushed chlorophyll and damp, friable loam signals the start of the pruning season. Maintaining the turgor pressure of a woody perennial requires a clean, surgical cut that only a honed blade can provide. When metal meets stone at high revolutions or under heavy manual pressure, the risk of structural failure or projectile debris increases. Using the best safety gear for sharpening is not a suggestion; it is a mechanical necessity to prevent cellular damage to the operator. A dull blade crushes the vascular cambium of a plant, leading to necrosis and opportunistic fungal infections. Conversely, the process of restoring that edge involves microscopic metal shards and high-friction heat. Protecting the eyes, hands, and lungs during this maintenance cycle ensures that the gardener remains as functional as the tools they wield. Professional horticulture demands precision in both the field and the workshop. Neglecting safety protocols during tool maintenance leads to downtime that a strict seasonal planting schedule cannot afford.
Materials:
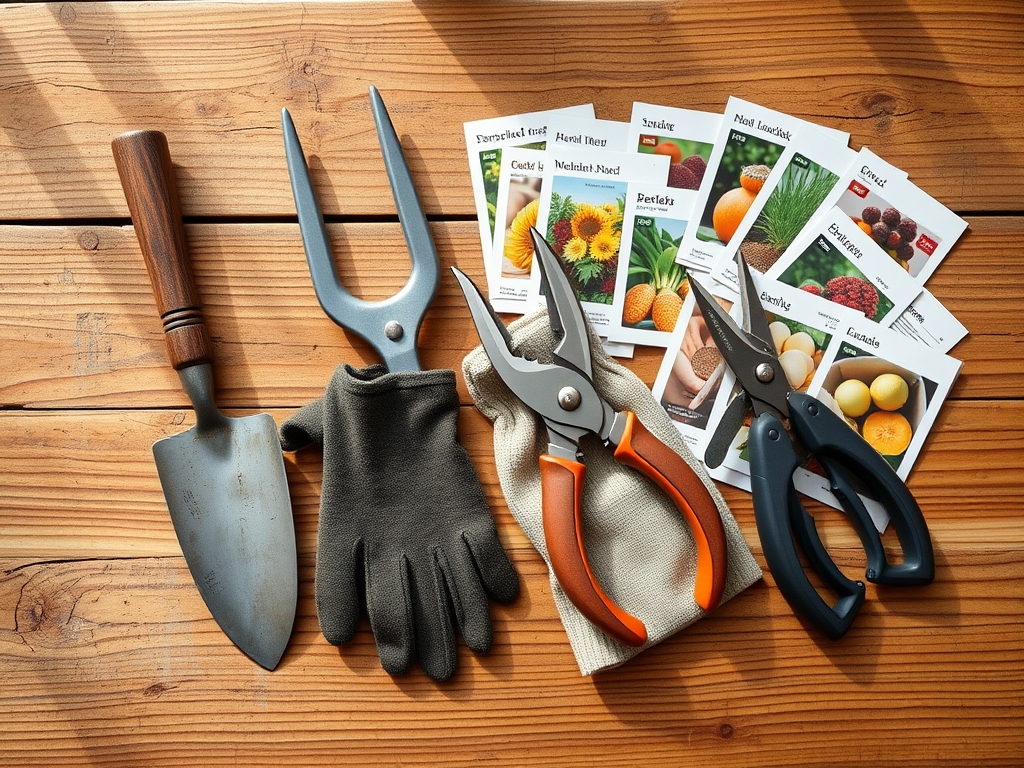
The success of any botanical endeavor begins in the rhizosphere, where a soil pH of **6.2 to 6.8** optimizes nutrient availability. For general vegetable production, a balanced NPK ratio of **10-10-10** provides the necessary nitrogen for vegetative growth, phosphorus for root development, and potassium for cellular stress resistance. The physical substrate must be a **friable loam** with a high Cation Exchange Capacity (CEC), typically ranging from **15 to 25 meq/100g**. This texture allows for adequate oxygen diffusion to the root hairs while maintaining a water-holding capacity that prevents wilting. When preparing the sharpening bench, ensure the environment is free of organic debris that could ignite from sparks. The materials required for a safe sharpening station include a stable vice, bench stones with a grit range of **400 to 1000**, and a lubricant such as honing oil or water to suspend metal particulates.
Timing:
Hardiness Zones 5 through 8 dictate a narrow window for tool maintenance, typically occurring during the dormant season before the first thaw. In these regions, the last frost date usually falls between late March and mid-May. Sharpening must be completed before the "Biological Clock" triggers the transition from dormancy to the vegetative stage. As soil temperatures reach a consistent 55 degrees Fahrenheit, deciduous plants begin to push sap into the extremities. Pruning during this high-turgor phase requires exceptionally sharp tools to ensure the rapid callusing of the wound. If sharpening is delayed into the reproductive stage, the plant redirects energy from flower production to wound repair, significantly reducing the seasonal yield.
Phases:
Sowing
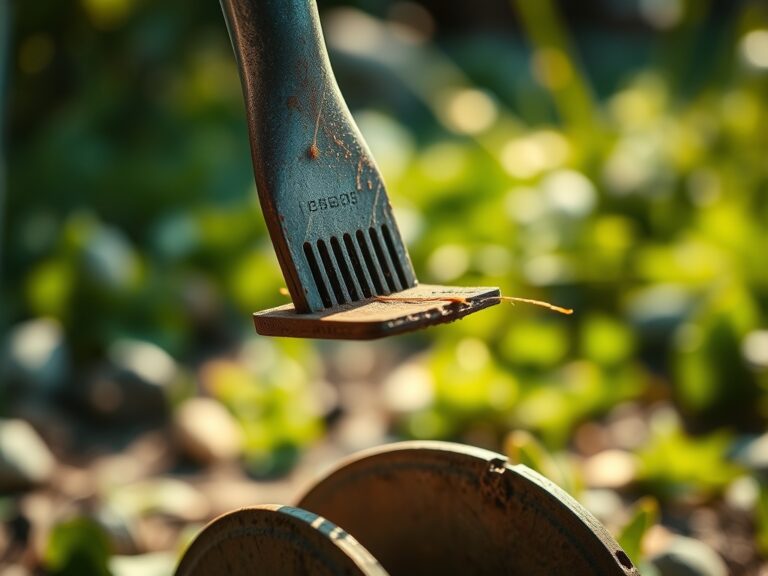
Prepare the seedbed by incorporating organic matter to a depth of 8 inches. When sharpening the spade or hoe used for this task, wear ANSI Z87.1 rated safety glasses to deflect metal burrs. A sharp edge reduces the physical force required to break the soil surface tension.
Pro-Tip: Maintaining sharp edges on sowing tools prevents soil compaction. Compacted soil inhibits hypocotyl emergence because the seedling cannot exert enough hydraulic pressure to break through a hardened crust.
Transplanting
During transplantation, the hori-hori knife is the primary tool for navigating the root ball. Sharpen this tool using a Level 5 cut-resistant glove on the non-dominant hand. This gear protects against slips while the blade is being honed to a 20-degree angle.
Pro-Tip: A sharp transplanting knife ensures clean cuts on circling roots, which stimulates auxin suppression at the tip and encourages lateral root branching through the rhizosphere.
Establishing
As the plant establishes, bypass pruners are used to manage the canopy. Use a N95 respirator if using a high-speed grinder to sharpen these blades. Fine metallic dust can cause respiratory irritation and long-term pulmonary issues.
Pro-Tip: Cleanly pruned stems facilitate better phototropism, as the plant can efficiently orient its foliage toward the light source without wasting energy on damaged, non-photosynthetic tissue.
The Clinic:
Physiological disorders often stem from poor tool hygiene or blunt edges.
- Symptom: Ragged, tearing bark on woody stems.
- Solution: Immediate sharpening of bypass pruners using a diamond file. A ragged cut increases the surface area exposed to pathogens.
- Symptom: Interveinal chlorosis in new growth.
- Solution: This is often a sign of Iron deficiency (pH above 7.0). Lower the pH using elemental sulfur to increase bioavailability.
- Symptom: Stunted growth and purple lower leaves.
- Solution: Phosphorus deficiency. Apply a high-phosphate fertilizer (0-20-0) directly to the root zone to restore ATP production within the plant cells.
Fix-It Section: For Nitrogen chlorosis, where older leaves turn uniform yellow, apply a quick-release urea-based fertilizer at a rate of 1 pound of actual nitrogen per 1,000 square feet. Ensure the tool used to incorporate the fertilizer is sharp to avoid damaging surface roots.
Maintenance:
Precision irrigation is vital for maintaining cellular turgor. Deliver 1.5 inches of water per week at the drip line, rather than the base of the trunk, to encourage outward root expansion. Use a soil moisture meter to verify that the water has penetrated to a depth of 6 inches. Between uses, wipe your bypass pruners and hori-hori knife with isopropyl alcohol to prevent the cross-contamination of viral pathogens. Check the tension of your pruner blades monthly; a loose pivot bolt will cause the blades to "chew" the plant tissue rather than slicing it, regardless of how sharp the steel is.
The Yield:
Harvesting occurs when the plant reaches peak secondary metabolite production. For fruiting bodies, this is often indicated by a change in skin tension and abscission layer development. Use a sharpened floral snip to sever the pedicel without jarring the main stem. For leafy greens, harvest in the early morning when turgor pressure is at its maximum. Place harvested material immediately into a cool, shaded environment to slow the rate of senescence and transpiration. Proper post-harvest handling involves maintaining a high humidity environment to preserve the crispness of the cell walls.
FAQ:
What is the most critical piece of safety gear for sharpening?
ANSI Z87.1 rated eye protection is the most critical. High-speed sharpening generates metallic sparks and shards that can cause permanent ocular damage. Always shield the eyes before engaging any abrasive surface against a metal blade.
Why should I wear gloves while sharpening?
Level 5 cut-resistant gloves protect the skin from accidental slips and jagged burrs. While sharpening, the blade becomes increasingly lethal; a single lapse in concentration can result in deep lacerations without proper hand protection.
Is a respirator necessary for manual sharpening?
For manual whetstone sharpening, a respirator is generally unnecessary if using a lubricant. However, if using a bench grinder or belt sander, a respirator is vital to prevent inhaling microscopic metal and stone dust.
How does a sharp tool benefit plant health?
Sharp tools create clean wounds that heal faster. This limits the window for pathogen entry and minimizes the loss of water and nutrients through the cut site, ensuring the plant maintains its structural integrity and growth rate.