9 Pro Tips How to Sharpen a Lawn Edger
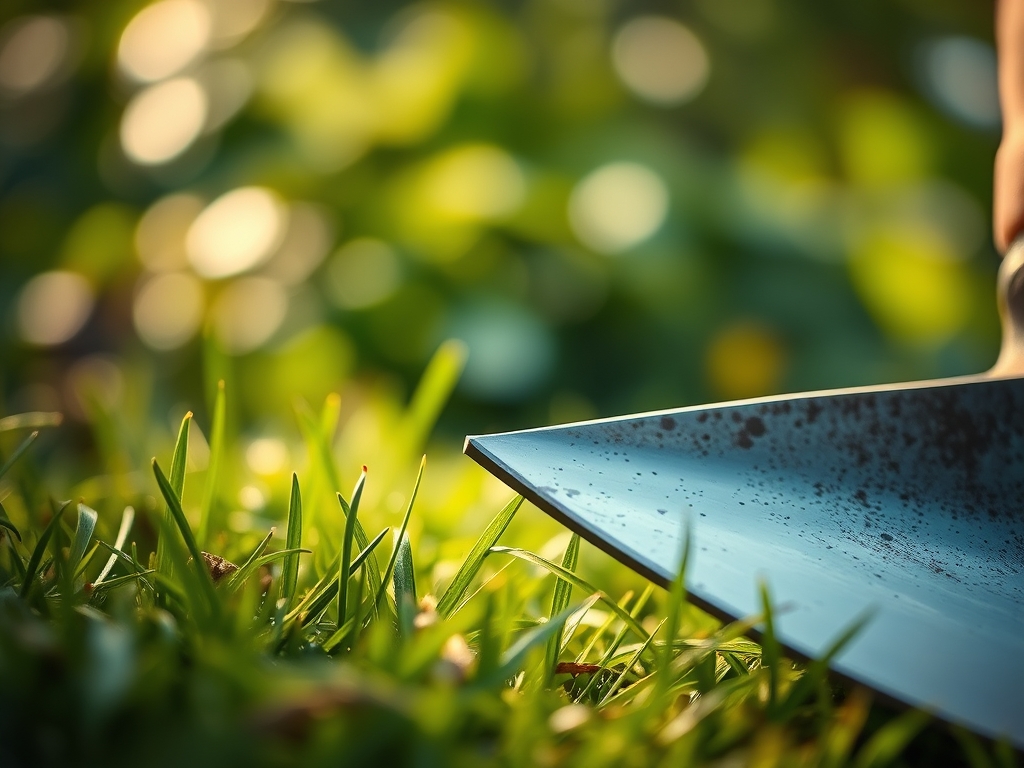
The scent of crushed chlorophyll and damp organic matter signals a clean cut; a dull blade, however, tears the grass blade, shattering the cell walls and inviting opportunistic pathogens. Learning how to sharpen a lawn edger is a fundamental requirement for maintaining the structural integrity of the turfgrass canopy. When a blade is blunt, it creates a jagged wound that increases the surface area for moisture loss through transpiration. This leads to localized desiccation and brown tipping. A surgically sharp edge ensures the vascular bundles of the grass are severed cleanly, allowing the plant to seal the wound through rapid suberization. This mechanical precision preserves the turgor pressure of the surrounding vegetation and maintains a crisp, professional boundary between the rhizosphere of the lawn and the adjacent hardscaping.
Materials:
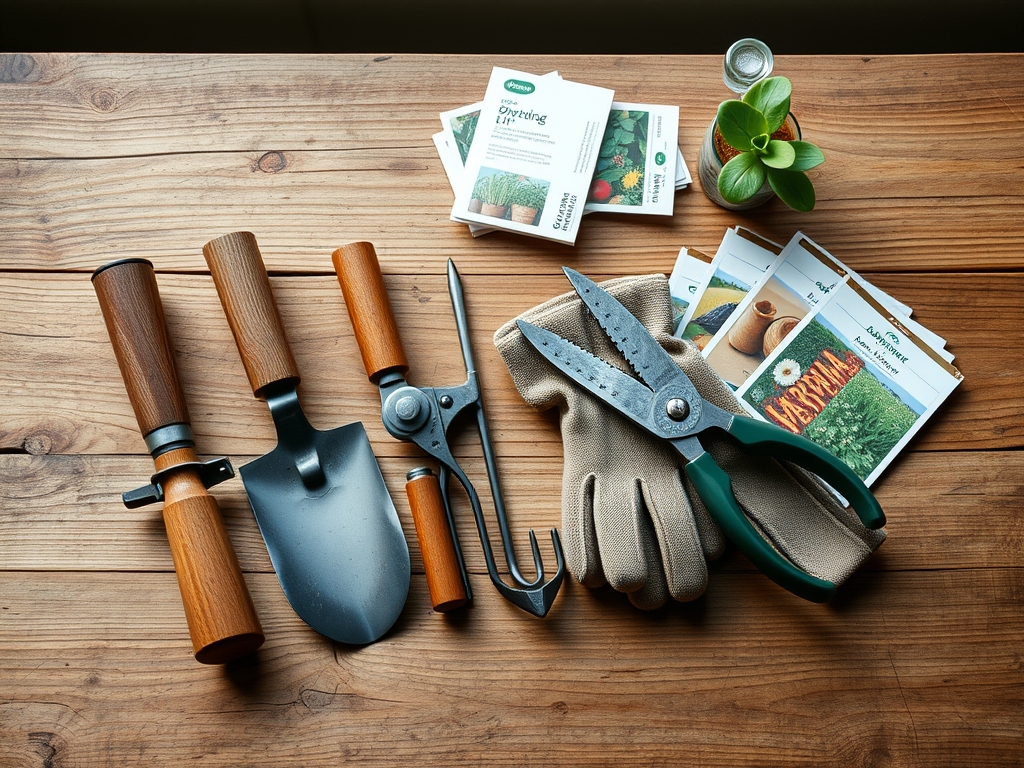
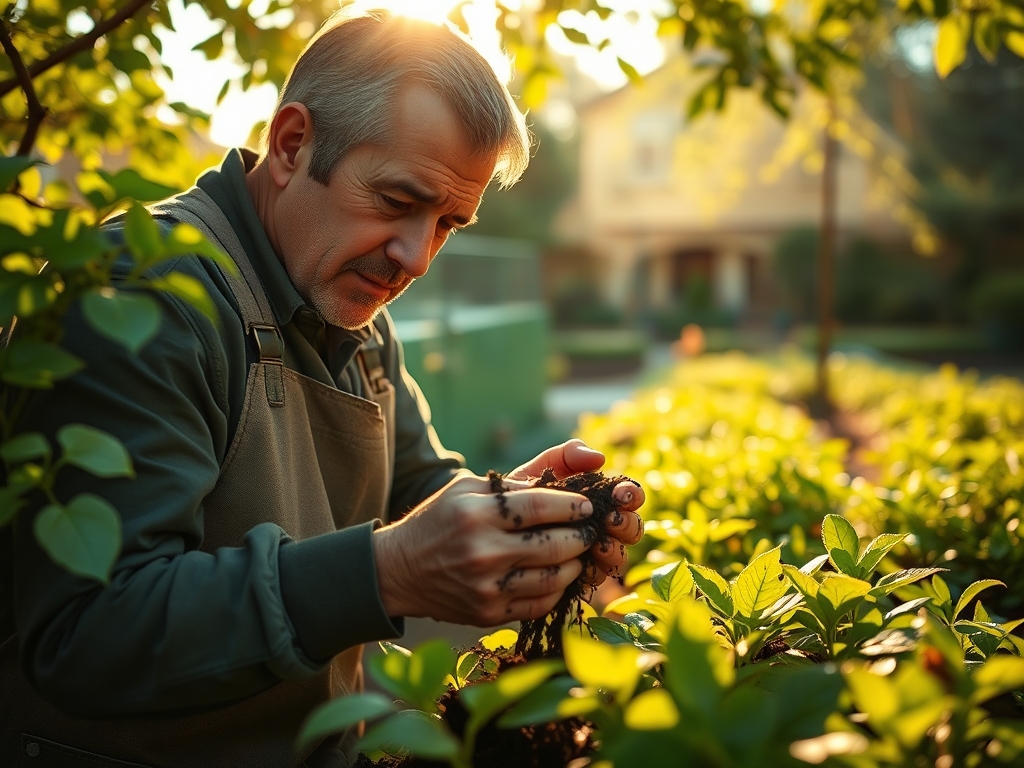
Before addressing the steel, assess the substrate where the edger operates. The ideal environment for a clean edge is a **friable loam** with a **pH between 6.2 and 7.0**. Soils with a high **Cation Exchange Capacity (CEC) above 15** provide the structural stability needed for a vertical cut. If the soil is heavy clay, the blade will encounter higher resistance, requiring a more frequent sharpening schedule. Use a **10 inch mill bastard file**, a **bench grinder with a 60-grit wheel**, and **safety goggles**. For the lawn itself, maintain a nutrient profile with an **NPK ratio of 4-1-2** during the active growing season to ensure the grass has the cellular strength to recover from the mechanical stress of edging.
Timing:
Timing the maintenance of your edger coincides with the biological clock of the turf. In Hardiness Zones 4 through 7, sharpening should occur before the first flush of spring growth, typically when soil temperatures reach a consistent 55 degrees Fahrenheit. This is the window when cool-season grasses transition from dormancy to the vegetative stage. For warm-season grasses in Zones 8 through 11, the primary sharpening interval follows the final frost date. Avoid edging during periods of extreme heat or drought when the plant is nearing a state of temporary senescence; the mechanical impact during these times can cause irreversible damage to the crown.
Phases:
Sowing the Edge
Before you sharpen, clean the blade of all desiccated organic matter and soil particles. Use a wire brush to expose the raw steel. Inspect the blade for any significant deviations or pitting. If the blade has lost more than 20 percent of its original mass, it must be replaced to maintain proper centrifugal balance.
Pro-Tip: Maintaining a clean blade prevents the transfer of fungal spores like Rhizoctonia solani. This practice protects the mycorrhizal symbiosis within the soil, as infected clippings can alter the microbial balance of the root zone.
Transplanting the Angle
Secure the blade in a heavy duty vise. Observe the factory bevel, which is typically set at a 30 to 45 degree angle. Use long, singular strokes with the mill file, moving from the inside of the blade toward the outer edge. Do not use a back and forth motion; this creates heat friction that can temper the steel and make it brittle.
Pro-Tip: A precise angle reduces the physical force required to sever the stolons and rhizomes. By minimizing mechanical resistance, you prevent auxin suppression in the grass, allowing the plant to continue lateral expansion without a hormonal growth check.
Establishing the Finish
Once the primary edge is established, use a fine-grit whetstone to remove the "burr" or wire edge from the flat side of the blade. The goal is not a razor edge, which would dull instantly upon contact with soil, but a functional "working edge" approximately the thickness of a standard credit card.
Pro-Tip: A smooth finish reduces the surface area where sap and debris can adhere. This limits the "drag" on the blade, ensuring that the plant's phototropism remains unaffected by jagged, uneven leaf heights that could shade out emerging tillers.
The Clinic:
Physiological disorders in the lawn often stem from poor tool maintenance. Identify these symptoms to diagnose your sharpening frequency.
- Symptom: White, Shredded Leaf Tips.
- Solution: This indicates a dull blade is crushing the xylem and phloem. Sharpen the edger immediately to ensure a clean vascular cut.
- Symptom: Nitrogen Chlorosis at the Edge.
- Solution: Jagged cuts increase the plant's metabolic demand for repair. Apply a slow release nitrogen fertilizer and ensure the blade is sharp to reduce the energy the plant spends on wound healing.
- Symptom: Iron Deficiency (Interveinal Yellowing).
- Fix-It: If edges appear yellow despite sharpening, check the soil pH. High pH limits iron availability. Apply chelated iron and ensure the edger blade is not introducing heavy metal contaminants through rusted surfaces.
Maintenance:
Post-sharpening care is as vital as the sharpening process itself. After each use, wipe the blade with an oily rag to prevent oxidation. In terms of the lawn, provide 1.5 inches of water per week delivered in two deep sessions to encourage deep rooting. Use a soil moisture meter to verify the water has penetrated at least 6 inches into the profile. When manual weeding is required along the edge, use a hori-hori knife to extract taproots without disrupting the vertical plane established by your sharpened edger. For woody intrusions, utilize bypass pruners to maintain a clean cut that mirrors the precision of your edger blade.
The Yield:
The "yield" of a perfectly sharpened edger is a crisp, aesthetic line that defines the landscape architecture. In a functional sense, this prevents "turf creep" into garden beds. For those managing edible borders or herbal fringes, a sharp edge prevents the encroachment of grasses into the nutrient-dense soil of the vegetable patch. This ensures that the NPK resources intended for your crops are not sequestered by aggressive turfgrass rhizomes. A clean edge also facilitates easier harvesting of low-growing herbs by providing a clear demarcation line, keeping the harvest free of grass contaminants and soil splatter.
FAQ:
How often should I sharpen my lawn edger?
Sharpen the blade every 10 to 15 hours of operation. If you have rocky soil or a high sand content, inspect the edge every 5 hours. A dull blade increases fuel consumption and damages the turfgrass vascular system.
Can I use a bench grinder to sharpen the blade?
Yes, but use a light touch. Excessive heat changes the molecular structure of the steel, leading to premature brittleness. Keep a bucket of water nearby to quench the blade and maintain a cool temperature during the process.
What angle is best for an edger blade?
Maintain a 30 to 45 degree bevel. This provides a balance between sharpness and durability. An angle too steep will dull quickly against soil, while an angle too shallow will not cut through tough rhizomes effectively.
Do I need to balance the edger blade after sharpening?
While less critical than a mower blade, an imbalanced edger blade causes vibration and bearing wear. Check balance by hanging the blade on a nail; if one side dips, remove small amounts of metal from the heavy side.