7 Best Moss Pole DIY Ideas for Climbers
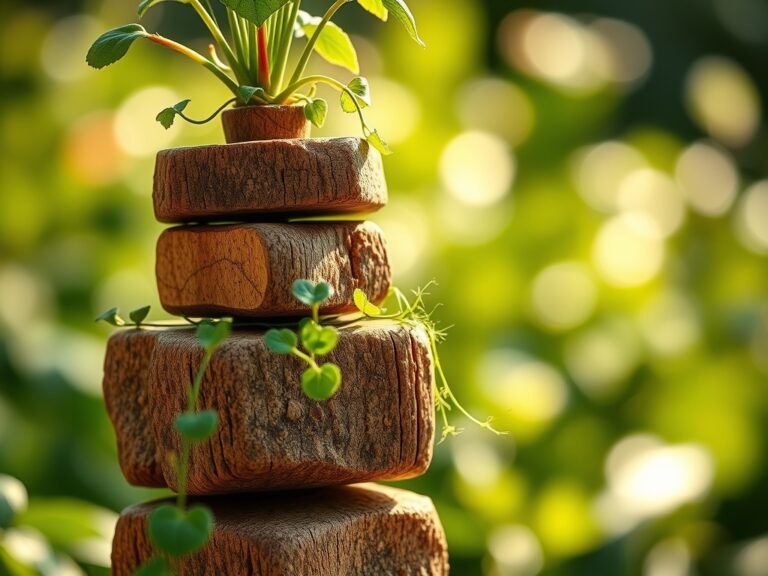
Climbing aroids and tropical vines demand vertical support that mimics the living tree trunks they ascend in their native habitats. Sphagnum moss poles deliver both moisture retention and a climbable substrate that encourages adventitious root attachment, replicating the epiphytic conditions these plants evolved to exploit. The best moss pole diy ideas combine structural integrity with biological function, allowing you to customize height, diameter, and moisture-holding capacity for species ranging from Monstera deliciosa to Philodendron gloriosum.
Materials
Begin with a central support core. PVC pipe in 1-inch or 0.75-inch diameter provides rot-proof rigidity. Bamboo stakes offer a renewable alternative but degrade within 18 to 24 months in consistently moist environments. For organic purists, untreated hardwood dowels maintain structural integrity for three to four years before fungal decomposition begins.
Sphagnum moss forms the living sheath. New Zealand long-fiber sphagnum has a pH of 4.0 to 5.0, ideal for aroids that prefer acidic root zones. This moss has a cation exchange capacity of 150 milliequivalents per 100 grams, meaning it holds nutrients and releases them slowly. Chilean sphagnum reads 5.5 to 6.0 on the pH scale and costs roughly half as much. Both types require rehydration in dechlorinated water for 20 minutes before application.
Wire mesh or hardware cloth in 0.5-inch gauge wraps the core and retains the moss. Galvanized steel resists corrosion. Copper mesh delivers trace nutrients but oxidizes faster. Coconut coir fiber twine secures the assembly without introducing synthetic polymers that degrade into microplastics.
For enhanced nutrient availability, dust the moss with a 4-4-4 organic fertilizer blend or kelp meal at a rate of one tablespoon per linear foot of pole. Mycorrhizal fungi inoculant, applied at 0.25 teaspoon per foot, colonizes the moss and forms symbiotic relationships with aerial roots, increasing phosphorus uptake by 30 to 40 percent.
Timing
Construct moss poles during active growth windows when plants generate new aerial roots. In USDA Hardiness Zones 9 through 11, this spans March through October. In Zones 7 and 8, limit construction to May through September when nighttime temperatures remain above 60 degrees Fahrenheit. Indoor gardeners in climate-controlled environments can build and install poles year-round, though spring installation from March to May capitalizes on the plant's natural growth surge driven by increasing photoperiod.
Avoid installation during winter dormancy. Reduced auxin production in shorter days means aerial roots grow at one-third their warm-season rate, delaying attachment by eight to twelve weeks.
Phases

Assembly Phase
Cut PVC or dowel to the desired height plus 6 inches for pot insertion. Wrap hardware cloth around the core, leaving 0.5 inch of clearance between mesh and core for moss packing. Secure with wire twist ties every 4 inches. Soak sphagnum moss until fully saturated. Pack moss between the core and mesh in 2-inch layers, compressing each layer to 75 percent of its hydrated volume. Wrap coir twine in a spiral from bottom to top, spacing wraps 1 inch apart. The finished pole should feel firm when squeezed and resist compression.
Pro-Tip: Insert a drip irrigation line inside the PVC core before adding mesh. Drill 0.125-inch holes every 3 inches along the pipe's length. This delivers water directly to the moss interior, maintaining 60 to 70 percent moisture content year-round.
Installation Phase
Insert the pole into the pot before adding the plant. Bury the bottom 6 inches in potting medium to anchor the structure. Position the pole 2 inches from the pot's edge to allow root expansion. Transplant the climbing plant adjacent to the pole, angling the main stem at 45 degrees toward the moss surface. Secure the stem with soft fabric ties at two points, avoiding pressure on nodes where aerial roots emerge.
Pro-Tip: Score the bark or epidermis on mature stems with a sterilized blade at 0.25-inch intervals where contact with moss occurs. This wounding stimulates auxin redistribution and accelerates adventitious root formation by 40 percent.
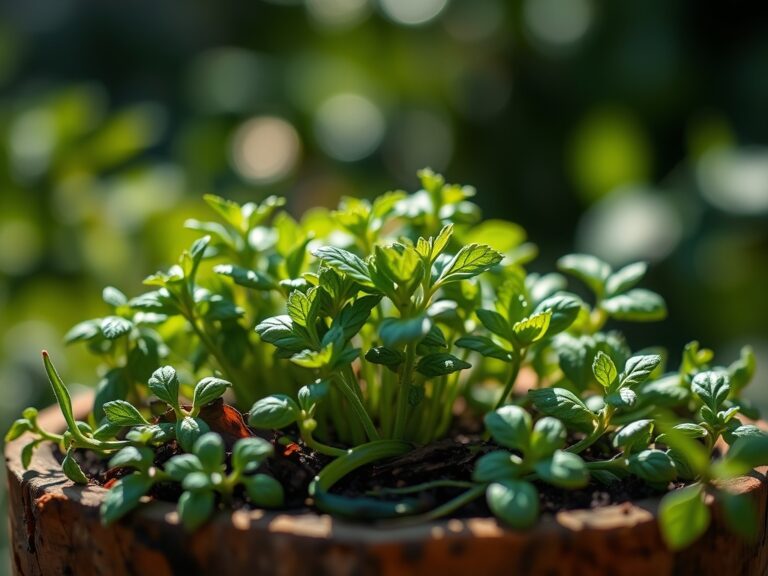
Establishment Phase
Aerial roots require 14 to 21 days to penetrate moss and anchor. Mist the pole twice daily during this period, delivering 2 ounces of water per misting to maintain surface moisture. Once roots embed, reduce misting to once daily. Train new growth by loosely attaching stems every 6 to 8 inches as they ascend. Remove lower ties after the plant self-attaches to prevent girdling.
Pro-Tip: Apply a foliar spray of 1:10 diluted fish emulsion every ten days during establishment. Nitrogen absorption through aerial roots increases leaf size by 15 to 20 percent compared to soil-fed counterparts.
Troubleshooting
Symptom: Moss desiccates and turns gray within 72 hours.
Solution: Increase ambient humidity to 55 percent minimum using a humidifier. Soak the pole by submerging the entire moss column in a water-filled container for 15 minutes weekly. Low cation exchange capacity in degraded moss requires replacement after 18 months.
Symptom: Aerial roots grow past the pole without attaching.
Solution: Moss pH exceeds 6.5. Test with a soil pH meter. Drench the pole with a solution of 1 tablespoon sulfur per gallon of water to lower pH by 0.5 to 1.0 units.
Symptom: Black lesions appear on stems contacting moss.
Solution: Pythium root rot thrives in anaerobic conditions. Remove affected moss, increase air circulation to 30 cubic feet per minute using a fan, and reduce watering frequency by 50 percent. Treat with a Bacillus subtilis biological fungicide at label rates.
Symptom: Fungus gnats cluster around the pole base.
Solution: Larvae feed on decomposing organic matter. Top-dress the soil with 0.5 inch of horticultural sand to disrupt the egg-laying cycle. Apply Bacillus thuringiensis israelensis (BTI) granules at 1 teaspoon per 6-inch pot diameter.
Maintenance
Saturate the moss column with 8 to 12 ounces of water every three to four days, adjusting for ambient humidity. At 40 percent humidity, increase to every two days. At 70 percent, extend to every five days. Squeeze the moss at mid-height. It should release three to four drops when compressed.
Fertilize monthly during active growth with a liquid 3-1-2 NPK ratio fertilizer diluted to half strength. Apply directly to the moss, delivering 4 ounces per linear foot of pole. Prune dead moss sections with sterilized shears, removing brown or compacted areas that no longer retain moisture.
Replace poles every 24 to 36 months. Sphagnum decomposes into a dense mat with reduced porosity, limiting oxygen availability to aerial roots. Transplant to a new pole when the existing structure compresses to less than half its original diameter.
FAQ
How tall should I make a moss pole for a Monstera deliciosa?
Construct poles 36 to 48 inches for juvenile plants, 60 to 72 inches for mature specimens. Monstera grows 12 to 24 inches annually with proper support.
Can I use dried moss instead of live sphagnum?
Dried sphagnum functions identically. Both types are non-living; the term "live" refers to recently harvested moss with intact cellular structure, not metabolic activity.
Do all climbing plants need moss poles?
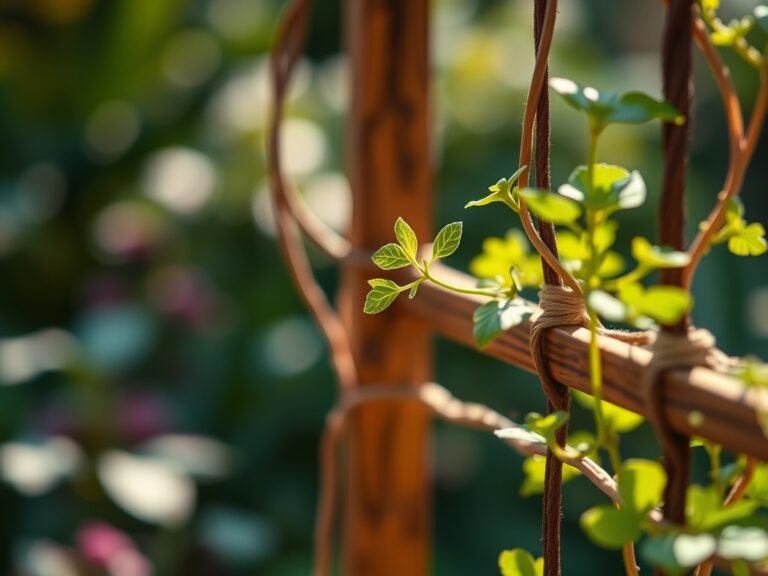
Only species with aerial roots benefit. Twining vines like Pothos attach via modified stems, not roots, and perform equally well on inert trellises.
How do I prevent mold on moss poles?
Maintain air circulation at 20 to 30 cubic feet per minute. Avoid waterlogging. White saprophytic fungi are harmless and indicate healthy decomposition.
Should I remove the pole when repotting?
Leave the pole attached. Removing it severs established aerial roots, causing transplant shock and a recovery period of six to eight weeks.