10 Sturdy Ways How to Maintain Pick Axes
Damp earth carries the scent of geosmin, a byproduct of Actinobacteria that signals a healthy rhizosphere. When you drive a pick axe into compacted clay, the resistance you feel is a direct result of bulk density and poor soil porosity. Maintaining the structural integrity of your tools is as vital as monitoring the turgor pressure of a developing seedling. If you do not understand how to maintain pick axes, you risk introducing pathogens into the soil or causing unnecessary physical strain during excavation. A well-sharpened, rust-free blade ensures clean cuts through root systems, preventing the jagged tissue damage that invites fungal infection. Precision in tool maintenance mirrors the precision required for successful horticulture.
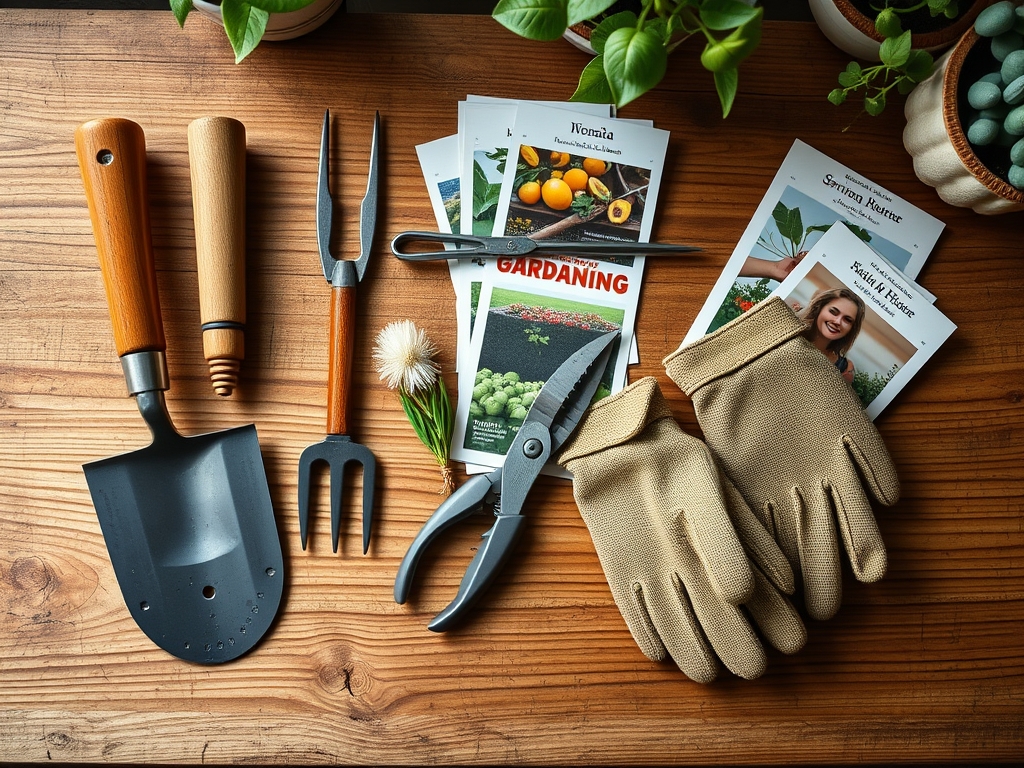
Materials:
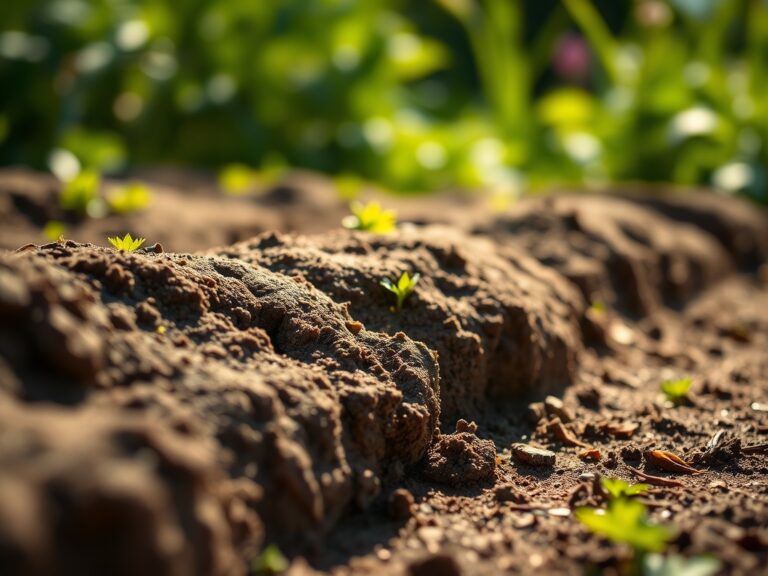
To effectively use a pick axe, the substrate must be understood. An ideal **friable loam** typically maintains a **pH between 6.0 and 7.0**, facilitating optimal nutrient availability. When working in soils with high Cation Exchange Capacity (CEC), such as heavy clays, the physical toll on the tool increases. For these environments, you must prepare the tool to handle high mineral concentrations that can accelerate oxidation.
The maintenance kit for your pick axe should include high-viscosity linseed oil for wooden handles and a 10-inch mill bastard file for the metal head. If you are amending soil during excavation, ensure your NPK ratios are balanced. For example, a 10-10-10 slow-release fertilizer is standard for general site preparation, while a high-phosphorus 5-10-5 ratio supports root establishment in newly broken ground. Always clean the tool of any soil containing excess salts, as high electrical conductivity (EC) in the soil can corrode the carbon steel head over time.
Timing:
In USDA Hardiness Zones 4 through 7, tool maintenance should peak during the dormant season, typically between the first killing frost and the spring thaw. This window prevents the interruption of the biological clock of your perennials. Excavation and heavy soil work should occur when the soil is not saturated; working in mud destroys soil structure through compaction and increases the rate of tool handle rot.
For deciduous species, the transition from the vegetative stage to senescence in late autumn is the ideal time to clear land. During this period, the sap flow has retreated to the root system, making it easier to prune subterranean obstacles without causing excessive bleeding of the plant. Aligning your heavy labor with the plant's natural dormancy reduces the risk of transplant shock and ensures your pick axe is ready for the high-demand spring planting window.
Phases:

Sowing the Foundation
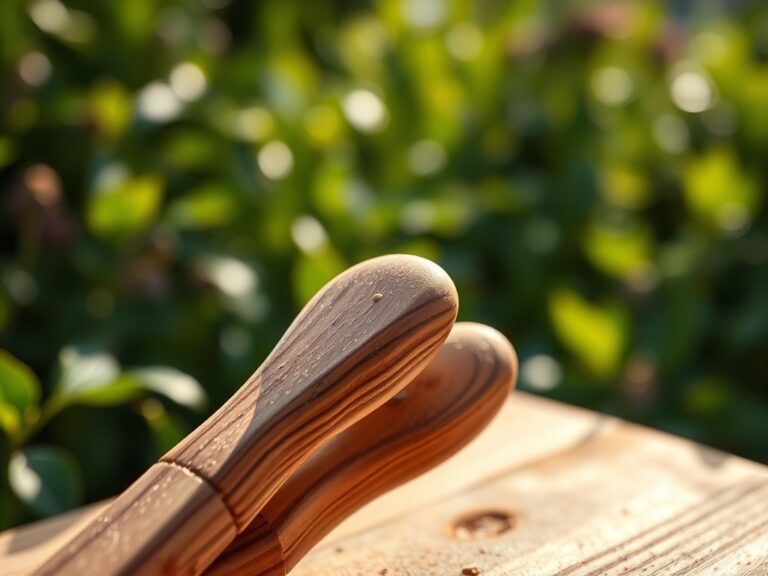
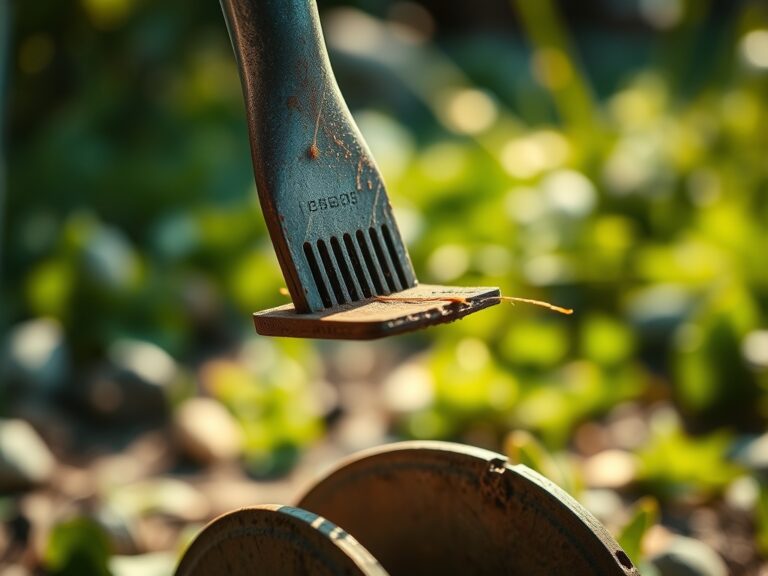
Before the first strike, inspect the eye of the pick axe where the handle meets the head. A loose fit creates kinetic energy loss and safety hazards. If the wood has shrunk due to low humidity, soak the head in water for two hours to expand the fibers.
Pro-Tip: This expansion relies on turgor pressure within the wood cells. Maintaining moisture equilibrium prevents the mechanical failure of the handle during high-impact strikes.
Transplanting and Clearing
When using a pick axe to remove large root balls, focus on the drip line of the plant. Use the pointed end to fracture the soil crust and the chisel end to cut through lateral roots. This allows for a cleaner extraction of the root mass, preserving the mycorrhizal symbiosis necessary for the plant to thrive in its new location.
Pro-Tip: Clean cuts are essential because jagged root edges inhibit the production of callus tissue. Rapid callusing is required to prevent pathogens from entering the vascular system.
Establishing Tool Longevity
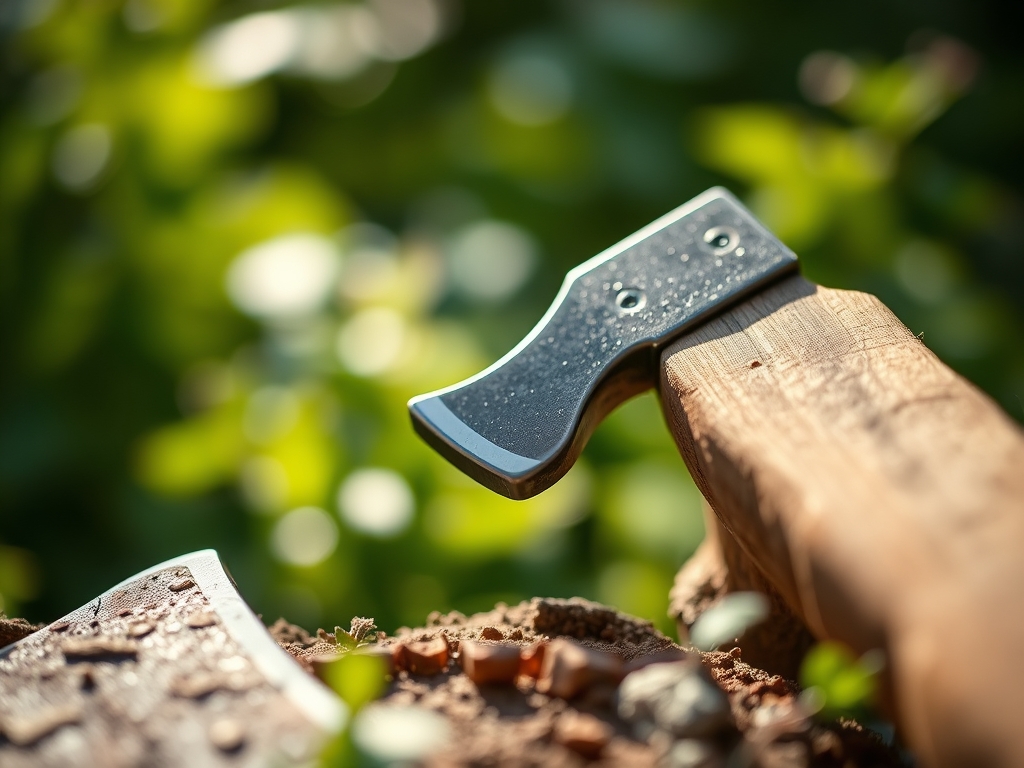
After every use, scrub the metal head with a stiff wire brush to remove organic matter. Organic debris holds moisture against the steel, leading to pitting. Once clean, apply a thin layer of mineral oil to create a hydrophobic barrier.
Pro-Tip: This barrier prevents oxidation, a chemical reaction that weakens the steel's molecular structure. Maintaining a smooth surface reduces friction, which in turn reduces the caloric output required by the gardener.
The Clinic:
Physiological disorders in the garden often stem from poor tool hygiene. If your pick axe is contaminated with soil-borne pathogens like Fusarium or Phytophthora, you can inadvertently inoculate healthy beds.
Symptom: Rapid wilting and vascular browning in newly disturbed areas.
Solution: Sterilize the pick axe head with a 10 percent bleach solution or 70 percent isopropyl alcohol between uses in different garden zones.
Symptom: Handle splintering or "checking."
Solution: Sand the handle with 80-grit sandpaper and saturate with boiled linseed oil. This restores the wood's flexibility and prevents desiccation.
Fix-It for Nutrient Deficiencies:
If you notice Nitrogen chlorosis (yellowing of older leaves), your soil may be overly compacted, preventing gas exchange. Use the pick axe to aerate the periphery of the root zone, then top-dress with a high-nitrogen amendment like blood meal (12-0-0) to restore chlorophyll production.
Maintenance:
Precision maintenance extends beyond the tool to the soil itself. Use a soil moisture meter to ensure the ground is at 20 to 25 percent moisture content before heavy digging. This is the "Goldilocks" zone for soil friability. If the soil is too dry, you will dull the pick axe; if it is too wet, you will destroy the soil's macropores.
When working around established trees, use your hori-hori knife for delicate root surgery and your bypass pruners for clean cuts on smaller diameters. The pick axe is your heavy artillery; use it to fracture the soil at the 1.5-inch per week water drip line to encourage deep root penetration. After use, store the tool vertically in a bucket of sand mixed with motor oil to keep the edge honed and the metal conditioned.
The Yield:
While a pick axe is not a harvest tool for delicate greens, it is indispensable for harvesting tubers and root crops in heavy or sun-baked soils. For crops like horseradish or deep-set carrots, use the pick axe to loosen the earth six inches away from the crown. This ensures you can lift the entire root without snapping the primary taproot.
Post-harvest, handle the produce by cooling it immediately to reduce the field heat. This slows the rate of respiration and maintains "day-one" freshness. For example, a potato harvested from loosened, well-aerated soil will have a thicker periderm, which improves its storage life in a root cellar maintained at 40 degrees Fahrenheit.
FAQ:
How often should I sharpen my pick axe?
Sharpen the edge after every 10 hours of heavy use or when you notice the tool bouncing off compacted soil rather than biting. Use a mill bastard file at a 45-degree angle to maintain the factory bevel.
What is the best way to prevent handle rot?
Apply boiled linseed oil to the wooden handle twice a year. This penetrates the grain, displacing moisture and preventing the fungal colonization that leads to structural decay and snapping during high-torque maneuvers.
Can I use a pick axe in frozen soil?
While possible, it is not recommended as frozen soil acts like concrete. This increases the risk of metal fatigue and handle breakage. Wait for a thaw or use a specialized frost wedge for better mechanical advantage.
How do I remove rust from an old pick axe?
Submerge the head in white vinegar for 24 hours to dissolve iron oxide. Scrub with steel wool, rinse with a baking soda solution to neutralize the acid, dry thoroughly, and apply a protective oil coating immediately.