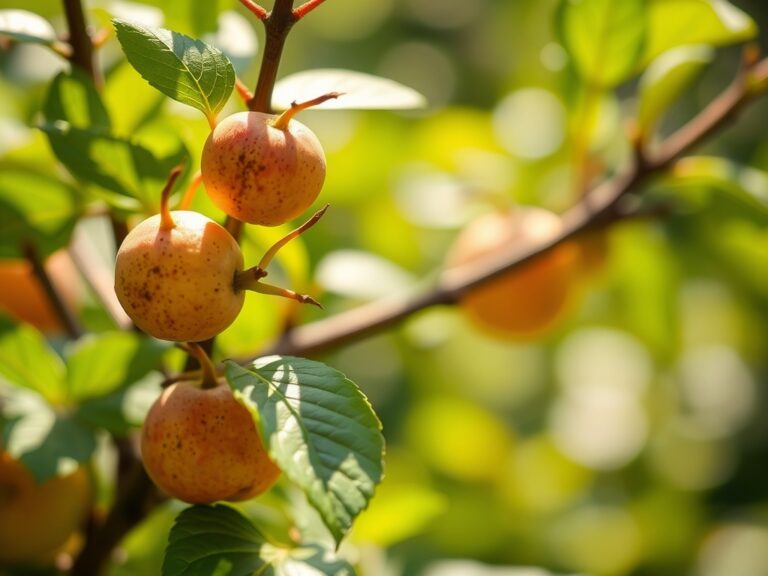
9 Visual Steps to Create a Living Wall Indoors
Crushed pumice and damp coconut coir provide the foundational scent of a functional indoor ecosystem. A successful installation relies on maintaining high turgor pressure within the plant tissues; this internal fluid pressure keeps the foliage rigid and upright against the pull of gravity. Mastering the steps to create a living wall indoors requires a transition from casual hobbyist to a disciplined technician of the rhizosphere. You are not merely decorating a room; you are managing a vertical hydroponic or semi-hydroponic machine. This process demands precise control over light cycles, nutrient delivery, and atmospheric humidity. Every leaf surface acts as a biological filter, but only if the vascular system of the plant is supported by a robust structural framework. Failure to calculate the weight of saturated media or the rate of evapotranspiration will result in structural collapse or systemic fungal infection. We begin by selecting a location that provides a minimum of 1,000 lux for low-light species, ensuring the biological machinery has the photons required for carbon fixation.
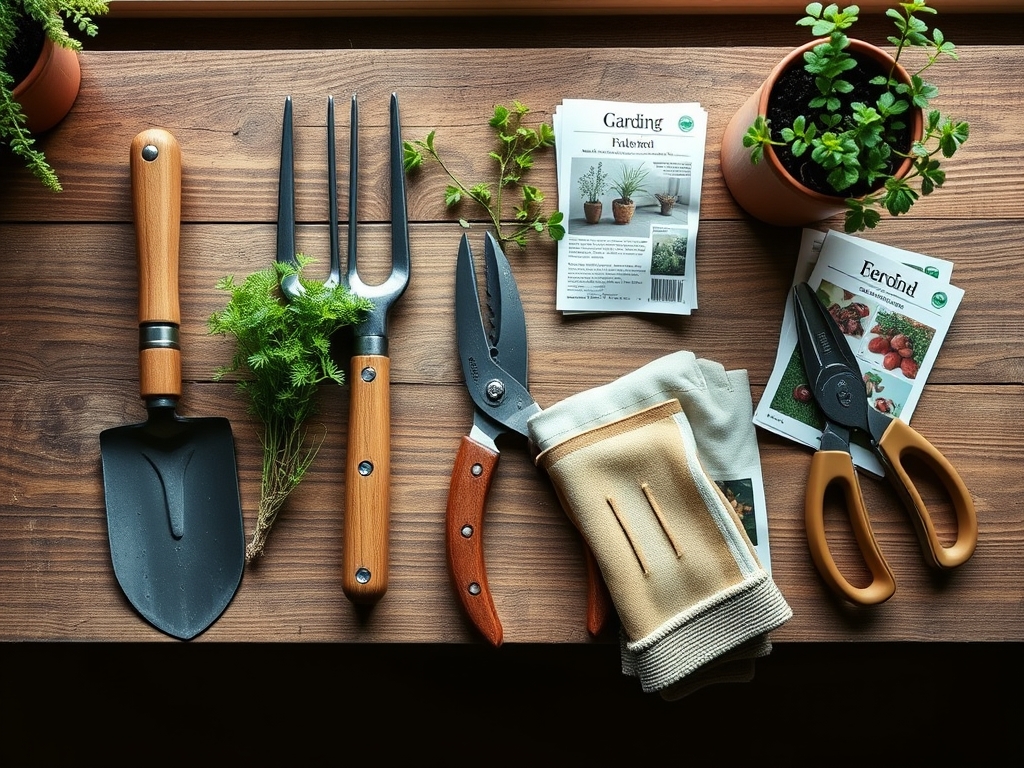
Materials:
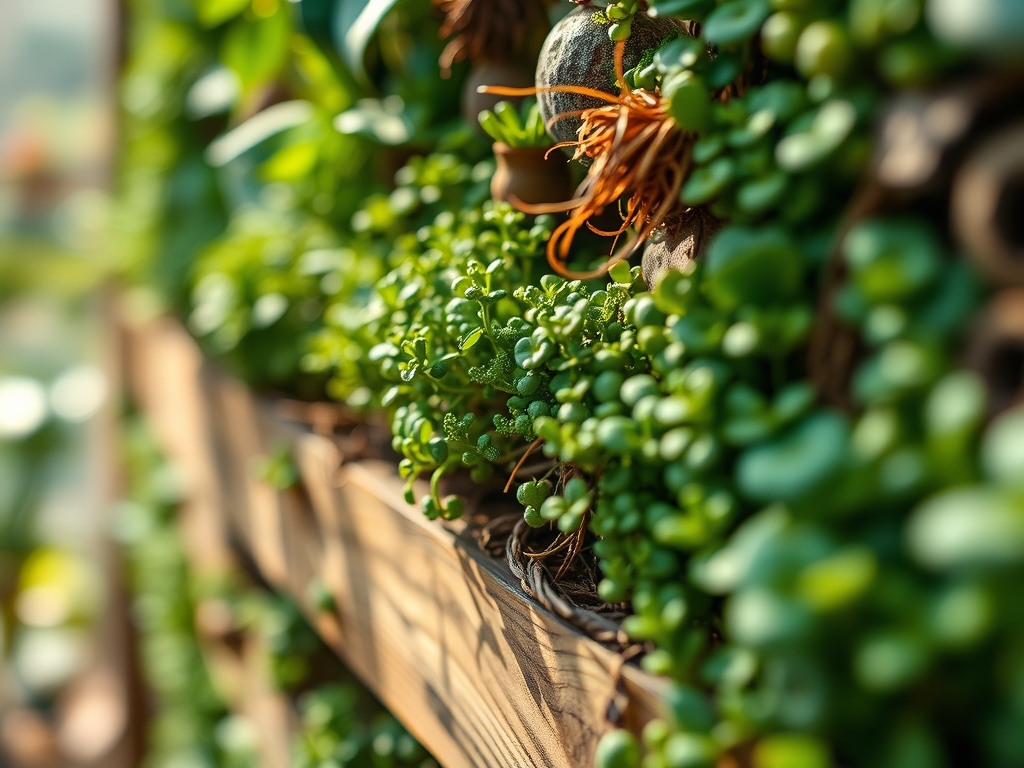
The substrate is the most critical component of your vertical system. You must avoid standard potting soils which compact over time and restrict oxygen to the roots. Instead, utilize a friable loam substitute consisting of 60 percent inorganic matter (perlite or expanded clay pebbles) and 40 percent organic matter (sphatnum moss or coco peat). This mixture ensures a high Cation Exchange Capacity (CEC), allowing the medium to hold and release essential nutrients like potassium and magnesium.
Your nutrient strategy should follow a strict NPK ratio based on the growth stage. For the establishment phase, a 10-15-10 ratio encourages root development through increased phosphorus. Once established, shift to a 20-10-20 water-soluble fertilizer to support vegetative biomass. The target soil pH must remain between 5.8 and 6.5 to prevent nutrient lockout. If the pH rises above 7.0, iron and manganese become chemically unavailable, leading to interveinal chlorosis. Use a digital pH probe to calibrate your irrigation water before every application.
Timing:
Indoor environments are insulated from Hardiness Zones; however, the external climate still dictates the internal ambient humidity and light duration. In Zones 4 through 7, the winter months bring a significant drop in relative humidity, often falling below 20 percent. This requires the installation of automated misters to maintain a target of 50 to 60 percent humidity.
The biological clock of your living wall is governed by the photoperiod. Most tropical species used in vertical applications require 12 to 14 hours of light to remain in a vegetative state. If light duration drops below 10 hours, the plants may enter senescence, a process of programmed aging where the plant redirects energy from leaf production to survival or dormancy. Schedule your installation during the spring equinox to align with increasing natural light levels, which aids in the rapid recovery from transplant shock.
Phases:

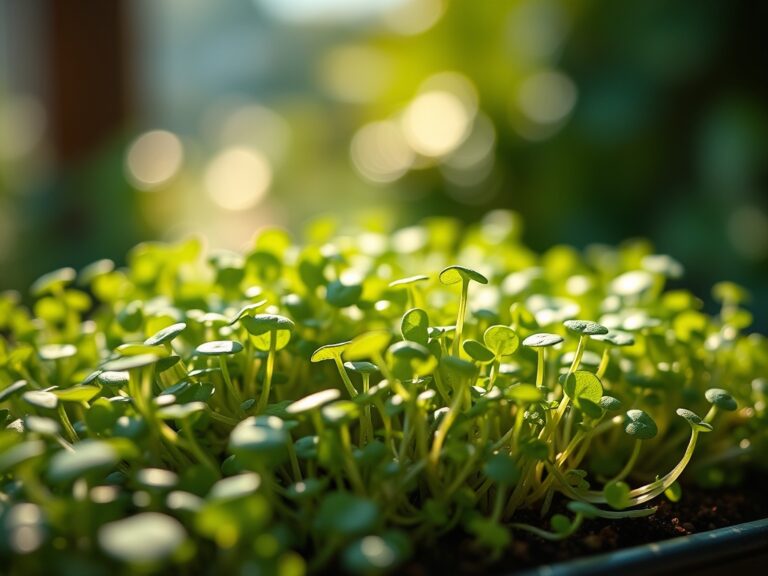
Sowing and Selection
Select plants with similar light and water requirements. Species like Epipremnum aureum or Philodendron cordatum are ideal for beginners due to their high tolerance for varying moisture levels. When starting from seed or small plugs, ensure the root ball is moist but not saturated.
Pro-Tip: Utilize the principle of phototropism by rotating your lighting source during the first three weeks. This prevents the plants from leaning excessively toward a single light point, ensuring even distribution of auxin hormones and a balanced structural form.
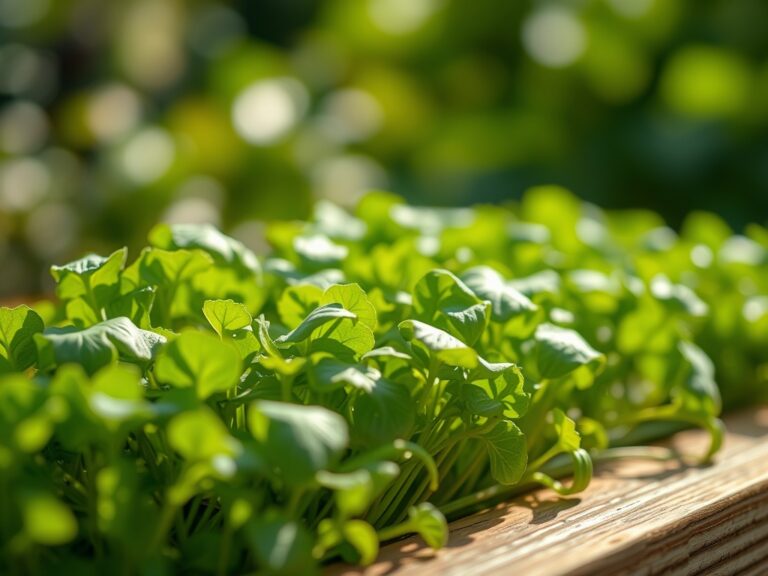
Transplanting
When moving plants into the vertical modules, prune any circling roots to encourage lateral growth. Secure the plant into the felt pocket or plastic cell using a 45-degree angle. This orientation allows water to flow into the root zone while preventing crown rot.
Pro-Tip: Inoculate the root zone with mycorrhizal fungi during transplanting. This symbiotic relationship expands the root surface area by up to 100 times, significantly increasing the plant's ability to uptake phosphorus and water in a confined vertical space.
Establishing
The first 30 days are the establishment phase. During this time, the plant is redirecting energy from foliage growth to root anchorage. Monitor the moisture levels daily using a soil moisture meter. The goal is to keep the media at a "moist sponge" consistency.
Pro-Tip: Avoid heavy fertilization during this phase to prevent auxin suppression. High nitrogen levels can trick the plant into focusing on weak top growth before the root system is strong enough to support the mechanical weight of the foliage.
The Clinic:
Symptom: Yellowing of lower leaves while veins remain green.
Solution: This is Magnesium deficiency. Apply a foliar spray of 1 teaspoon of Epsom salts per gallon of water. Magnesium is the central atom in the chlorophyll molecule; without it, photosynthesis halts.
Symptom: Brown, crispy leaf margins.
Solution: Low ambient humidity or high salt accumulation in the media. Flush the system with distilled water to leach out excess fertilizer salts and increase the frequency of the misting cycle.
Symptom: Soft, blackened stems at the base (Crown Rot).
Solution: Excessive moisture and poor airflow. Reduce irrigation frequency and install a small circulation fan to increase evaporative cooling and oxygen exchange at the soil surface.
Fix-It for Nitrogen Chlorosis: If the entire plant appears pale green or yellow, it lacks Nitrogen. Apply a quick-release liquid fertilizer with a 30-10-10 ratio to immediately restore protein synthesis and chlorophyll production.
Maintenance:
Precision maintenance is the difference between a thriving wall and a dying one. Use a soil moisture meter to ensure the media never drops below a 30 percent moisture rating. Generally, a living wall requires approximately 1.5 inches of water per week delivered directly to the top of the modules via a drip line.
Use bypass pruners for clean cuts on woody stems; ragged tears invite pathogens. For smaller tasks or removing dead material in tight spaces, a hori-hori knife is effective for extracting individual root plugs without disturbing the surrounding matrix. Every 90 days, wipe the leaf surfaces with a damp cloth to remove dust. Dust buildup increases the albedo of the leaf, reflecting light that should be absorbed for energy production.
The Yield:
If your living wall includes edible herbs like Ocimum basilicum (Basil) or Mentha (Mint), harvest during the morning hours when turgor pressure is at its peak. This ensures the highest concentration of essential oils and prevents wilting. Never remove more than 30 percent of the plant's biomass at one time; exceeding this threshold triggers a stress response that can lead to stunted growth. After harvesting, immediately place the stems in 40-degree Fahrenheit water to maintain cellular structure and "day-one" freshness.
FAQ:
How often should I water my indoor living wall?
Water when the top inch of media feels dry or your moisture meter reads below 40 percent. Typically, this occurs every 3 to 5 days depending on the ambient humidity and the specific water requirements of your selected species.
What is the best lighting for a living wall?
Use Full-spectrum LED grow lights that provide a minimum of 15 to 20 watts per square foot. Ensure the light spectrum includes both blue wavelengths for vegetative growth and red wavelengths for structural integrity and potential flowering.
Can I use regular garden soil in my wall?
No. Regular garden soil is too heavy and lacks the necessary porosity. It will compact within the vertical modules, leading to anaerobic conditions that cause root rot and systemic plant failure. Always use a specialized soilless medium.
How do I prevent my wall from leaking?
Install a moisture-resistant barrier, such as a 6-mil polyethylene sheet, between the wall and the planting modules. Ensure your drainage tray at the base is sized to handle 120 percent of the maximum expected irrigation runoff.