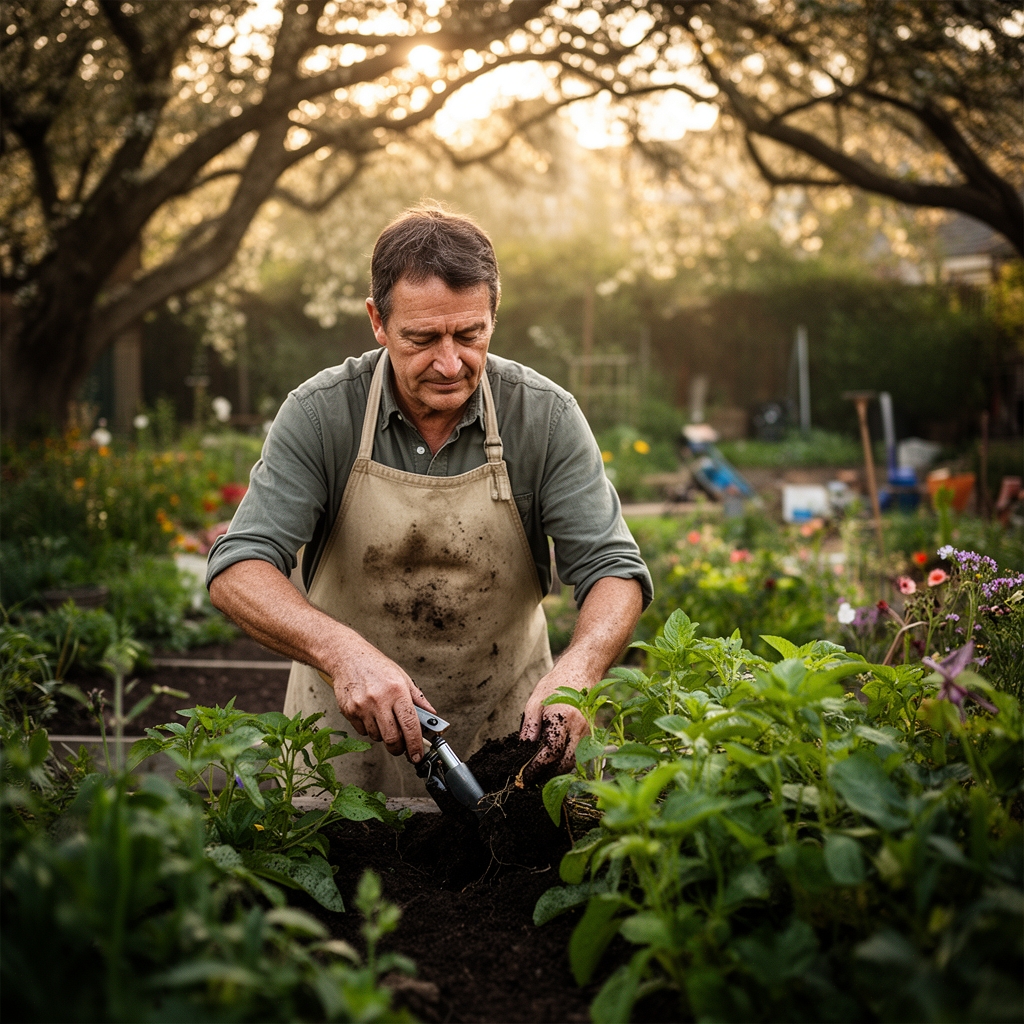
9 Simple Steps to Use Bulb Planters
The soil releases a scent of wet clay and broken root as you press the steel cylinder into October earth. A bulb planter delivers consistent depth, minimal disruption, and clean extraction of soil cores, making it the preferred tool for installing tulips, daffodils, and alliums. Mastering the steps to use bulb planters transforms a tedious autumn chore into a precise, repeatable protocol that increases establishment rates by 30 to 40 percent compared to trowel methods.
Materials
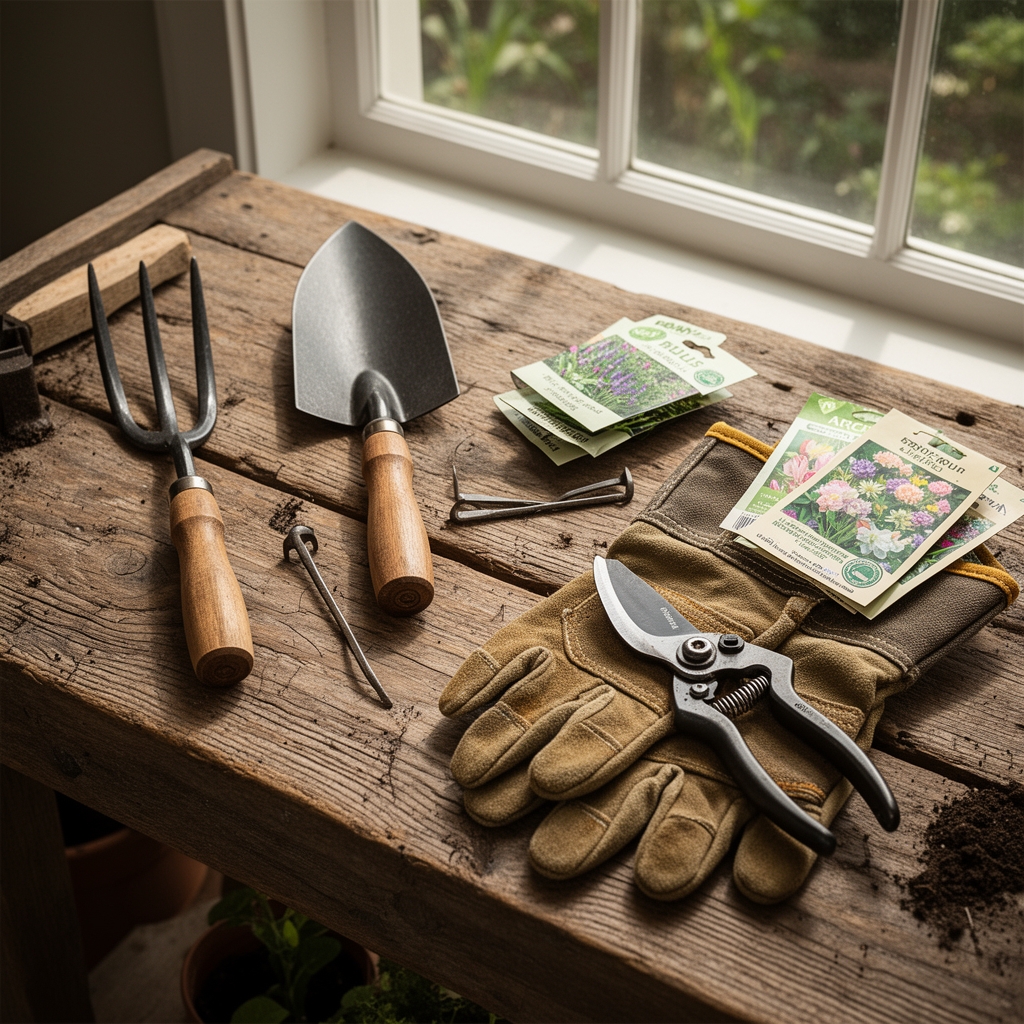
Select a long-handled bulb planter with depth markings from 2 to 8 inches for standing work, or a handheld model for container applications. Pair it with a 4-4-4 organic bulb meal (nitrogen-phosphorus-potassium) to support root initiation without excessive foliar growth. Amend clay soils with coarse sand and aged compost to achieve a pH of 6.0 to 7.0, the optimal range for cation exchange capacity in allium and narcissus species. Include bone meal at 1 tablespoon per hole to supply slow-release phosphorus, and mycorrhizal inoculant powder to colonize root surfaces within the first 14 days. A soil thermometer confirms when ground temperature drops below 60 degrees Fahrenheit, the trigger for vernalization in most spring-flowering bulbs.
Timing
Plant spring-blooming bulbs 6 to 8 weeks before the first hard freeze. In USDA Hardiness Zone 5, mid-September to early October is ideal; Zone 7 extends the window to late November. Summer-blooming bulbs like dahlias and gladiolus go into the ground after the last frost date, when soil reaches 55 degrees Fahrenheit at 4-inch depth. Fall-planted species require 12 to 16 weeks of chilling below 45 degrees to break dormancy and initiate auxin distribution. Consult your local cooperative extension for precise frost-date data. Planting too early in warm soil encourages fungal colonization by Fusarium and Penicillium species before roots establish.
Phases
Sowing Phase
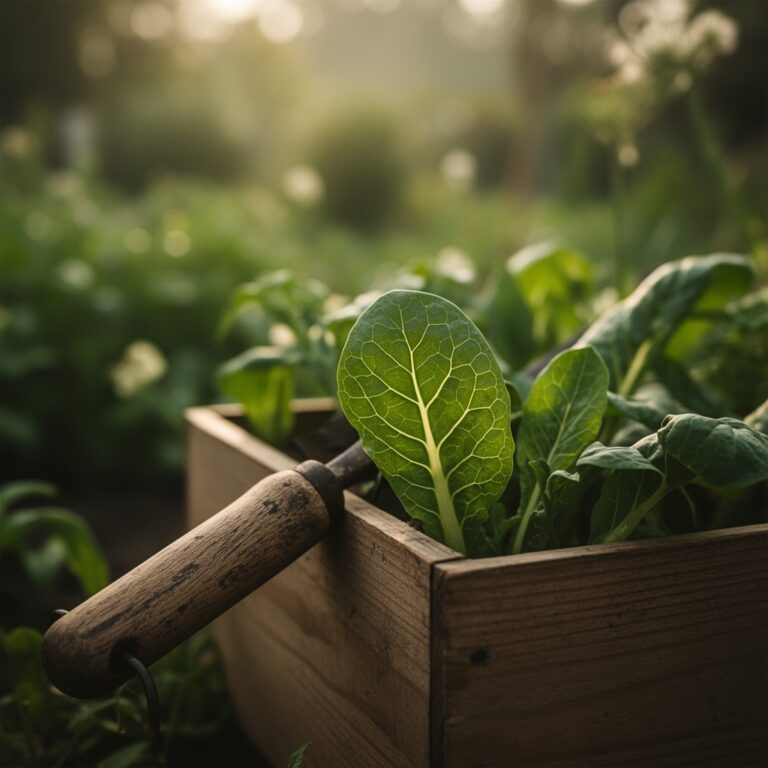
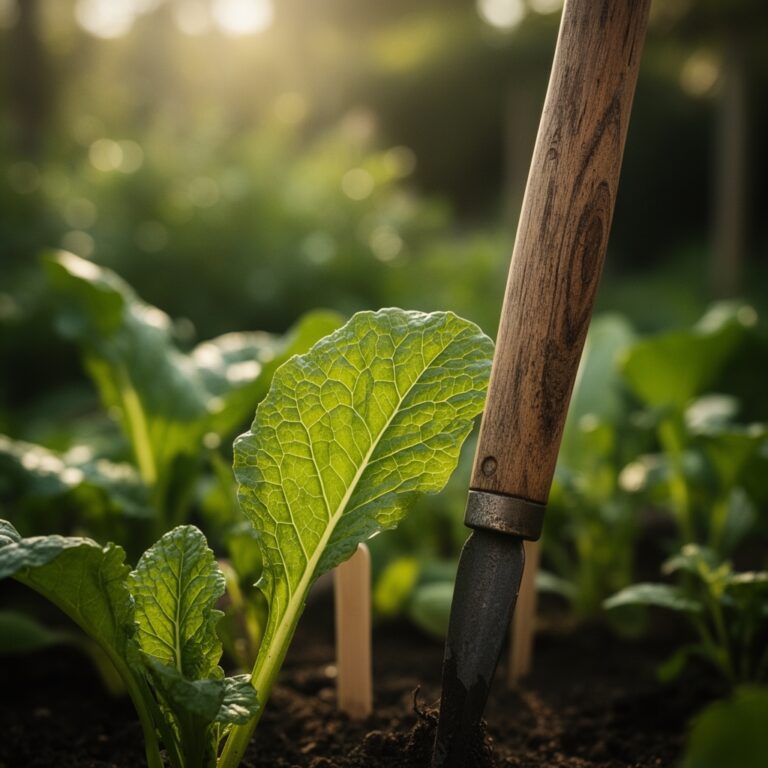
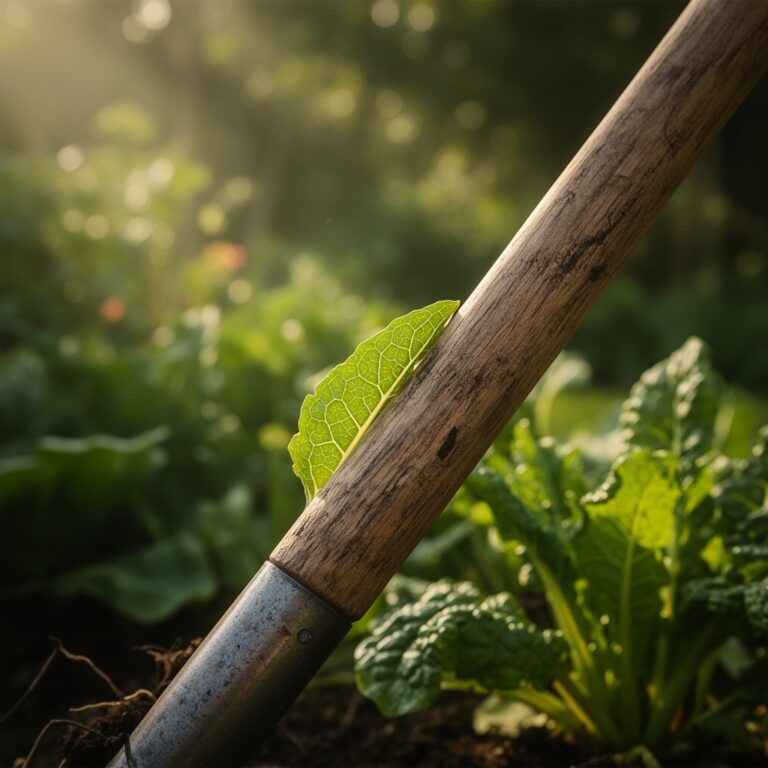
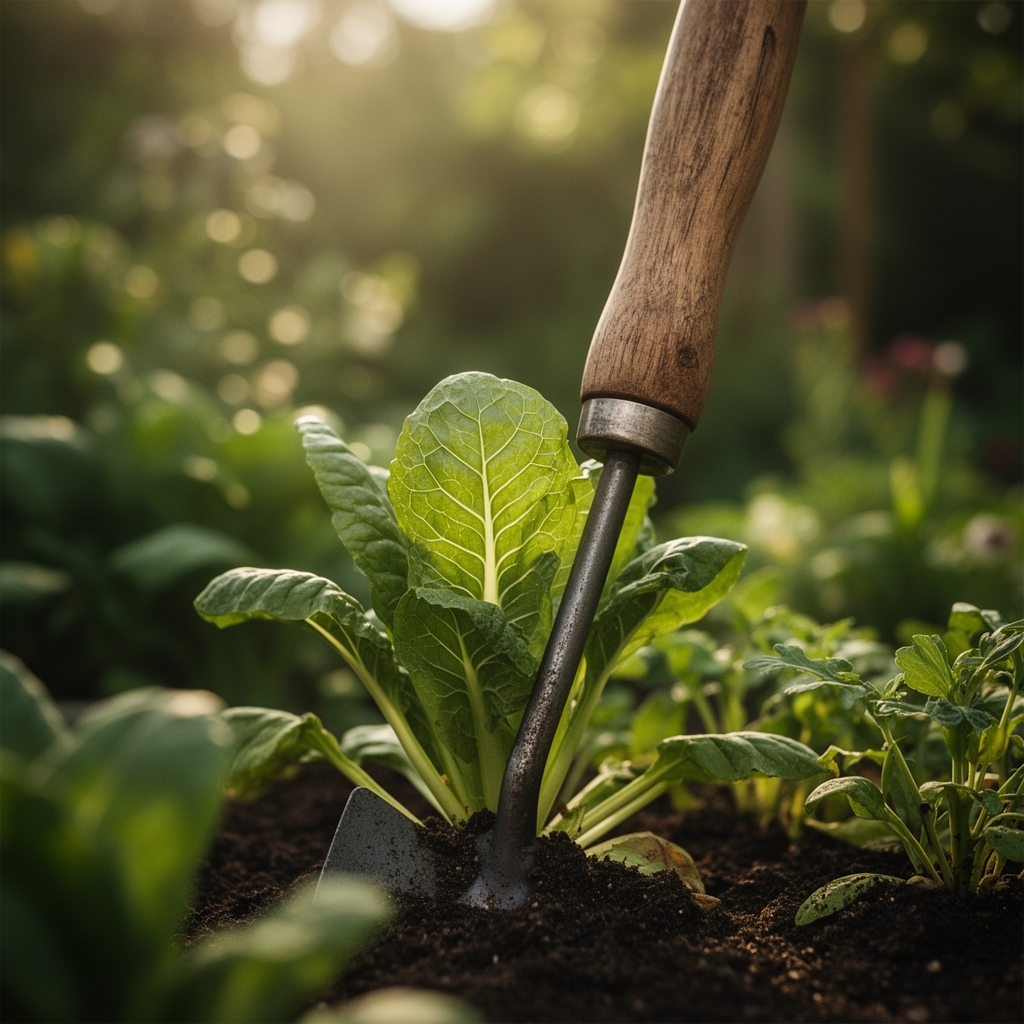
Step 1: Mark planting locations with bamboo stakes, spacing large bulbs 6 inches apart and small bulbs 3 inches apart to prevent competition for soil moisture. Step 2: Press the bulb planter vertically into the soil, twisting 45 degrees clockwise to sever lateral roots and earthworm channels. Step 3: Withdraw the planter, leaving a clean-walled cylinder. Depth equals three times the bulb height. A 2-inch tulip bulb requires a 6-inch hole. Step 4: Sprinkle 1 teaspoon of mycorrhizal inoculant and 1 tablespoon of bone meal into the base of each hole.
Pro-Tip: Score the basal plate of hyacinth and tulip bulbs with a sterilized blade at 2-millimeter depth. This micro-wounding accelerates adventitious root emergence by 48 hours.
Transplanting Phase
Step 5: Orient the bulb with the pointed apex upward and the basal plate downward. Offset orientation reduces emergence by 60 percent. Step 6: Backfill the hole with the extracted soil core, crumbling large clods to eliminate air pockets that desiccate root tips. Step 7: Firm the surface with your palm, applying 5 pounds of pressure to ensure contact between bulb and soil without compacting the root zone.
Pro-Tip: In heavy clay, line the hole bottom with a 1-inch layer of coarse builder's sand. This capillary break prevents waterlogging and basal rot caused by Pythium species.
Establishing Phase
Step 8: Water immediately with 1 gallon per square foot to settle soil and activate mycorrhizal spores. Step 9: Apply a 2-inch mulch layer of shredded hardwood bark or pine needles to moderate soil temperature fluctuations and suppress winter annuals like chickweed and henbit.
Pro-Tip: Top-dress with a 5-10-5 granular fertilizer at 2 pounds per 100 square feet in early spring when shoots reach 2 inches. This phosphorus pulse supports scape elongation and tepal expansion.
Troubleshooting
Symptom: Bulbs fail to emerge in spring.
Solution: Shallow planting exposes bulbs to freeze-thaw cycles that rupture cell walls. Replant survivors at correct depth in fall.
Symptom: Foliage yellows and collapses at soil line.
Solution: Basal rot from Fusarium oxysporum. Remove infected bulbs, drench soil with a biofungicide containing Trichoderma harzianum, and avoid planting in the same location for 3 years.
Symptom: Holes in leaves and chewed petals.
Solution: Slugs and Deroceras reticulatum. Apply iron phosphate bait at 1 pound per 1,000 square feet, reapplying after rain.
Symptom: Stunted shoots with streaked, mottled foliage.
Solution: Viral infection, often tobacco mosaic or tulip breaking virus. Destroy infected plants; sanitize tools with 10-percent bleach solution.
Maintenance
Water bulbs weekly if rainfall totals less than 1 inch. Cease irrigation when foliage yellows naturally, signaling dormancy entry. Deadhead spent flowers by cutting scapes at a 45-degree angle 1 inch above the basal leaves, preserving photosynthetic tissue. Allow foliage to senesce for 6 to 8 weeks post-bloom to replenish carbohydrate reserves. Apply a balanced 10-10-10 liquid fertilizer at half strength every 14 days during active growth.
FAQ
How deep should I plant bulbs?
Three times the bulb's height. A 1-inch crocus corm goes 3 inches deep; a 3-inch daffodil bulb requires 9 inches.
Can I reuse soil cores?
Yes. Crumble and mix cores with compost at a 2:1 ratio for backfill or topdressing.
Do bulb planters work in rocky soil?
Poorly. Remove stones larger than 1 inch first or pre-drill with a soil auger.
When do I lift and divide bulbs?
After foliage dies back completely. Divide clumps every 3 to 5 years to maintain flower size.
What is the best planter length for disabled gardeners?
A 36-inch handled model reduces bending and distributes force through shoulder leverage rather than wrist torque.