6 Easy Steps to Grow Trailing Indoor Plants
The scent of damp potting mix mingles with the verdant aroma of new growth as trailing stems cascade from a shelf, their tendrils searching for purchase in the air. These architectural plants transform vertical space into productive growing zones. Mastering the steps to grow trailing indoor plants requires understanding their epiphytic ancestry and manipulating light angles, moisture gradients, and nutrient ratios to encourage vigorous cascading growth rather than weak, etiolated stems.
Materials
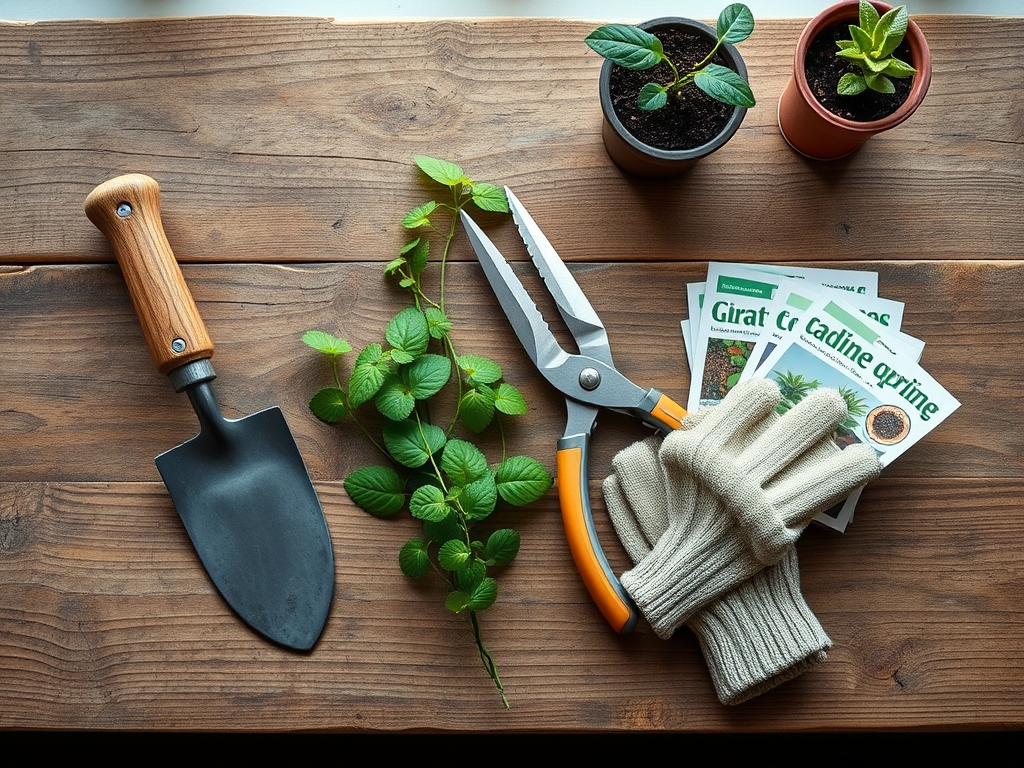
Begin with a peat-based or coir substrate amended to achieve a pH of 5.5 to 6.5. This slightly acidic range optimizes cation exchange capacity for trailing species like Pothos, Philodendron, and String of Pearls. Mix 3 parts coir or peat with 1 part perlite and 1 part orchid bark to create oxygen pockets critical for adventitious root development along trailing stems.
Select a balanced organic fertilizer with an NPK ratio of 4-4-4 or 5-5-5. These moderate ratios prevent excessive vegetative growth that produces long internodes and sparse foliage. Incorporate 2 tablespoons of kelp meal per gallon of substrate to supply trace minerals and natural auxins that promote lateral branching. Add mycorrhizal fungi inoculant at 1 teaspoon per 6-inch pot during initial potting to colonize roots and extend the effective absorption zone by up to 700 percent.
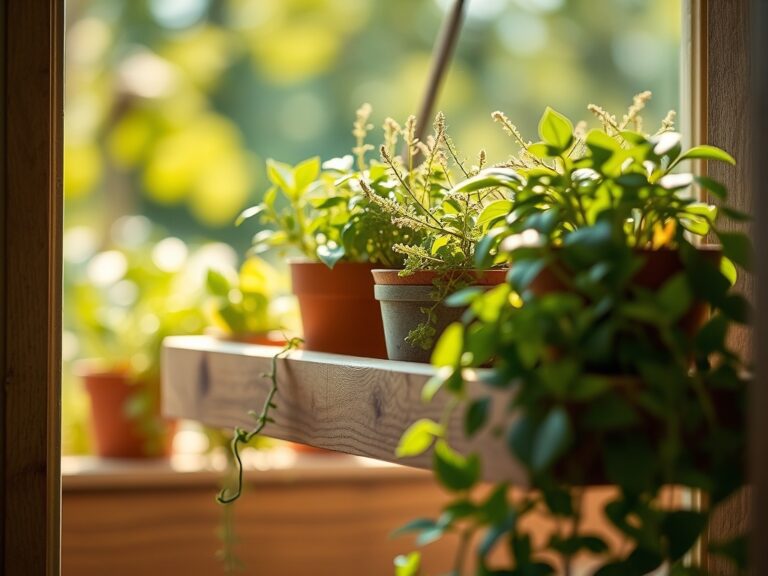
Containers must provide drainage holes and measure 6 to 10 inches in diameter for mature specimens. Hanging baskets, wall-mounted planters, and elevated cache pots all function effectively. Choose unglazed terracotta for species preferring drier conditions like String of Hearts, or glazed ceramic for moisture-loving varieties such as Wandering Jew.
Timing
Indoor environments eliminate frost concerns, but circadian rhythms and ambient temperature fluctuations still govern growth cycles. Initiate propagation and transplanting between March and June when lengthening photoperiods trigger hormonal changes favoring root development. During this window, adventitious roots emerge 40 percent faster than during short-day months.
Trailing plants originating from USDA Hardiness Zones 10 through 12 require minimum nighttime temperatures of 60°F. Species native to cloud forests tolerate brief drops to 55°F but exhibit reduced auxin distribution below this threshold. Install a minimum-maximum thermometer to track fluctuations and position plants away from heating vents or drafty windows where temperature swings exceed 15°F within 24 hours.
Phases
Sowing and Propagation
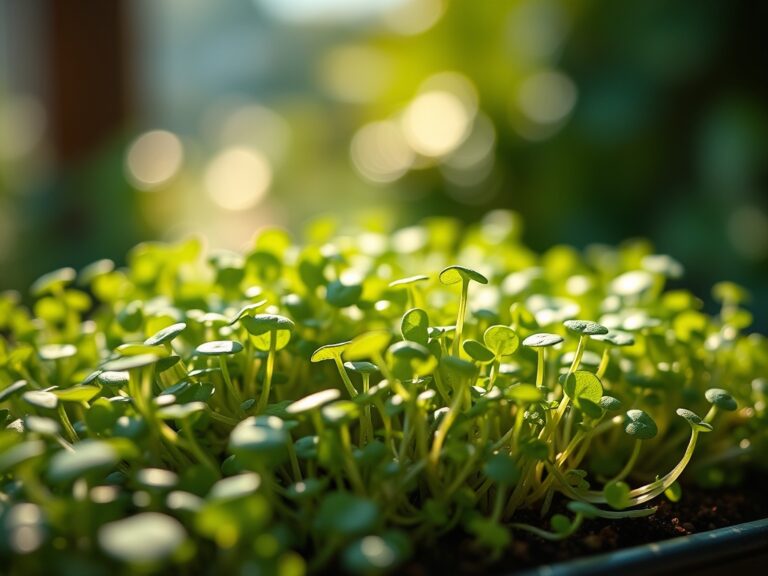
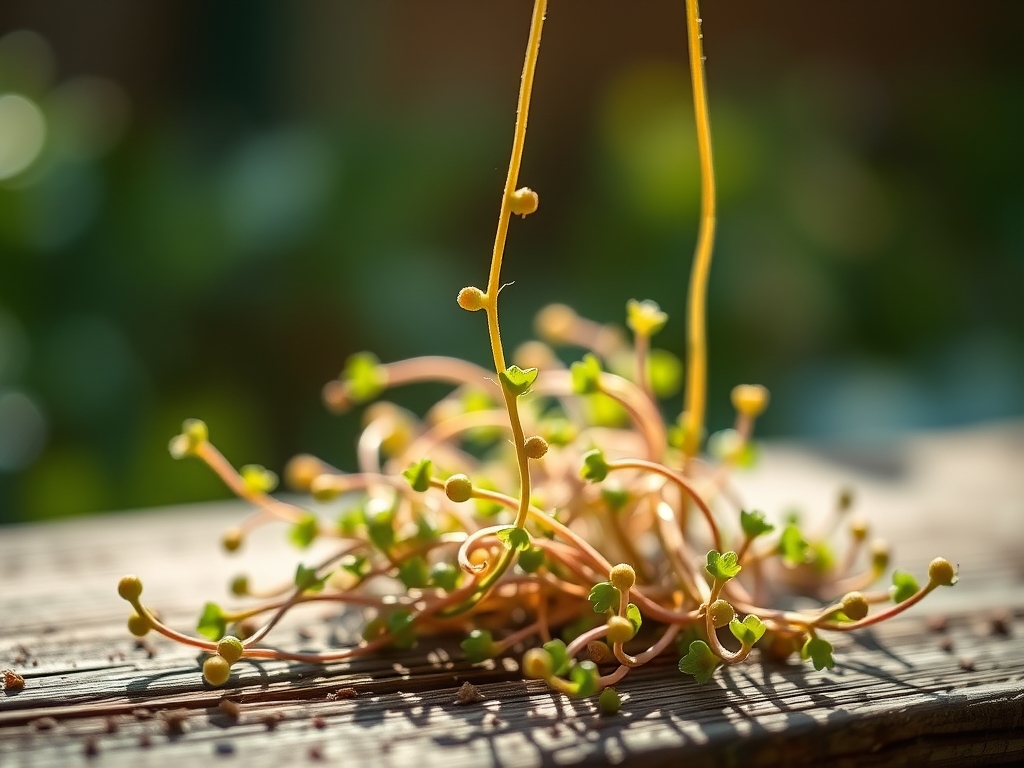
Trailing plants propagate reliably from stem cuttings rather than seed. Select stems with 3 to 5 nodes and make cuts at a 45-degree angle 1/4 inch below a node using sterilized pruning shears. This angled cut increases cambium surface area exposed to rooting hormone, accelerating callus formation. Dip cut ends in 0.1 percent IBA rooting hormone powder.
Insert cuttings 1.5 inches deep into pre-moistened propagation medium composed of equal parts perlite and vermiculite. Maintain substrate temperature between 68°F and 75°F using a seedling heat mat. Enclose containers in clear plastic to sustain 80 percent relative humidity, removing covers for 15 minutes daily to prevent Botrytis colonization.
Pro-Tip: Apply a foliar spray of diluted seaweed extract at 1 tablespoon per gallon every 5 days during the rooting phase. The natural cytokinins stimulate cell division at wound sites and reduce rooting time by 7 to 10 days.
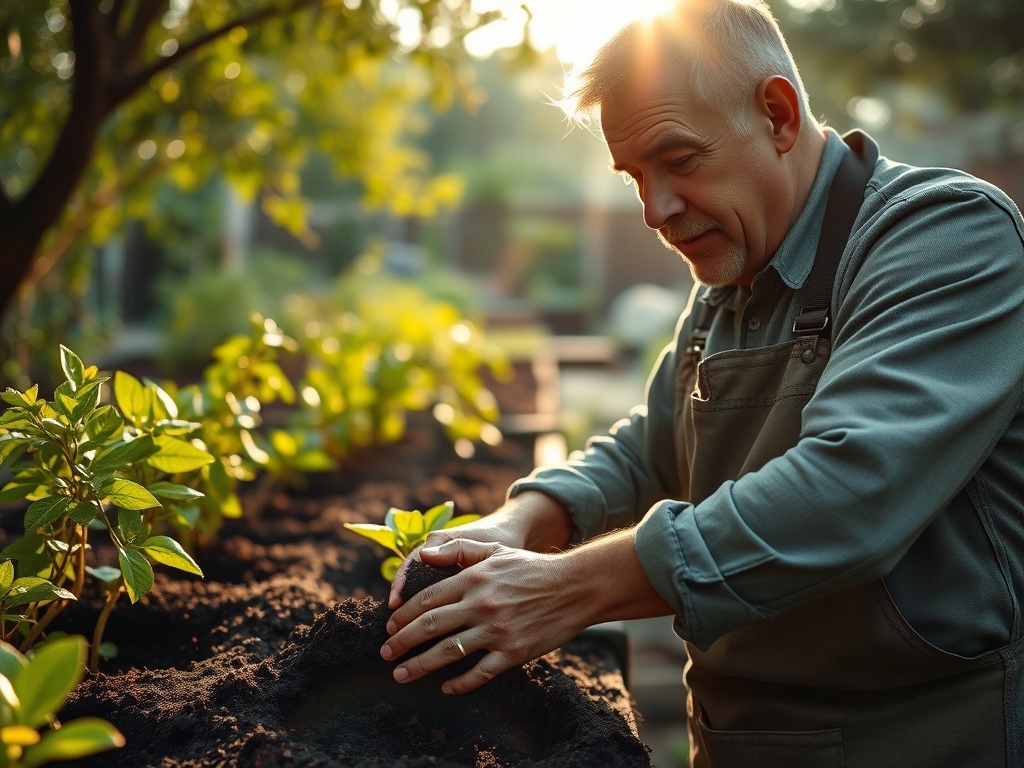
Transplanting
Roots visible through drainage holes or circling the container perimeter indicate readiness for transplanting. This typically occurs 4 to 6 weeks after propagation. Water cuttings 2 hours before transplanting to reduce transplant shock and prevent root hair damage.
Remove rooted cuttings gently and inspect root systems. Healthy roots appear white to cream-colored with numerous fine root hairs. Position the root ball so the original cutting depth remains unchanged. Backfill with prepared substrate, firming gently to eliminate air pockets while avoiding compaction that reduces oxygen availability.
Pro-Tip: Incorporate controlled-release fertilizer prills rated for 3 to 4 months at 1 teaspoon per 6-inch pot during transplanting. This establishes a baseline nutrient supply while roots acclimate to the new substrate.
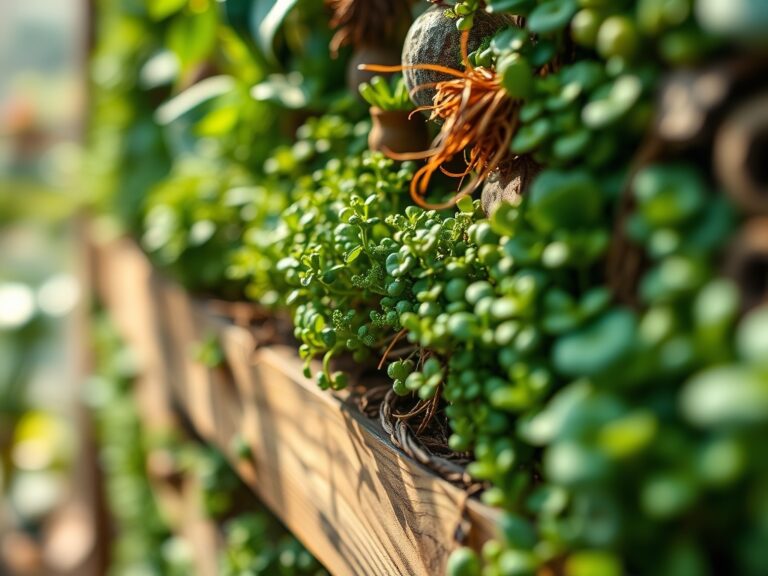
Establishing Growth Pattern
Train trailing stems during the first 8 weeks post-transplant to establish desired cascading architecture. Use soft plant ties to guide stems over container edges or through support structures. Pinch terminal growth points when stems reach 8 to 10 inches to stimulate lateral branching and create fuller growth.
Position containers where stems receive bright indirect light measuring 200 to 400 foot-candles. Use a light meter to verify intensity, as insufficient light produces internodes exceeding 3 inches and reduces leaf size by up to 50 percent. Rotate containers 90 degrees weekly to ensure even light distribution and prevent phototropic leaning.
Pro-Tip: Apply diluted fish emulsion at half-strength (2.5-1.5-1.5 NPK) every 2 weeks during active growth. The readily available nitrogen supports new leaf production without triggering excessive elongation.
Troubleshooting
Symptom: Yellow lower leaves with brown crispy edges.
Solution: Salt accumulation from overfertilization. Flush substrate with distilled water at 3 times container volume. Reduce fertilizer concentration by 50 percent and extend application intervals to 3 weeks.
Symptom: Mushy brown stems near substrate line with white fungal threads.
Solution: Pythium or Rhizoctonia root rot. Remove affected sections, cutting 2 inches into healthy tissue. Reduce watering frequency and improve air circulation. Drench remaining substrate with hydrogen peroxide solution at 1 part 3 percent peroxide to 4 parts water.
Symptom: Stippled yellow leaves with fine webbing on undersides.
Solution: Spider mite infestation. Increase humidity above 50 percent using a humidifier or pebble tray. Spray all leaf surfaces with insecticidal soap at labeled rates every 5 days for 3 applications, ensuring coverage of undersides where mites congregate.
Symptom: Long thin stems with leaves spaced 4+ inches apart.
Solution: Etiolation from insufficient light. Relocate to brighter location or supplement with grow lights providing 12 to 14 hours daily. Prune elongated growth back to nodes with tighter leaf spacing to encourage compact regrowth.
Symptom: Leaf tips turning brown despite adequate watering.
Solution: Fluoride or chlorine toxicity, common in municipal water supplies. Switch to distilled or rainwater. Alternatively, allow tap water to stand uncovered for 48 hours to allow chlorine dissipation before use.
Maintenance
Water when the top 1 to 2 inches of substrate feels dry to touch, typically every 5 to 7 days in standard indoor conditions. Apply room-temperature water until it drains freely, ensuring complete substrate saturation. Empty drainage saucers within 30 minutes to prevent waterlogging.
Feed with balanced liquid fertilizer at quarter-strength (1.25-1.25-1.25 NPK) every watering during the growing season from March through September. Cease fertilization from October through February when reduced light intensity slows metabolic processes and nutrient uptake decreases by approximately 60 percent.
Prune strategically every 6 to 8 weeks, removing stems that exceed desired length and pinching growth points on remaining stems. Make cuts 1/4 inch above nodes at 45-degree angles. Sterilize pruning tools between cuts using 70 percent isopropyl alcohol to prevent pathogen transmission.
Monitor humidity levels with a hygrometer, maintaining 40 to 60 percent relative humidity. Deploy pebble trays filled with water beneath containers or use room humidifiers during heating season when indoor humidity commonly drops below 30 percent. Mist foliage briefly every 3 days if humidity remains persistently low, applying water early in the day to allow leaf surfaces to dry before nighttime.
Inspect stems and leaf undersides weekly for early pest detection. Look for sticky honeydew deposits indicating aphid or scale presence, and check for the characteristic stippling pattern of thrips damage. Wipe leaves monthly with a damp cloth to remove dust that blocks stomata and reduces photosynthetic efficiency by up to 30 percent.
FAQ
How often should I repot trailing indoor plants?
Repot every 18 to 24 months or when roots completely fill the container. Spring months provide optimal conditions for root establishment in fresh substrate.
Can I grow trailing plants in low light conditions?
Most trailing species tolerate low light but produce sparse, elongated growth. Supplement with LED grow lights providing 200+ foot-candles for 12 hours daily to maintain compact growth habit.
Why are my trailing plant leaves turning yellow?
Yellow leaves indicate overwatering, nitrogen deficiency, or natural senescence of older foliage. Assess watering frequency first, then evaluate fertilization schedule if substrate moisture appears appropriate.
What causes brown tips on trailing plant leaves?
Brown tips result from fluoride toxicity, low humidity, fertilizer salt buildup, or inconsistent watering. Switch to distilled water and maintain humidity above 40 percent while flushing substrate quarterly.
How do I make my trailing plants grow fuller?
Pinch terminal growth points every 6 to 8 weeks to stimulate lateral branching. Ensure adequate light intensity and apply balanced fertilizer at quarter-strength with each watering during growing season.