8 Artistic Steps to Build a Vertical Succulent Wall
Crush a leaf of Echeveria between your fingers and you will feel the immediate resistance of turgor pressure; this internal hydraulic force keeps the plant upright and resilient. The scent of damp, mineral-heavy earth signifies a healthy rhizosphere where gas exchange occurs efficiently. Mastering the steps to build a vertical succulent wall requires more than an aesthetic eye; it demands an understanding of gravitational drainage and cellular hydration. A vertical installation forces plants to thrive in a microclimate that defies their natural horizontal habitat. Success depends on selecting species with high drought tolerance and low nutrient requirements to prevent rapid senescence. You must manage the physical weight of saturated substrate against the structural integrity of the frame. Every decision, from the porosity of the potting medium to the orientation of the light source, dictates whether the wall flourishes or collapses into a mass of necrotic tissue. Precision is the only path to a permanent, living architectural feature that maintains its structural and biological health over multiple seasons.
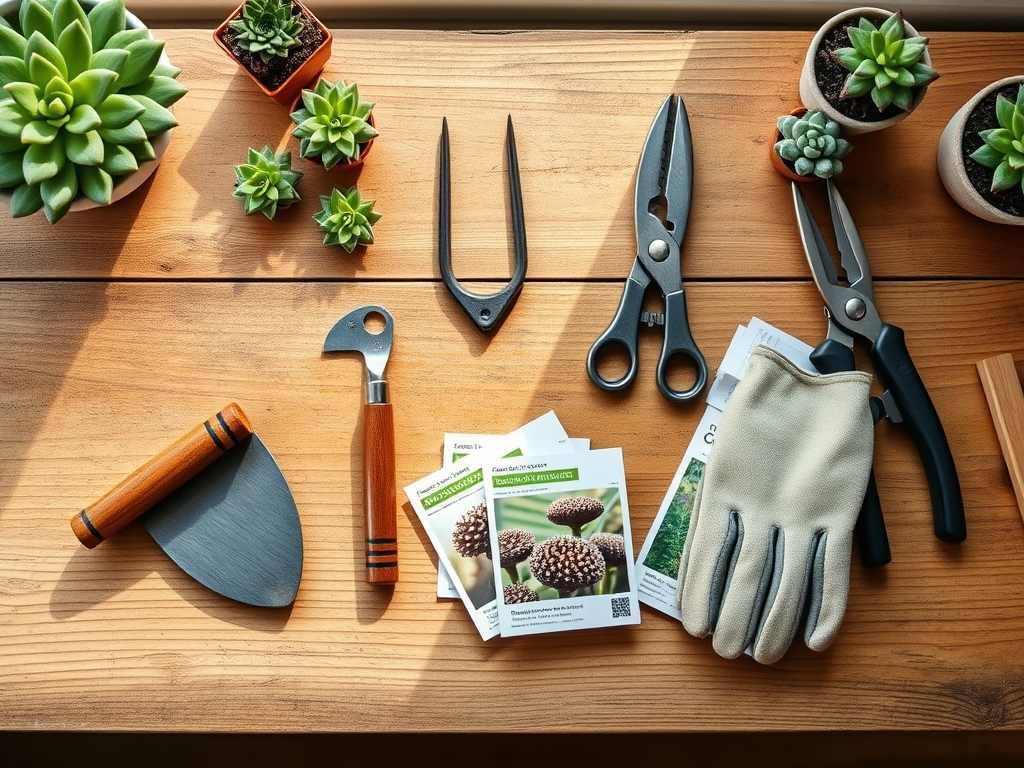
Materials:
The foundation of a vertical wall is the substrate. Succulents require a pH range between 5.5 and 6.5 to ensure optimal nutrient availability. Use a friable loam mixed with 50 percent inorganic matter such as perlite, pumice, or calcined clay. This mixture ensures a high Cation Exchange Capacity (CEC), allowing the roots to access essential minerals without the risk of anaerobic conditions caused by waterlogging.
For fertilization, utilize a low-nitrogen, slow-release formula. An NPK ratio of 5-10-10 or 2-7-7 is ideal. High nitrogen levels encourage weak, leggy growth that cannot support its own weight in a vertical orientation. The physical texture must be gritty; if the soil stains your hands like clay, the drainage is insufficient. Incorporate a frame made of rot-resistant cedar or marine-grade plywood lined with a 6-mil polyethylene moisture barrier to protect the mounting surface from hydraulic rot.
Timing:
Vertical installations should be executed during the active growth phase, typically in USDA Hardiness Zones 9 through 11 for year-round outdoor displays. In Zones 8 and below, the project must be portable or strictly indoor to avoid the cellular rupture caused by freezing temperatures. The ideal window for planting is early spring, when the ambient temperature consistently remains between 60 and 75 degrees Fahrenheit.
This timing aligns with the "Biological Clock" of the plant. As the photoperiod increases, succulents transition from a semi-dormant state to active vegetative growth. Planting during this window allows the root system to establish a symbiotic relationship with beneficial soil microbes before the heat stress of summer. Avoid planting during the reproductive stage (flowering), as the plant diverts its metabolic energy toward seed production rather than root anchorage.
Phases:
Sowing and Selection
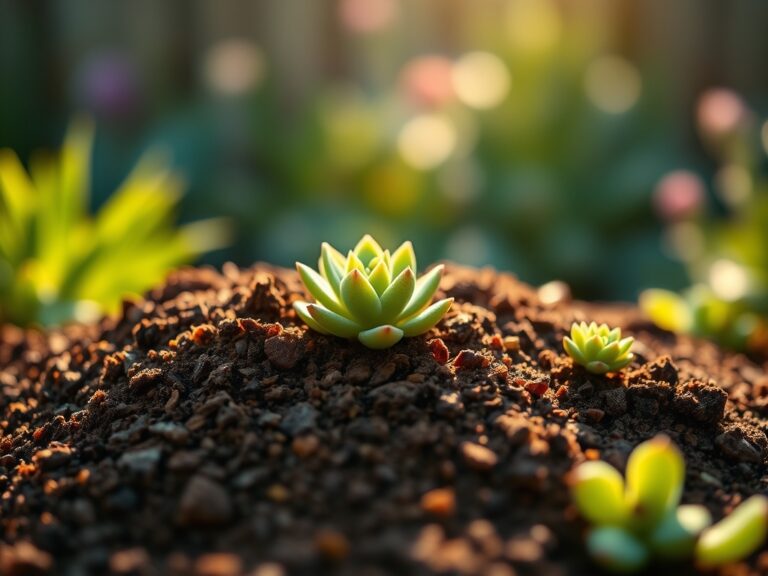
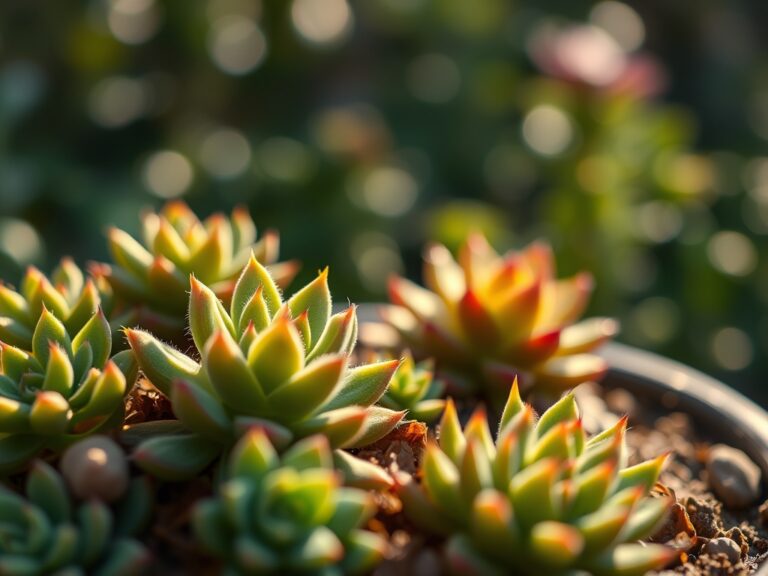
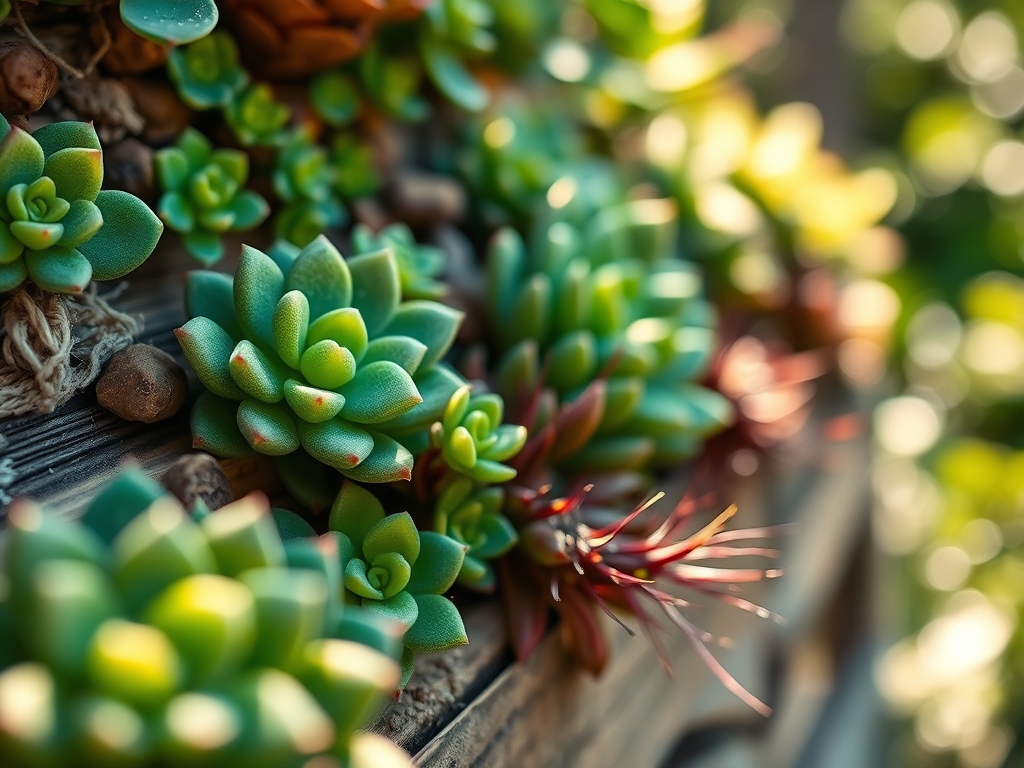
Select species that exhibit compact growth habits. Genera such as Sempervivum, Sedum, and Graptopetalum are ideal due to their ability to tolerate shallow root zones. Ensure all specimens are free of pathogens. If starting from cuttings, allow the cut ends to callus for 48 to 72 hours to prevent opportunistic fungal infections at the site of the wound.
Pro-Tip: Utilize species with high auxin suppression. Auxins are hormones that regulate apical dominance; by choosing plants that naturally clump or rosette, you reduce the need for constant pruning to maintain the wall's geometry.
Transplanting
Lay the frame flat on a horizontal surface. Fill the cells with the prepared substrate and press firmly to eliminate large air pockets. Insert the succulents through the wire mesh or felt pockets, ensuring the root ball is in direct contact with the medium. Space plants 2 to 3 inches apart to allow for lateral expansion without immediate overcrowding.
Pro-Tip: Observe the orientation of the leaves. Plants exhibit phototropism, moving toward light sources. Planting them at a slight upward angle compensates for the eventual gravitational pull on the stems as they grow heavier with stored water.
Establishing
The wall must remain horizontal for a period of 4 to 6 weeks. This duration is critical for the roots to navigate the new substrate and anchor themselves firmly against the mesh. Gravity is your enemy during this phase; uprighting the wall too early will cause soil displacement and root shearing.
Pro-Tip: During this phase, encourage mycorrhizal symbiosis by avoiding high-phosphorus fertilizers. This fungal partnership extends the root system's reach, improving water uptake efficiency by up to 30 percent.
The Clinic:
Physiological disorders in vertical walls often manifest as visible changes in leaf color or texture.
- Symptom: Yellowing of lower leaves (Chlorosis).
- Solution: This typically indicates a Nitrogen deficiency. Apply a diluted liquid fertilizer with a 5-5-5 NPK ratio to restore chlorophyll production.
- Symptom: Elongated stems and pale growth (Etiolation).
- Solution: This is a response to insufficient light. Increase light exposure to at least 6 hours of bright, indirect sunlight daily.
- Symptom: Soft, translucent brown leaves.
- Solution: This is a sign of edema or root rot from overwatering. Reduce irrigation frequency and check for substrate compaction.
- Symptom: Purple or reddish tints on green species.
- Solution: This is often "sun stress" or a response to cold. It is not always harmful but indicates the plant is producing anthocyanins to protect its tissues from high UV levels.
Maintenance:
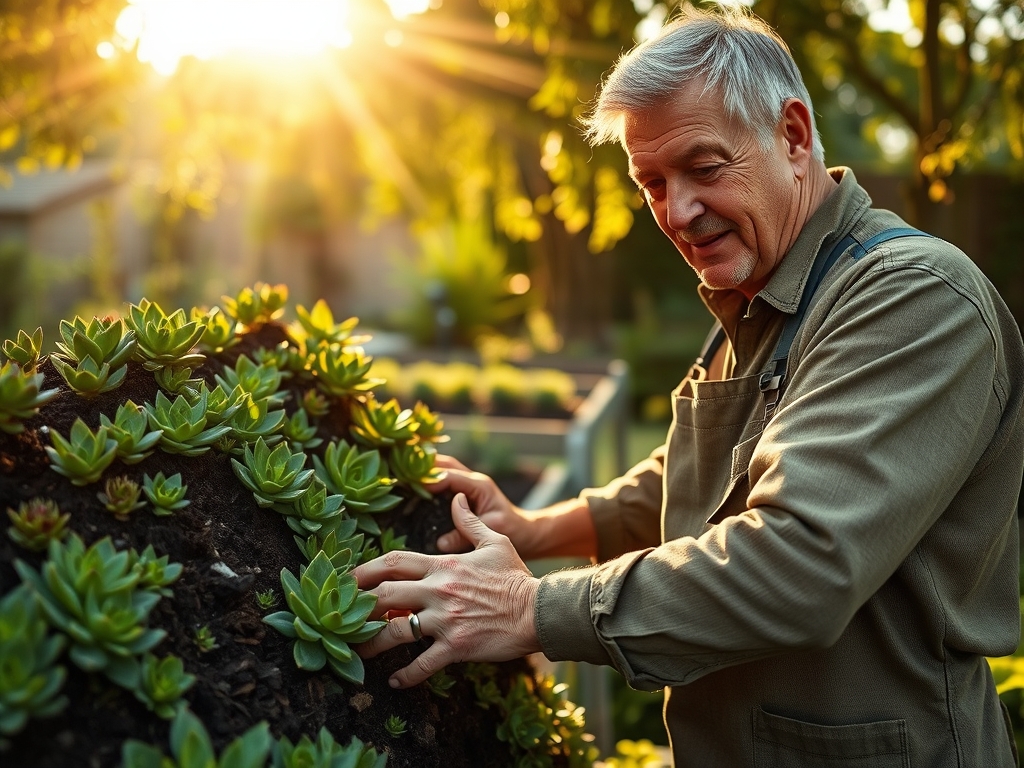
Maintenance requires a disciplined schedule. Use a soil moisture meter to probe the substrate at various heights; the top of the wall will dry faster than the bottom due to gravity. Provide approximately 0.5 to 1.0 inch of water every 10 to 14 days, depending on humidity levels. Use a hori-hori knife to remove dead offsets or to wedge new substrate into gaps that have eroded.
Pruning should be performed with sterilized bypass pruners to ensure clean cuts that heal quickly. Remove any spent flower stalks immediately to prevent the plant from entering a post-reproductive decline. If a specific plant fails, use a small trowel to excise the entire root ball and replace it with a fresh specimen of similar size to maintain the visual density of the installation.
The Yield:
While succulent walls are primarily ornamental, the "yield" is measured in the production of pups or offsets. Many species, like Sempervivum (Hens and Chicks), produce genetically identical clones on stolons. Harvest these by snipping the umbilical stem once the pup has reached 20 percent of the parent's size.
To handle these for "day-one" freshness in new projects, keep the offsets in a cool, dry, shaded area. Do not place them in water; succulents are adapted to survive on stored moisture. A healthy offset can survive for weeks before needing to be tucked into a new substrate, provided its cellular turgor remains high.
FAQ:
How often should I water a vertical succulent wall?
Water every 10 to 14 days or when the soil moisture meter reads below 20 percent. Vertical walls dry unevenly; always check the top cells first as they lose moisture most rapidly due to gravity and evaporation.
What is the best soil for a succulent wall?
Use a gritty, well-draining mix with a pH of 5.5 to 6.5. Combine 50 percent organic potting soil with 50 percent inorganic aggregates like pumice or perlite to prevent root rot and ensure proper gas exchange.
Can I build a succulent wall indoors?
Yes, provided it receives 6 to 8 hours of high-intensity light. Use supplemental LED grow lights if natural light is insufficient to prevent etiolation, which weakens the plant's structural integrity and aesthetic appeal.
How do I prevent plants from falling out?
Keep the wall horizontal for 4 to 6 weeks after planting. This allows the roots to weave through the mesh and anchor into the substrate. Use a sturdy landscape fabric or wire mesh to provide mechanical support.