5 Best Files for Sharpening Hoes
The scent of bruised chlorophyll and damp, silty loam defines the start of a productive day in the field. When the turgor pressure of a weed is at its peak, a dull blade will merely fold the stem against the soil surface rather than severing the vascular tissue. Precision in the garden begins with the edge of your tool. To maintain a surgical strike against invasive root systems, selecting the best files for sharpening hoes is a fundamental requirement for any serious horticulturist. A sharp hoe reduces the physical exertion required for cultivation and prevents the compaction of the rhizosphere that occurs when a blunt tool is forced into the substrate. By maintaining a 45 degree bevel on your stirrup or Dutch hoe, you ensure a clean transverse cut through the xylem and phloem of unwanted vegetation. This efficiency preserves soil structure and protects the fungal hyphae essential for nutrient cycling.
Materials:
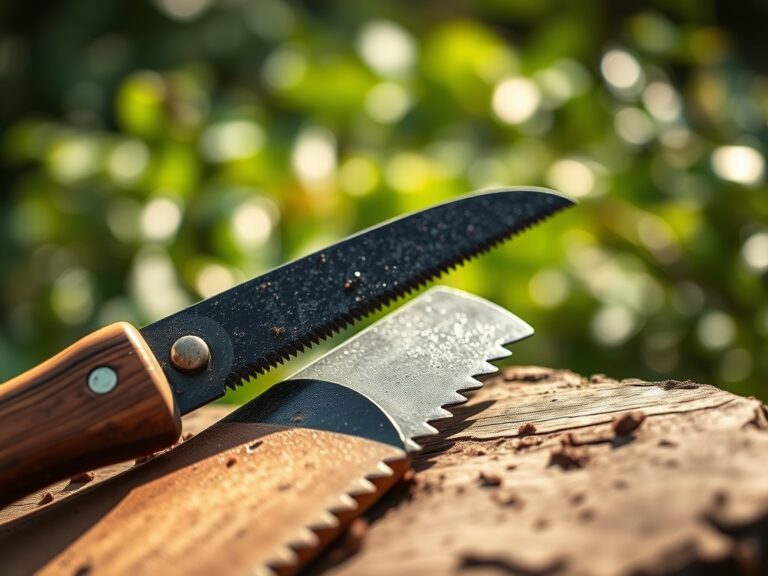
The efficacy of your sharpening routine depends on the quality of the steel and the environment in which you work. For standard carbon steel hoes, a **10 inch mill bastard file** provides the optimal grit for rapid metal removal. If you are working with stainless steel implements, a **diamond-coated flat file** is necessary to address the higher Rockwell hardness of the alloy.
Beyond the metal, the soil environment dictates the frequency of sharpening. In a friable loam with a pH of 6.5, tool wear is moderate. However, in soils with high sand content (silica), the abrasive nature of the particles dulls edges rapidly. If your soil has a high Cation Exchange Capacity (CEC), often found in heavy clays with a CEC above 25 meq/100g, the resistance of the soil requires a razor-sharp edge to prevent structural smearing. Ensure you have an NPK ratio of 5-10-10 integrated into the top 6 inches of your substrate before the final cultivation pass to support root establishment in the newly cleared zones.
Timing:
Successful cultivation is governed by the USDA Hardiness Zones and the biological clock of the target species. In Zones 5 through 7, the primary sharpening window occurs during the late winter dormancy period, typically between January 15 and March 1. This ensures tools are prepared for the first flush of spring weeds.
As the photoperiod increases, plants transition from the vegetative stage to the reproductive stage. You must intervene before the weeds reach the "bolting" phase. Once a plant shifts its energy from leaf production to seed production, the lignification of the stem makes it harder to cut. Aim to cultivate when the soil temperature reaches a consistent 55 degrees Fahrenheit, as this marks the germination peak for many annual competitors.
Phases:
Sowing
Before the first seed hits the furrow, the soil must be prepared with a sharp scuffle hoe. This creates a clean seedbed without overturning the soil profile, which preserves the delicate mycorrhizal symbiosis in the upper 2 inches of the earth. Use long, steady strokes with your mill file, moving only in one direction to avoid creating a wire edge.
Pro-Tip: Maintaining a sharp edge allows for shallow cultivation that minimizes the exposure of buried weed seeds to light. This prevents phototropism in dormant seeds, effectively reducing the future weed seed bank without the use of chemical suppressants.
Transplanting
When moving starts from the greenhouse to the field, use a sharpened hoe to create precise planting holes. This ensures the root ball makes immediate contact with the native soil. For heavy feeders, ensure the planting site has been amended to reach an NPK of 10-10-10 to prevent transplant shock.
Pro-Tip: A clean cut in the soil prevents the "glazing" of the planting hole walls. Glazing occurs when a dull tool smears wet clay, creating a barrier that prevents lateral root penetration and limits the plant's ability to access the surrounding rhizosphere.
Establishing
During the first 21 days of establishment, irrigation must be precise. Use a soil moisture meter to ensure the root zone remains at 70 percent field capacity. Sharpened hoes are used here for "blind cultivation," breaking the soil crust to improve gas exchange and oxygenate the roots.
Pro-Tip: Regular shallow cultivation stimulates auxin suppression in the weeds you disturb. By severing the apical meristem of young weeds, you disrupt the hormonal flow that allows them to dominate the canopy, giving your primary crop the competitive advantage for light.
The Clinic:
Physiological disorders often mimic nutrient deficiencies. Distinguishing between them is critical for crop health.
- Symptom: Interveinal chlorosis on older leaves.
- Solution: This indicates Nitrogen deficiency. Apply a high-nitrogen organic fertilizer (NPK 12-0-0) to the soil surface and lightly incorporate it with a sharp hoe.
- Symptom: Blossom end rot in Solanaceous crops.
- Solution: This is a Calcium transport issue, often caused by erratic moisture levels rather than a lack of soil calcium. Use a soil moisture meter to maintain consistent hydration.
- Symptom: Purpling of the underside of leaves.
- Solution: This suggests Phosphorus deficiency, common in cold soils below 50 degrees Fahrenheit. Use a sharpened hoe to aerate the soil, which helps it warm up faster and increases phosphorus availability.
- Symptom: Marginal leaf necrosis (burning of leaf edges).
- Solution: Often a sign of Potassium deficiency or high salinity. Flush the soil with 2 inches of water and check the CEC levels to ensure proper nutrient retention.
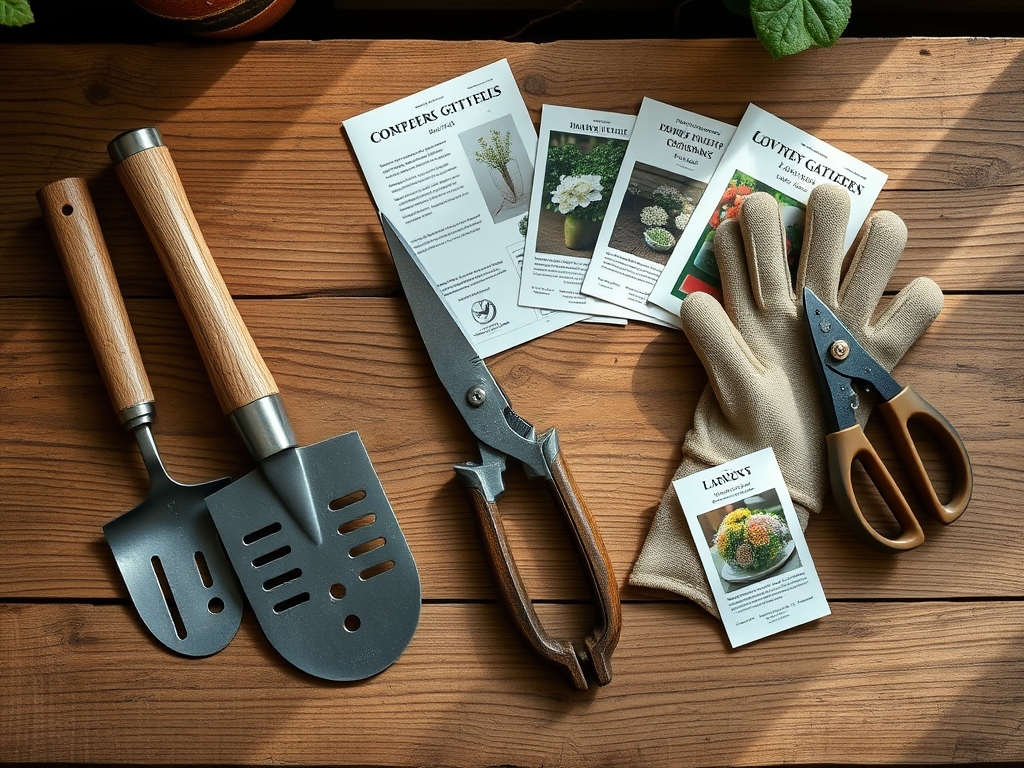
Maintenance:
Precision tools require rigorous upkeep. After every use, wipe the blade of your hori-hori knife and hoe with a cloth soaked in mineral oil to prevent oxidation. For irrigation, provide exactly 1.5 inches of water per week delivered at the drip line. Avoid overhead watering to reduce the risk of fungal pathogens colonizing the leaf surface.
Use bypass pruners for any woody material; never use a garden hoe to chop through branches, as this will chip the tempered steel. Check your soil's pH every 6 months. If the pH drifts above 7.5, sulfur applications may be necessary to lower it back to the ideal 6.2 to 6.8 range for maximum nutrient bioavailability.
The Yield:
Harvesting is the culmination of the plant's life cycle. For leafy greens, harvest in the early morning when turgor pressure is at its maximum. This prevents wilting and ensures the highest concentration of phytonutrients. For root crops, use a sharpened hoe to gently loosen the soil 4 inches away from the plant base to avoid mechanical damage to the epidermis.
Post-harvest, submerge produce in cold water (40 degrees Fahrenheit) to remove field heat. This slows down senescence, the biological aging process, and keeps the produce crisp for several days. For flowers, a clean cut with a sharpened blade prevents the crushing of the vascular bundles, allowing for maximum water uptake in the vase.
FAQ:
What is the best file for sharpening a garden hoe?
A 10 inch mill bastard file is the industry standard. It features a single-cut grain that removes metal efficiently while leaving a smooth, durable edge suitable for slicing through tough weed stems and compacted soil.
How often should I sharpen my garden tools?
Sharpen your hoe every 4 to 6 hours of active use. In sandy or rocky soils, you may need to touch up the edge every hour to maintain optimal cutting efficiency and reduce physical strain.
What angle should I use when sharpening a hoe?
Maintain a 45 degree angle between the file and the blade. This creates a balance between a razor-sharp edge and a durable bevel that will not chip when it encounters small stones or heavy clay.
Do I need to sharpen both sides of the hoe blade?
Most hoes are single-beveled. Sharpen only the outside edge that faces away from the handle. After sharpening, lightly run the file flat against the back side once to remove any "burrs" or curled metal.