9 Easy Ways How to Prep Flower Borders
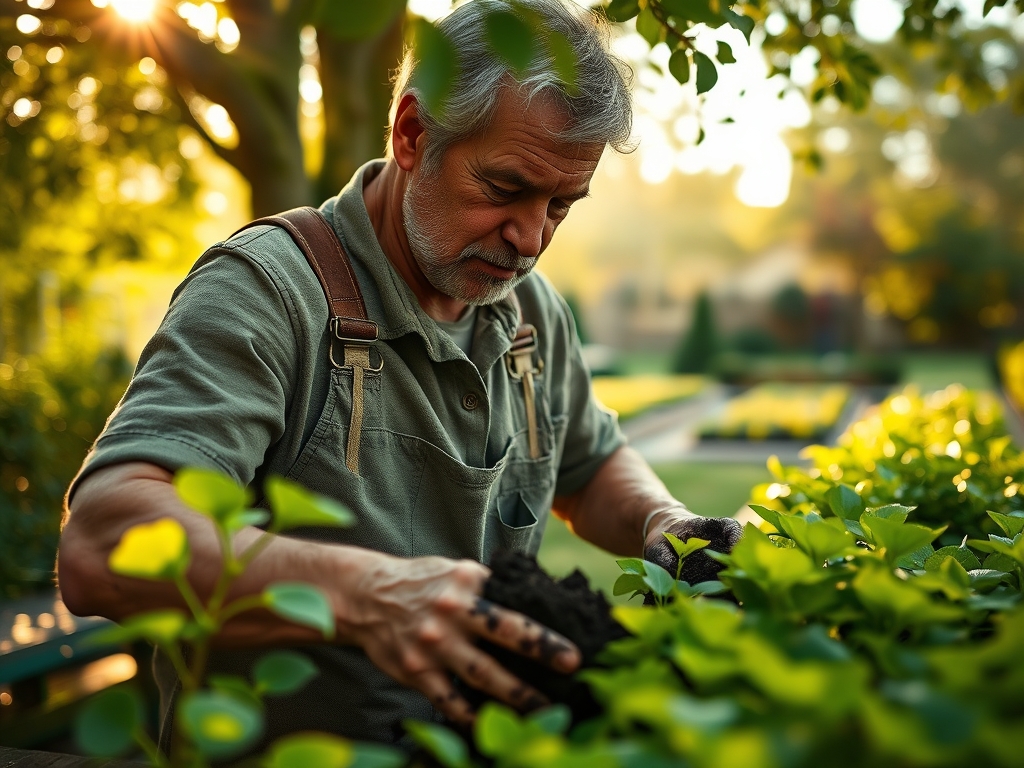
The smell of damp earth and the gritty texture of decomposed organic matter signal the start of the growing season. Success in the garden is not a result of luck; it is a direct consequence of soil physics and cellular hydration. When you understand how to prep flower borders, you are managing the turgor pressure of every cell in the plant. This preparation involves optimizing the rhizosphere to ensure roots can access water and nutrients without metabolic stress. A well-prepared border provides the structural support and chemical environment necessary for rapid root expansion. Without this foundation, plants suffer from stunted growth and poor vascular development. Proper preparation ensures that the soil has the correct porosity to allow for gas exchange while maintaining enough moisture to prevent permanent wilting. By focusing on the chemical and physical properties of the substrate, you create a resilient environment that supports high-level physiological performance throughout the entire growth cycle.
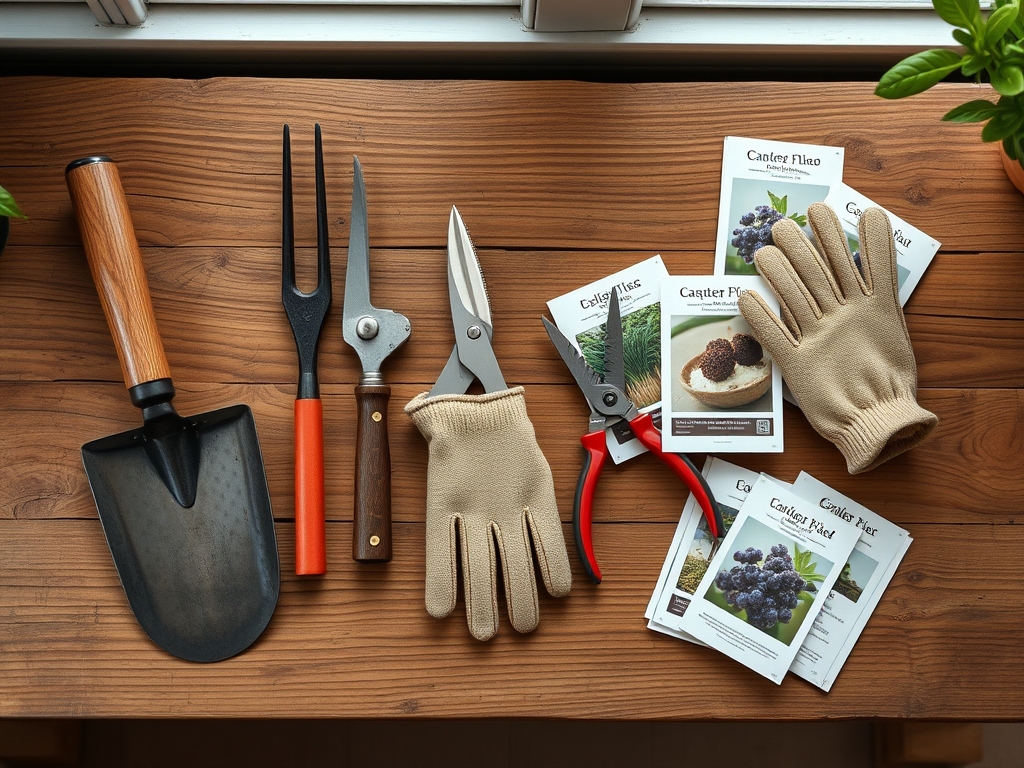
Materials:
The ideal substrate for a flower border is a **friable loam** with a composition of approximately 40 percent sand, 40 percent silt, and 20 percent clay. This balance ensures a high **Cation Exchange Capacity (CEC)**, allowing the soil to hold onto essential nutrients like potassium and magnesium. You must target a **soil pH between 6.0 and 7.0** for most ornamental species to ensure maximum nutrient bioavailability.
For the initial amendment, utilize a balanced 10-10-10 NPK fertilizer to establish a baseline of nitrogen, phosphorus, and potassium. If you are prepping for heavy feeders like roses or dahlias, incorporate a 5-10-10 ratio to prioritize root development and bud formation over excessive leaf growth. You will also need high-quality organic matter, such as leaf mold or composted manure, which should be tilled into the top 8 to 12 inches of the soil profile. This organic component increases the water-holding capacity and introduces beneficial microbial life.
Timing:
Preparation must align with your specific USDA Hardiness Zone. In Zones 5 through 7, border preparation should begin as soon as the soil is workable, typically 4 to 6 weeks before the last frost date. Working soil that is too saturated will destroy its structure, leading to compaction that prevents root penetration.
The biological clock of the plant dictates this timing. Most perennials transition from vegetative growth to reproductive stages based on the photoperiod (day length) and soil temperature. You want the border ready when soil temperatures consistently reach 55 degrees Fahrenheit. This temperature threshold triggers the activation of soil microbes and allows for the rapid establishment of root systems before the heat of summer increases the transpiration rate.
Phases:
Sowing
Direct sowing requires a fine-textured seedbed. Remove all large clods and debris to ensure maximum seed-to-soil contact. For seeds requiring light for germination, sow them on the surface and press firmly. For others, sow at a depth of 2 to 3 times the diameter of the seed.
Pro-Tip: Maintain consistent moisture to prevent the delicate radicle from desiccating. This is vital because of imbibition, the process where the seed absorbs water to trigger metabolic activity.
Transplanting
When moving starts into the border, dig a hole twice as wide as the root ball. This loosened soil allows for easier lateral root expansion. Ensure the plant is set at the same depth it was in its container to avoid stem rot or root exposure.
Pro-Tip: When transplanting, avoid disturbing the root mass excessively to preserve mycorrhizal symbiosis. These fungi extend the root system's reach, significantly increasing the uptake of phosphorus and water.
Establishing
The first 14 days are critical for establishment. During this window, the plant is focused on overcoming transplant shock and re-establishing vascular connections. Provide shade if temperatures exceed 85 degrees Fahrenheit to reduce the demand on the limited root system.
Pro-Tip: Use a high-phosphorus "starter" fertilizer to encourage auxin production in the root tips. Auxins are hormones that drive downward root growth, ensuring the plant can access deeper moisture reserves.
The Clinic:
Physiological disorders often mimic disease but are usually caused by environmental stress or nutrient imbalances.
- Symptom: Interveinal Chlorosis. The leaves turn yellow while the veins remain green.
- Solution: This is typically an Iron or Magnesium deficiency. Check the pH first; if the pH is above 7.0, iron becomes insoluble. Lower the pH using elemental sulfur.
- Symptom: Leaf Scorch. The edges of the leaves turn brown and crispy.
- Solution: This indicates a failure in the xylem to transport enough water to the leaf margins. Increase irrigation and apply mulch to stabilize soil moisture.
- Symptom: Blossom End Rot. Dark, sunken spots on the base of developing fruit or flowers.
- Solution: This is caused by a Calcium deficiency, often triggered by erratic watering. Ensure consistent moisture to allow for steady calcium uptake through the transpiration stream.
- Symptom: Nitrogen Chlorosis. The entire plant, starting with older leaves, turns a pale lime green.
- Fix-It: Apply a fast-acting, water-soluble fertilizer with a high first number (Nitrogen) to restore chlorophyll production.
Maintenance:
Precision is the hallmark of professional maintenance. Flower borders require approximately 1.5 inches of water per week, delivered directly to the drip line rather than the foliage to prevent fungal pathogens. Use a soil moisture meter to verify that the moisture has penetrated at least 6 inches deep.
Keep a hori-hori knife sharp for weeding; this tool allows you to extract the entire taproot of invasive species without disrupting the root systems of your ornamentals. Use bypass pruners for "deadheading," which is the removal of spent blooms. This prevents the plant from diverting energy into seed production and instead encourages a second flush of vegetative or floral growth. Monitor for senescence (natural aging) and remove yellowing foliage to maintain airflow and reduce pest habitats.
The Yield:
When harvesting flowers for indoor use, timing is essential for post-harvest longevity. Cut flowers in the early morning when turgor pressure is at its peak. Use a sharp, sterilized blade to make a 45-degree angled cut, which increases the surface area for water uptake.
Immediately plunge the stems into cool water. For woody stems, a vertical slit at the base can further improve hydration. Store the cut flowers in a cool, dark location for two hours before arranging them to allow the vascular system to stabilize. This process ensures "day-one" freshness and prevents premature wilting.
FAQ:
How deep should I till my flower border?
Aim for a depth of 8 to 12 inches. This provides enough loosened soil for the majority of ornamental root systems to expand without encountering compacted subsoil, which can lead to drainage issues and stunted growth.
What is the best way to lower soil pH?
Apply elemental sulfur based on the results of a professional soil test. It takes several months for soil bacteria to convert sulfur into sulfuric acid, so apply it in the fall for spring planting results.
Can I use fresh manure in my borders?
No. Fresh manure has a high ammonia content that can cause root burn and may contain pathogens. Only use manure that has been hot-composted for at least six months to ensure it is chemically stable.
How often should I mulch my flower beds?
Apply a 2 to 3-inch layer of organic mulch annually. Mulch regulates soil temperature, suppresses weed germination by blocking light, and eventually decomposes to improve the soil's organic matter content and Cation Exchange Capacity.