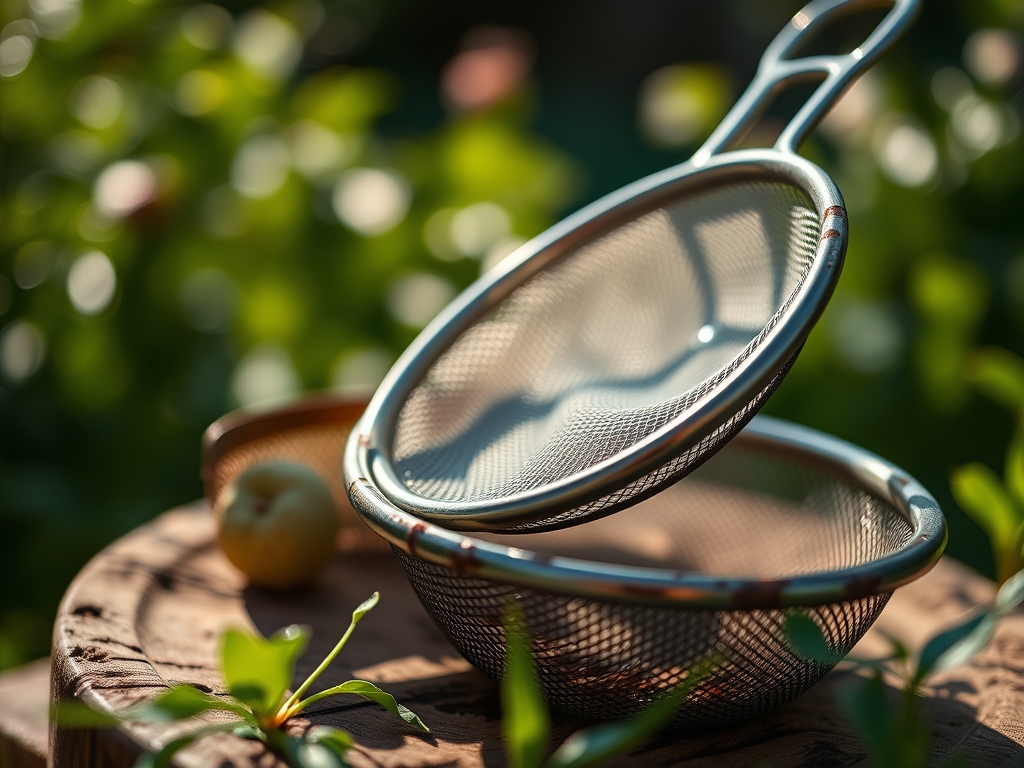
8 Simple Ways How to Clean Garden Sieves
The smell of damp earth signals the presence of geosmin; this organic compound reflects a healthy microbial community within the rhizosphere. When soil particles clog the mesh of a riddle, the turgor pressure of your plants eventually suffers because you cannot properly refine the growing medium. Understanding how to clean garden sieves is not a matter of aesthetics; it is a requirement for maintaining soil porosity and preventing the cross-contamination of fungal pathogens like Pythium. A clogged sieve restricts the flow of friable loam. This creates uneven particle distribution that disrupts the capillary action of water within your seed trays.
Materials:
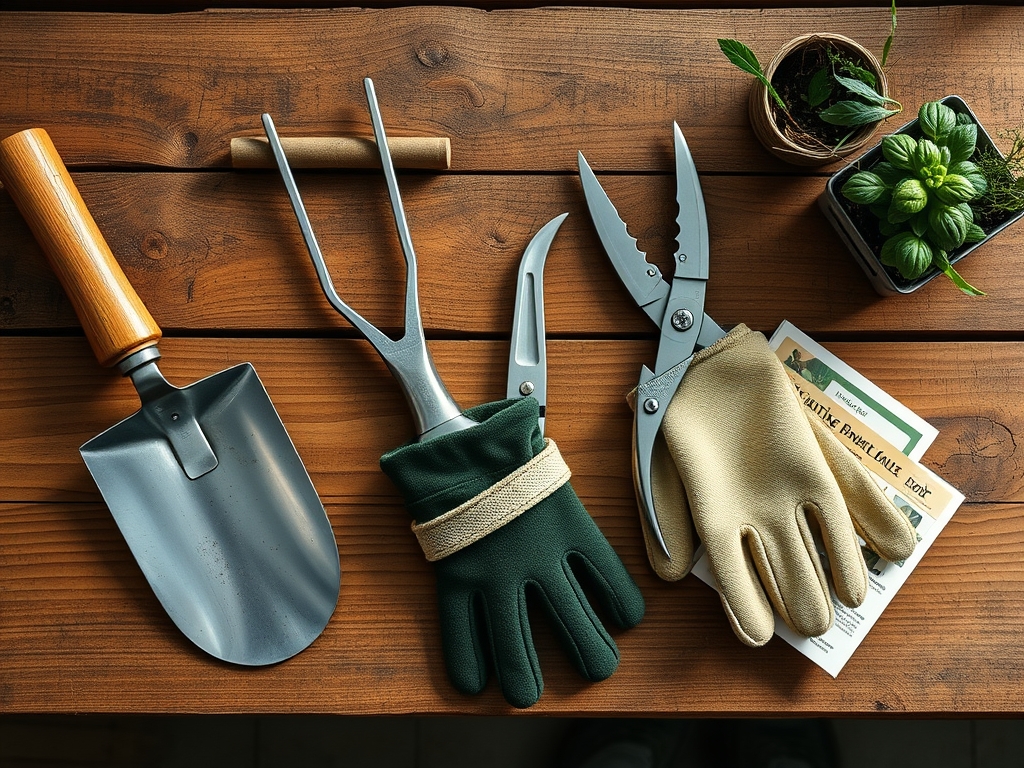
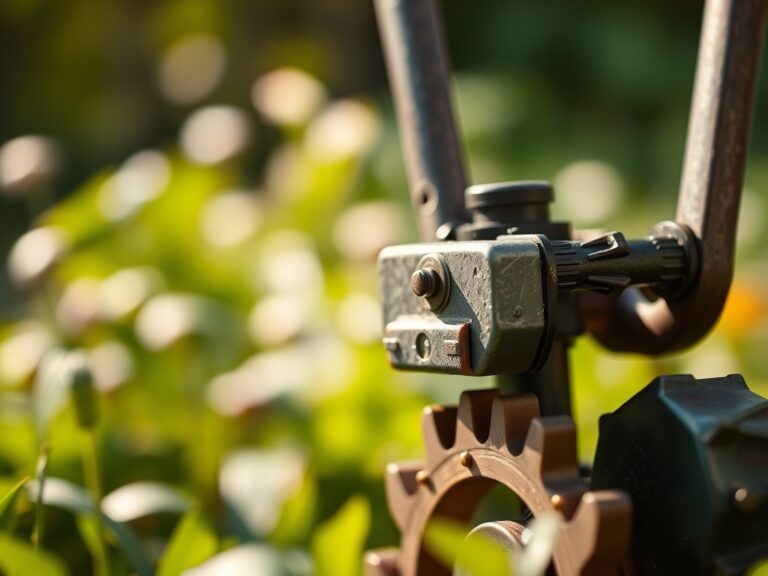
Cleaning your sieves requires a workspace prepared for high-volume organic debris. The ideal substrate for testing your cleaned sieve is a **friable loam** with a **pH between 6.0 and 7.0**. This balance ensures optimal nutrient availability. When processing compost through your sieve, target an **NPK ratio of 4-4-4** for general soil conditioning. High nitrogen (N) levels above **5%** can lead to rapid vegetative growth but may weaken the cellular walls if not balanced by potassium (K). You will need a stiff-bristled nylon brush, a pressurized water source at **40 to 60 PSI**, and a **10% bleach solution** or **70% isopropyl alcohol** for sterilization.
Timing:
In Hardiness Zones 5 through 8, the primary window for sieve maintenance occurs during the dormant season, typically between the first hard frost and the spring thaw. This timing aligns with the biological clock of the garden; as perennial species enter senescence, the demand for sifted soil shifts from the field to the greenhouse. You must complete the cleaning process before the photoperiod exceeds 12 hours, which triggers the transition from vegetative to reproductive stages in many overwintering species. Cleaning your tools during this window prevents the mechanical transfer of dormant weed seeds or overwintering insect larvae into your spring starts.
Phases:

Sowing
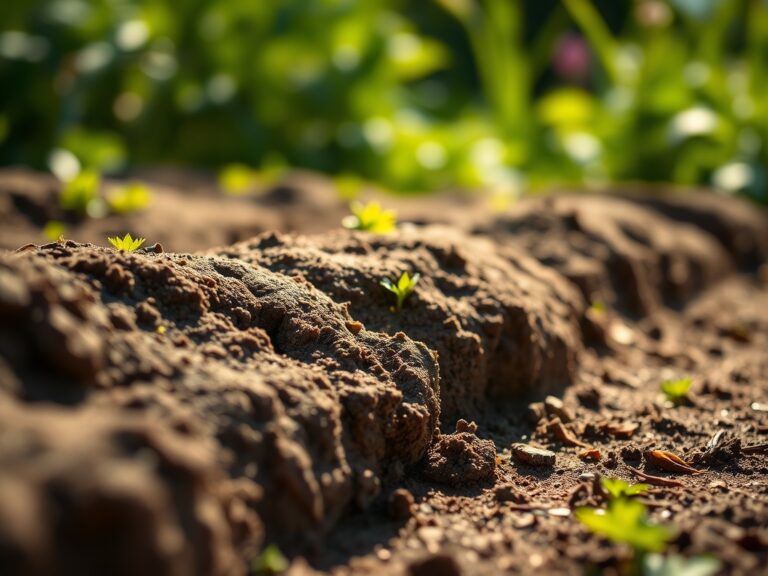
The first step in how to clean garden sieves involves mechanical agitation. Use a hori-hori knife to scrape away large clods of clay-heavy soil. This prevents the mesh from stretching under the weight of saturated aggregates. Work in a dry environment to ensure the soil particles reach their permanent wilting point, making them easier to dislodge.
Pro-Tip: Removing dry debris prevents the formation of anaerobic pockets. This is vital because mycorrhizal symbiosis requires an aerobic environment to colonize the root zone effectively once the soil is used.
Transplanting
Once the bulk material is removed, submerge the sieve in a basin of water. Use a stiff brush to scrub the intersections of the wire mesh. Focus on the edges where the screen meets the frame; these areas often harbor pathogenic spores that can cause "damping off" in young seedlings.
Pro-Tip: Thoroughly cleaning the mesh ensures maximum light penetration and airflow during the sifting process. This mimics the environmental triggers needed for phototropism, as uniform soil texture allows for straight radicle emergence.
Establishing
The final phase is chemical sterilization. Spray the sieve with a disinfectant to eliminate residual bacteria. Allow the tool to air dry completely in a location with high air circulation. This prevents oxidation of the metal components, which can alter the Cation Exchange Capacity (CEC) of the soil if rust particles are introduced into the medium.
Pro-Tip: Sterilization suppresses auxin suppression caused by plant-borne viruses. Clean tools ensure that the hormones responsible for apical dominance are not inhibited by external biological stressors.
The Clinic:
Symptom: Mesh wires are coated in a white, powdery film.
Solution: This is likely calcium carbonate buildup from hard water. Soak the sieve in a 5% acetic acid (vinegar) solution for 30 minutes to dissolve the mineral deposits.
Symptom: The sieve frame shows signs of orange, flaky oxidation.
Solution: Use a wire brush to remove the rust. Apply a thin coat of food-grade mineral oil to create a hydrophobic barrier.
Symptom: Soil is sticking to the mesh even when dry.
Solution: This indicates a high clay content or high organic matter mucilage. Increase the frequency of cleaning to every 10 cubic feet of material processed.
Fix-It for Nutrient Deficiency: If your sifted soil leads to Nitrogen chlorosis (yellowing of older leaves), your sieve may be removing too much organic "fines." Use a larger mesh size, such as 1/4 inch, to ensure carbon-rich particles remain in the mix.
Maintenance:
To maintain your sieves and the plants they support, precision is required. Use a soil moisture meter to ensure your potting bench remains at 40% humidity; this prevents soil from "baking" onto your tools. When working in the garden, provide 1.5 inches of water per week at the drip line for established plants. Always keep your bypass pruners and hori-hori knife sharp; dull tools create ragged wounds that are susceptible to the same pathogens found on dirty sieves. Store your sieves vertically to prevent the mesh from sagging, which maintains the structural integrity of the aperture.
The Yield:
When your sieves are clean, the resulting soil structure allows for a superior harvest. For root crops like carrots or radishes, the absence of large stones or clods ensures straight, unbranched taproots. Harvest these crops when the soil temperature is between 55 and 65 degrees Fahrenheit for peak sugar concentration. To maintain "day-one" freshness, wash the produce in cold water immediately to remove field heat and reduce the rate of respiration. This preservation of turgor pressure ensures the cell walls remain crisp from the garden to the table.
FAQ:
How often should I clean my garden sieve?
Clean the sieve after every use or every 10 gallons of soil processed. This prevents the buildup of pathogens and mineral salts. Mechanical cleaning ensures the mesh maintains a high Cation Exchange Capacity by preventing contamination from oxidized metals.
Can I use a pressure washer on my sieve?
Yes, use a pressure washer set between 40 and 60 PSI. This force effectively dislodges compacted clay from the mesh intersections. Avoid higher pressures to prevent warping the wire or damaging the structural integrity of the wooden or metal frame.
What is the best disinfectant for garden tools?
A 10% bleach solution or 70% isopropyl alcohol is the industry standard. These concentrations effectively denature the proteins of fungal spores and bacteria. Always rinse metal tools after using bleach to prevent long-term corrosion of the sieve mesh.
Why is soil texture important for cleaning?
Clay-heavy soils require more frequent cleaning due to their adhesive properties. If clay dries on the mesh, it creates a physical barrier that reduces the sieve's efficiency. Maintaining a friable loam texture makes the cleaning process significantly faster and more effective.