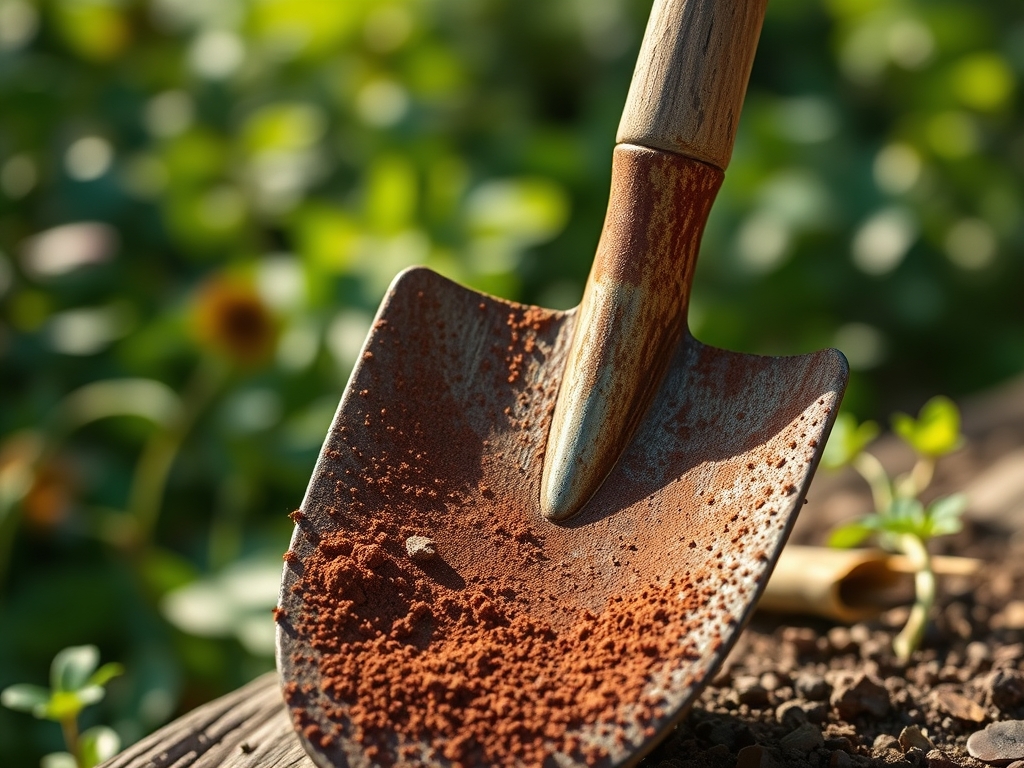
10 Simple Steps to Remove Rust from Shovels
Damp earth emits a sharp, metallic tang when a spade blade loses its structural integrity to oxidation. Ferric oxide, or rust, increases surface friction and compromises the turgor pressure of the soil as you attempt to slice through the rhizosphere. A rusted tool is more than an eyesore; it is a vector for pathogens that can interrupt the vascular systems of your perennials. Following the correct steps to remove rust from shovels ensures your equipment maintains the sharp edge necessary for clean, surgical cuts that minimize plant stress. Maintaining a smooth, polished surface reduces the physical effort required to penetrate a friable loam, allowing for precise depth control during the critical transplanting phase.
Materials:
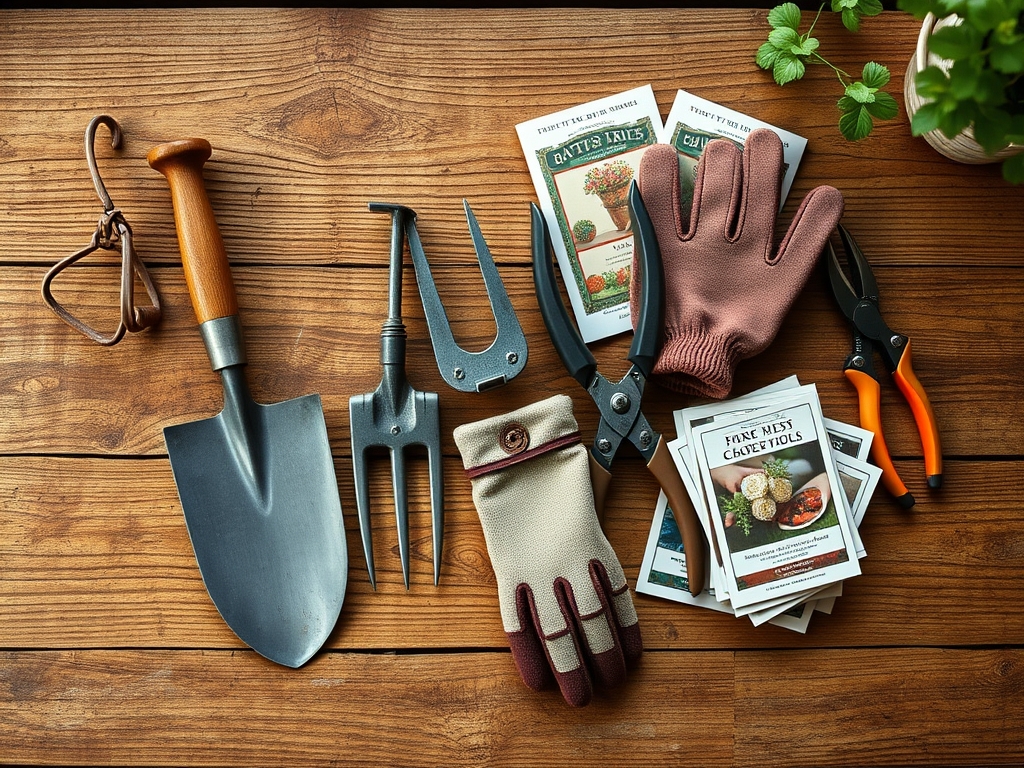
Restoring tools requires an environment conducive to chemical stability. While the focus is on the metal, the work must be done away from your planting beds to avoid contaminating soil with a **pH of 6.5 to 7.0**. High concentrations of iron oxide flakes can temporarily disrupt the **Cation Exchange Capacity (CEC)** of the soil if allowed to accumulate in the root zone. You will need a stiff wire brush, 80-grit and 120-grit sandpaper, and a container of white vinegar (acetic acid) with a **5 percent acidity concentration**. For lubrication, use a mineral-based oil or a specialized tool wax. Ensure you have a clean microfiber cloth and a dedicated sharpening stone or a flat mill file to restore the bevel.
Timing:
The restoration of garden tools should coincide with the senescence of your deciduous crops or during the dormant winter window between USDA Hardiness Zones 4 and 9. Perform these steps when the ground is frozen or during the period following the first hard frost, typically when the photoperiod drops below 10 hours of daylight. This timing prevents the accidental introduction of soil-borne fungi into active plant tissues. By cleaning tools during the vegetative rest period, you ensure that equipment is sterilized and sharp before the spring surge, when auxin suppression ends and rapid cell division begins in the meristematic tissues of your new plantings.
Phases:

Sowing the Process: Preparation
Begin by removing all organic debris and desiccated soil from the shovel head. Use a high-pressure hose to clear the interstitial spaces where the handle meets the socket. Once dry, submerge the metal blade in an acetic acid bath for 12 to 24 hours. The acid reacts with the iron oxide to form iron acetate, which dissolves into the liquid.
Pro-Tip: Chemical chelation occurs faster at temperatures above 65 degrees Fahrenheit. Warming the vinegar slightly increases molecular kinetic energy, accelerating the breakdown of stubborn oxide layers.
Transplanting the Surface: Mechanical Removal
Remove the shovel from the bath and immediately scrub the surface with a wire brush. The goal is to reach the "white metal" stage where no orange discoloration remains. Use the 80-grit sandpaper for heavy pitting and finish with 120-grit to smooth the surface. This smoothing reduces the surface area available for future moisture traps.
Pro-Tip: Reducing surface roughness limits the ability of anaerobic bacteria to colonize the tool. A smooth surface maintains the hydrophobic properties of the metal once oiled, preventing water from clinging to the blade.
Establishing the Edge: Sharpening and Sealing
Use a mill file to hone the leading edge of the shovel at a 45-degree angle. Move the file in one direction, away from your body, to ensure a uniform bevel. Once sharp, apply a thin layer of linseed oil or mineral oil to the entire metal surface. This creates a barrier against oxygen, halting the oxidation process.
Pro-Tip: Proper sharpening allows the shovel to sever roots cleanly rather than crushing them. Clean cuts promote faster callus formation on the root system, preventing the entry of pathogens like Pythium or Phytophthora.
The Clinic:
Physiological issues in tools often mirror those in plants. If the metal appears "pitted," this is a symptom of prolonged exposure to acidic fertilizers, particularly those with a high Nitrogen (N) content like 20-0-0. The solution is to neutralize the blade with a baking soda and water solution (pH 8.5) after every use. If the wooden handle shows signs of "checking" or cracking, it is suffering from desiccation. Treat the wood with boiled linseed oil to restore flexibility. For "flaking" metal, the oxidation has reached the deep structural layers; this requires aggressive grinding to reach stable steel. If the shovel blade feels "gummy," it is likely a buildup of sap and resin. Use a solvent like turpentine to clear the residue before sharpening.
Maintenance:
Consistency is the primary driver of tool longevity. After every use, wipe the blade with a dry rag to remove moisture. Store shovels vertically in a bucket of sand mixed with 5 percent motor oil to keep the metal conditioned. Use a soil moisture meter to ensure your storage area remains below 50 percent relative humidity. When using a hori-hori knife or bypass pruners alongside your shovel, maintain the same sterilization protocol using a 70 percent isopropyl alcohol solution to prevent cross-contamination of viral pathogens between different sectors of the garden.
The Yield:
A restored shovel yields a more efficient gardening experience. You will notice a significant decrease in the force required to reach a depth of 8 to 12 inches, which is the standard depth for most vegetable transplants. A sharp, rust-free blade ensures that the mycorrhizal symbiosis in the soil is minimally disturbed during digging. Post-restoration, the tool should glide through the soil, leaving a clean "wall" in the planting hole. This precision allows for better contact between the root ball and the native soil, facilitating immediate nutrient uptake and reducing transplant shock.
FAQ:
How long should I soak a shovel in vinegar?
Soak the metal blade for 12 to 24 hours. Monitor the progress; once the rust turns black or begins to flake off easily with a light touch, the chemical reaction is complete and the tool is ready for scrubbing.
Can I use salt with vinegar to remove rust?
Adding 1 cup of table salt per gallon of vinegar increases the acidity and speeds up the process. However, you must rinse the tool thoroughly with water and baking soda afterward to neutralize the salt and prevent further corrosion.
What is the best oil for shovel maintenance?
Boiled linseed oil or mineral oil is ideal. These oils are non-toxic to the soil microbiome and provide a durable, water-resistant coating. Avoid using vegetable oils, as they can become rancid and attract pests to your tool shed.
Why is my shovel rusting even after cleaning?
Rust persists if the micro-pitting in the metal is not fully cleared or if the tool is stored in a high-humidity environment. Ensure the metal is completely dry and sealed with oil immediately after the mechanical cleaning process is finished.