10 Simple Steps to Replace Edger Blades
The scent of damp, disturbed earth and the tactile turgor of a healthy leaf define the successful garden; however, maintaining that precision requires sharp equipment. Dull steel tears at the grass crown, inviting fungal pathogens into the ragged vascular tissue of the turf. To maintain a clean line between the rhizosphere and the walkway, you must master the steps to replace edger blades before the spring growth surge. Precision maintenance ensures clean cuts that preserve plant health and aesthetic integrity.
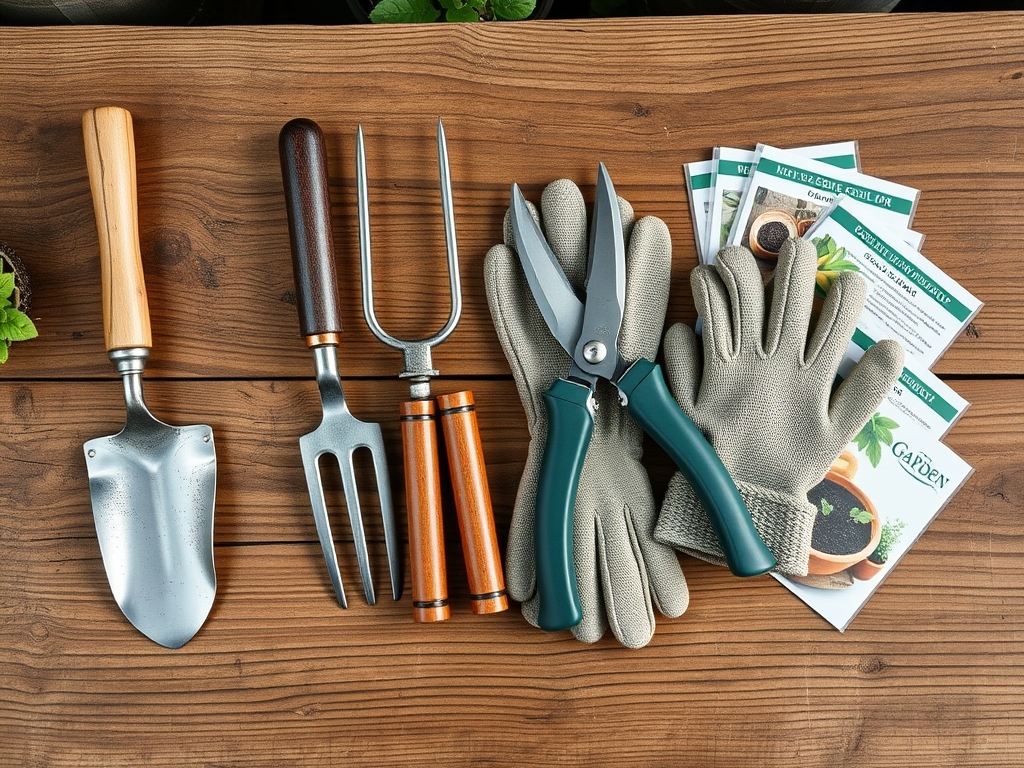
Materials:
The mechanical health of your edger is as critical as the chemical health of your soil. While you prepare your tools, consider the substrate where these blades operate. A **friable loam** with a high Cation Exchange Capacity (CEC) provides the ideal resistance for a clean edge. This soil type typically maintains a **pH between 6.2 and 7.0**, facilitating optimal nutrient uptake.
To support the turf recovery after edging, have a high-nitrogen fertilizer ready. A 24-0-4 NPK ratio is standard for promoting rapid vegetative growth in cool-season grasses. The nitrogen (N) stimulates chlorophyll production, while the potassium (K) regulates osmotic pressure and cellular turgidity. You will also need a spark plug wrench, a block of wood, heavy-duty work gloves, and a replacement carbon-steel blade.
Timing:
Timing your maintenance aligns with the biological clock of your landscape. In Hardiness Zones 5 through 7, the ideal window for blade replacement is late winter, specifically 14 to 21 days before the average last frost date. This ensures the equipment is ready the moment the grass exits dormancy and enters the active vegetative stage.
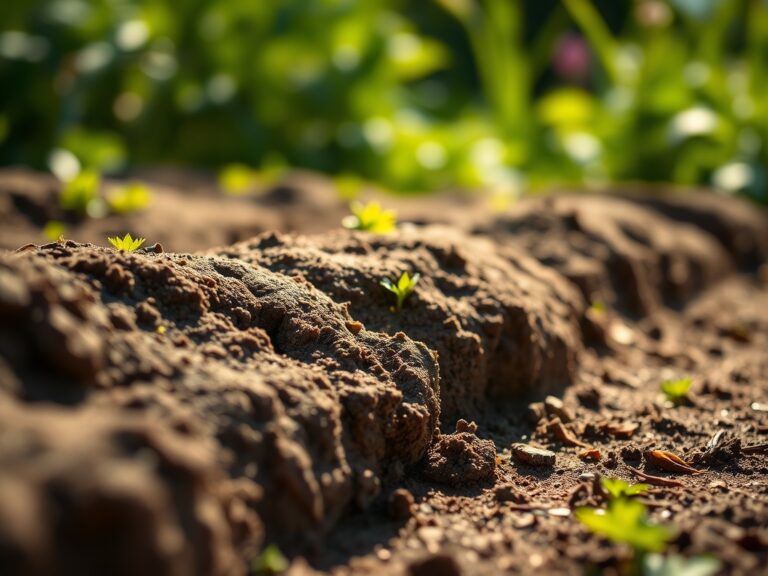
As soil temperatures reach a consistent 55 degrees Fahrenheit, the roots begin active respiration. Edging during this transition from dormancy to active growth prevents the "shaggy" look that occurs when the photoperiod extends and the plant focuses energy on vertical elongation. Avoid edging during the reproductive stage (seed head production) as the plant's energy is diverted away from root and leaf repair.
Phases:

Sowing the Process: Disconnection and Safety
Before touching the blade, you must eliminate the risk of accidental combustion. Disconnect the spark plug wire to ensure the engine cannot fire. If using a battery-powered unit, remove the lithium-ion pack. Tilt the edger so the air filter and carburetor face upward; this prevents oil from migrating into the combustion chamber or soaking the air filter.
Pro-Tip: Proper orientation prevents oil fouling of the spark plug. This is vital because oil in the combustion chamber increases carbon buildup, which can lead to premature senescence of the engine components through overheating.
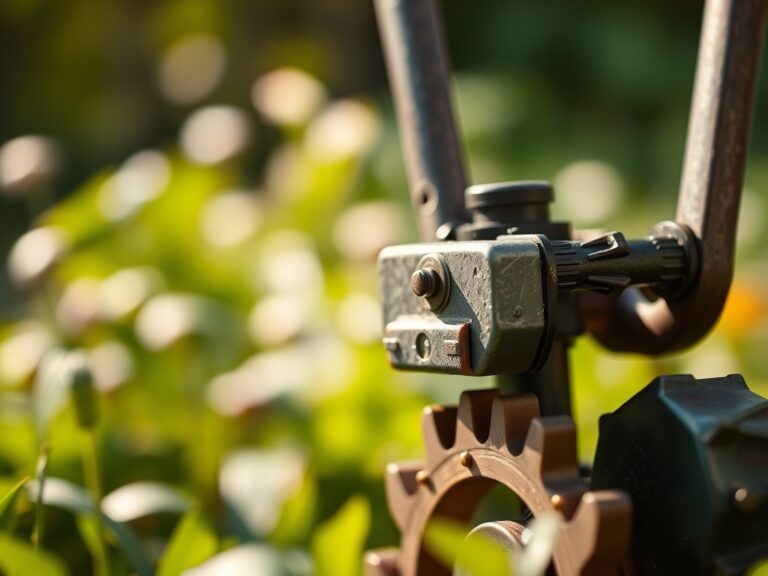
Transplanting the Blade: Removal and Installation
Place a block of wood between the blade and the edger housing to prevent the drive shaft from spinning. Use a wrench to turn the arbor nut counter-clockwise (in most standard-thread models). Remove the old, rounded blade and clear any packed soil or debris from the spindle. Slide the new blade onto the shaft, ensuring it sits flush against the mounting flange.
Pro-Tip: Cleaning the mounting surface ensures the blade remains balanced. An unbalanced blade creates high-frequency vibrations that can disrupt the auxin suppression in nearby plant roots by physically compacting the micro-pores in the soil through mechanical thumping.
Establishing the Edge: Testing and Torque
Tighten the arbor nut until it is secure; typically 20 to 25 foot-pounds of torque is sufficient for most residential models. Reconnect the spark plug wire and perform a test run on a small, inconspicuous patch of turf. The cut should be vertical and clean, leaving no frayed edges on the grass blades.
Pro-Tip: A sharp blade reduces mechanical stress on the plant. When a blade is sharp, it creates a clean wound that the plant can quickly seal with callose, a polysaccharide that prevents the loss of water and nutrients through the cut site.
The Clinic:
Mechanical and biological issues often present similar symptoms. Use this guide to differentiate between equipment failure and physiological disorders.
- Symptom: Brown, frayed tips on grass edges.
Solution: Replace the edger blade immediately. This is mechanical damage, not disease. - Symptom: Yellowing (chlorosis) of the grass along the newly cut edge.
Solution: This indicates Nitrogen deficiency. Apply a quick-release urea-based fertilizer to boost vegetative recovery. - Symptom: Soil compaction and "glazing" along the trench.
Solution: The soil is too wet. Wait for the moisture level to drop below 25 percent before edging to maintain soil porosity. - Fix-It for Iron Chlorosis: If the grass is pale green but the veins remain dark, the pH may be too high, locking out iron. Apply chelated iron or elemental sulfur to lower the pH to the 6.5 range.
Maintenance:
Post-edging care is vital for the longevity of the landscape. Apply 1.5 inches of water per week at the drip line of adjacent shrubs and across the turf. Use a soil moisture meter to verify that the water is penetrating at least 6 inches deep to reach the primary root zone.
Keep a hori-hori knife on hand to manually remove any tap-rooted weeds that the edger might have missed. For precision pruning of overhanging woody perennials near the edge, use bypass pruners to ensure a clean snip that doesn't crush the cambium layer. Clean your edger blade after every use with a wire brush to prevent the buildup of acidic soil residues which can cause pitting and corrosion.
The Yield:
While an edger doesn't produce a "harvest" in the traditional sense, the yield is measured in the health of the turf and the "day-one" freshness of the landscape design. A clean edge prevents stoloniferous grasses from invading garden beds, reducing competition for nutrients. By maintaining a sharp blade, you ensure the grass spends its energy on lateral expansion rather than wound repair, resulting in a denser, more resilient sod.
FAQ:
How often should I replace my edger blade?
Replace the blade every season or after 20 hours of use. If you strike rocks or concrete, inspect for chips immediately. A dull blade increases engine strain and causes jagged tissue tears in the grass.
Can I sharpen an edger blade instead of replacing it?
Yes, use a flat mill file or a bench grinder. Maintain the original 30-degree angle. However, if the blade has lost more than 1/2 inch of its original width, replace it to ensure proper cutting depth.
Why does my edger vibrate excessively after a blade change?
Excessive vibration usually indicates an unbalanced blade or a loose arbor nut. Ensure the blade is centered on the flange. Vibration can damage the engine crankshaft and lead to soil compaction through mechanical resonance.
What is the best soil condition for edging?
Edge when the soil is moist but not saturated. Saturated soil leads to "smearing," which destroys soil structure and reduces oxygen availability in the rhizosphere. Dry soil causes excessive blade wear and dust.