6 Best String Lines for Gardens
The smell of damp earth after a deep irrigation cycle signals the beginning of the planting season. Maintaining high turgor pressure in young seedlings requires more than just water; it requires precision in the layout of the plot. Utilizing the best string lines for gardens ensures that rows are straight, maximizing airflow and light penetration across the canopy. Without a taut guide, spacing becomes irregular, leading to resource competition within the rhizosphere and uneven nutrient uptake.
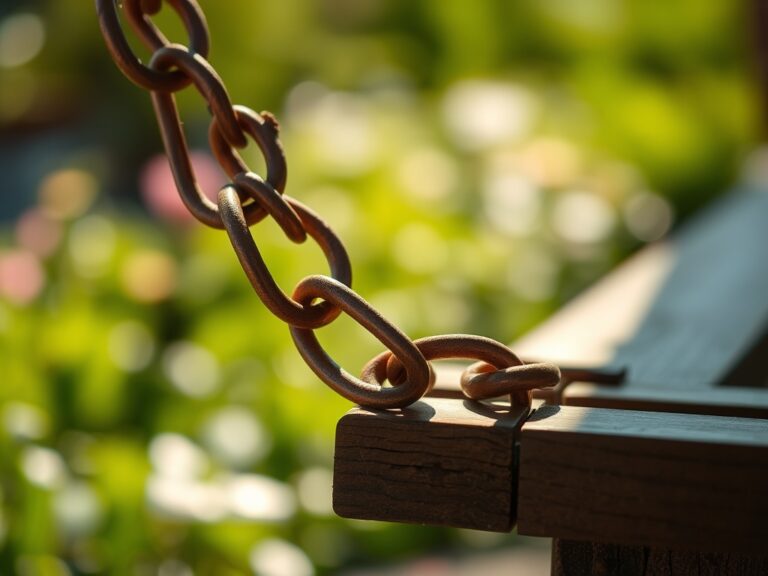
A master gardener views the plot as a grid of biological potential. Establishing these lines is the first mechanical step in successful soil management. When the string is pulled tight across a 50 foot span, it allows for the exact placement of amendments and seeds. This structural discipline prevents the overcrowding that often leads to fungal pathogens. Every inch of the garden must be accounted for to optimize the solar radiation intercepted by the foliage. Proper alignment ensures that irrigation systems, whether drip lines or soakers, deliver moisture directly to the root zone without wasting water on unplanted aisles.
Materials:
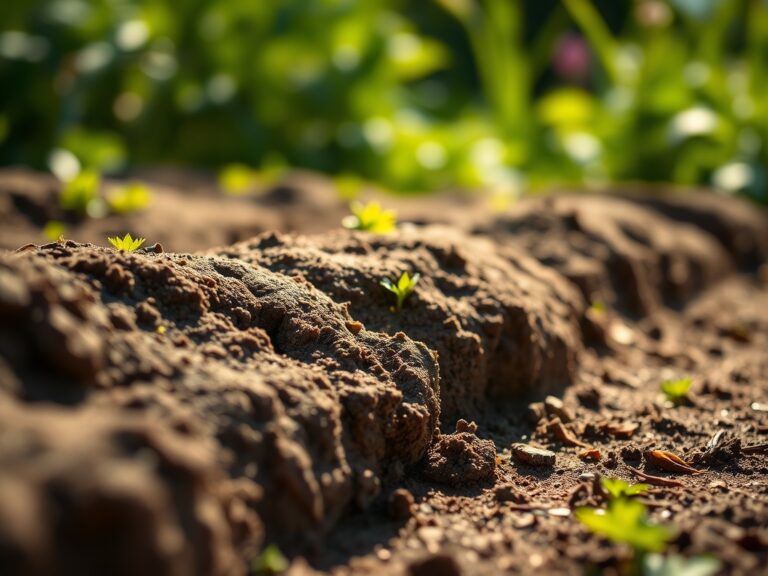
The ideal substrate for a productive garden is a friable loam with a **Cation Exchange Capacity (CEC) between 15 and 25 meq/100g**. This texture allows for adequate pore space, facilitating the gas exchange necessary for root respiration. Before setting your lines, test the soil pH; most horticultural crops thrive in a range of **6.2 to 6.8**. If your soil is too acidic, apply calcitic lime; if too alkaline, use elemental sulfur.
Nutrient management starts with the baseline NPK ratio. For a standard vegetable plot, a balanced 10-10-10 or a 5-10-10 ratio is often preferred to encourage root development over excessive vegetative growth. High nitrogen levels (the first number) can lead to lush leaves but poor fruit set. Ensure the soil contains at least 3 percent organic matter to support the microbial life that converts these minerals into plant-available forms.
Timing:
Timing is governed by the USDA Hardiness Zones and the specific frost dates of your microclimate. In Zones 5 through 7, the transition from the dormant period to the vegetative stage typically begins when soil temperatures consistently hit 55 degrees Fahrenheit. This temperature threshold is critical for the germination of cool-season crops.
The biological clock of a plant is driven by the photoperiod and thermal units. As the day length increases, plants transition from vegetative growth (leaf and stem production) to reproductive stages (flowering and fruiting). For instance, long-day onions require 14 to 16 hours of daylight to initiate bulb formation. Understanding these windows allows you to time your string line placement and subsequent sowing to align with the peak metabolic activity of your chosen species.
Phases:

Sowing
Once your best string lines for gardens are secured between two steel stakes, use a dibber to create uniform holes. For most medium-sized seeds, a depth of 0.5 to 1 inch is standard. Firm the soil over the seed to ensure good seed-to-soil contact, which is vital for capillary action to draw moisture into the seed coat.
Pro-Tip: Proper seed depth prevents premature exposure to light, which can trigger "Auxin Suppression." Auxins are hormones that promote cell elongation; if a seed is too shallow, light can degrade these hormones, resulting in stunted, weak seedlings.
Transplanting
When moving starts from the greenhouse to the field, use a hori-hori knife to cut a clean hole in the soil. The transplant should be set at the same depth it was in its container. Ensure the root ball is saturated before placement to reduce transplant shock and maintain turgor.
Pro-Tip: Inoculate the planting hole with mycorrhizal fungi. This creates a "Mycorrhizal Symbiosis" where the fungi extend the reach of the root system, significantly increasing the uptake of phosphorus and water.
Establishing
During the first 14 days, the plant focuses on root expansion. Keep the soil consistently moist but not waterlogged. Observe the leaves for any signs of wilting, which indicates that the transpiration rate is exceeding the roots' ability to pull moisture from the soil.
Pro-Tip: Avoid heavy nitrogen fertilization during this phase to prevent "Phototropism" issues where the plant grows too fast toward the light, creating a weak, spindly stem that cannot support its own weight.
The Clinic:
Physiological disorders often mimic disease but are usually rooted in environmental or nutritional stress.
- Symptom: Interveinal chlorosis (yellowing between leaf veins) on older leaves.
- Solution: This indicates a Magnesium deficiency. Apply Epsom salts (magnesium sulfate) at a rate of 1 tablespoon per gallon of water as a soil drench.
- Symptom: Blossom end rot on tomatoes or peppers.
- Solution: This is caused by a Calcium deficiency, often triggered by inconsistent watering. Maintain a steady moisture level to ensure calcium ions can move through the xylem.
- Symptom: Purpling of the underside of leaves.
- Solution: This is a classic sign of Phosphorus deficiency, common in cold soils where the nutrient becomes chemically locked. Increase soil temperature with mulch or wait for seasonal warming.
Fix-It: For general Nitrogen chlorosis (overall paling of the plant), apply a quick-release liquid fertilizer with a high first NPK number. A 20-10-10 solution can provide a rapid boost to restore chlorophyll production.
Maintenance:
Precision maintenance is the difference between a harvest and a failure. Use a soil moisture meter to ensure the root zone stays within the "field capacity" range. Most garden crops require 1.5 inches of water per week, delivered at the drip line to prevent wetting the foliage, which can invite mildew.
Keep your bypass pruners sharp and sanitized with a 70 percent isopropyl alcohol solution to prevent the spread of pathogens. When pruning, make 45-degree cuts just above a node to encourage outward growth. Regularly check the tension of your string lines; as plants grow, they may lean, and your lines serve as a reference point for corrective staking or tying.
The Yield:
Harvesting should occur during the "cool of the day," typically just after sunrise when the plant is at maximum turgidity. For leafy greens, use a sharp blade to cut the stem, leaving the crown intact for "cut and come again" production. For fruiting crops like beans or tomatoes, harvest when the color is uniform and the fruit is firm to the touch.
Post-harvest handling is critical for "day-one" freshness. Immediately remove field heat by placing produce in a shaded, cool area or a hydro-cooling bath. This slows down the rate of senescence, the biological aging process where the plant begins to break down its own sugars and proteins.
FAQ:
What is the best material for garden string lines?
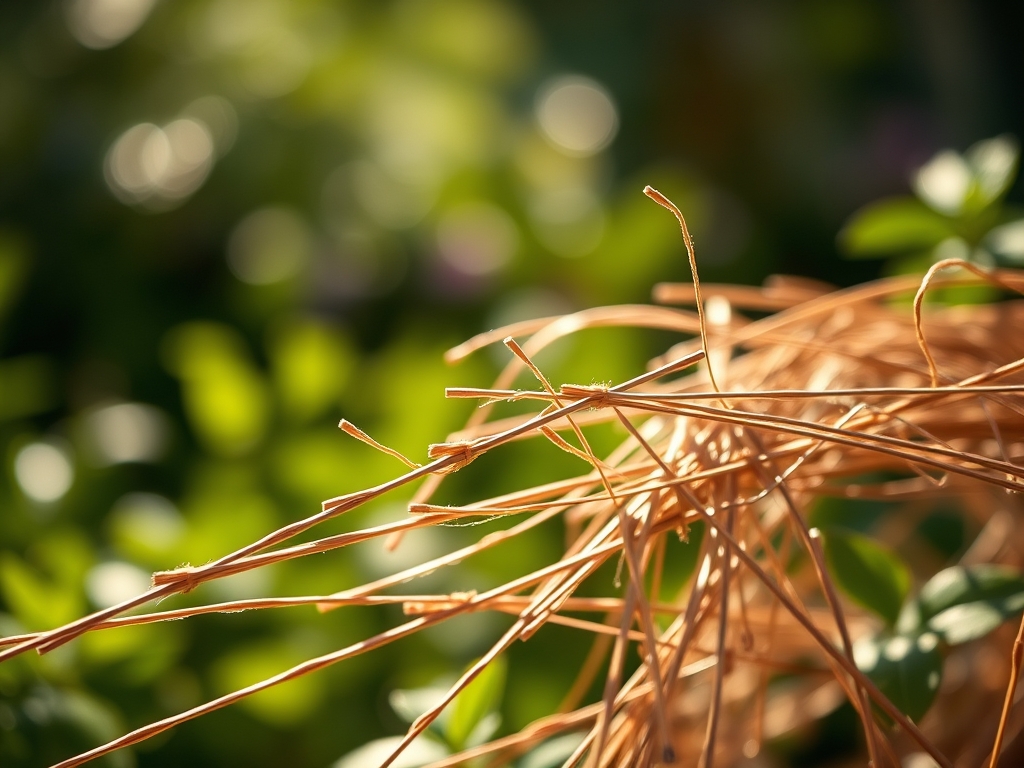
Bonded nylon or braided polyester is superior. These materials resist UV degradation and do not sag when wet, maintaining a straight line for accurate planting and cultivation throughout the entire growing season.
How tight should a garden string line be?
The line should be "guitar-string tight." Use a tensioning knot, such as a trucker's hitch, to ensure there is no visible dip over the length of the row. This ensures mechanical precision for seeding.
Can I leave string lines out over winter?
No. Ultraviolet radiation and freezing temperatures degrade synthetic fibers. Remove lines after the final harvest, clean them of organic debris, and store them in a dry, dark location to maintain tensile strength for the next year.
Does the color of the string line matter?
High-visibility colors like neon orange or fluorescent green are best. These shades contrast against the soil and foliage, preventing tripping hazards and making it easier to spot the line while operating garden machinery or hand tools.